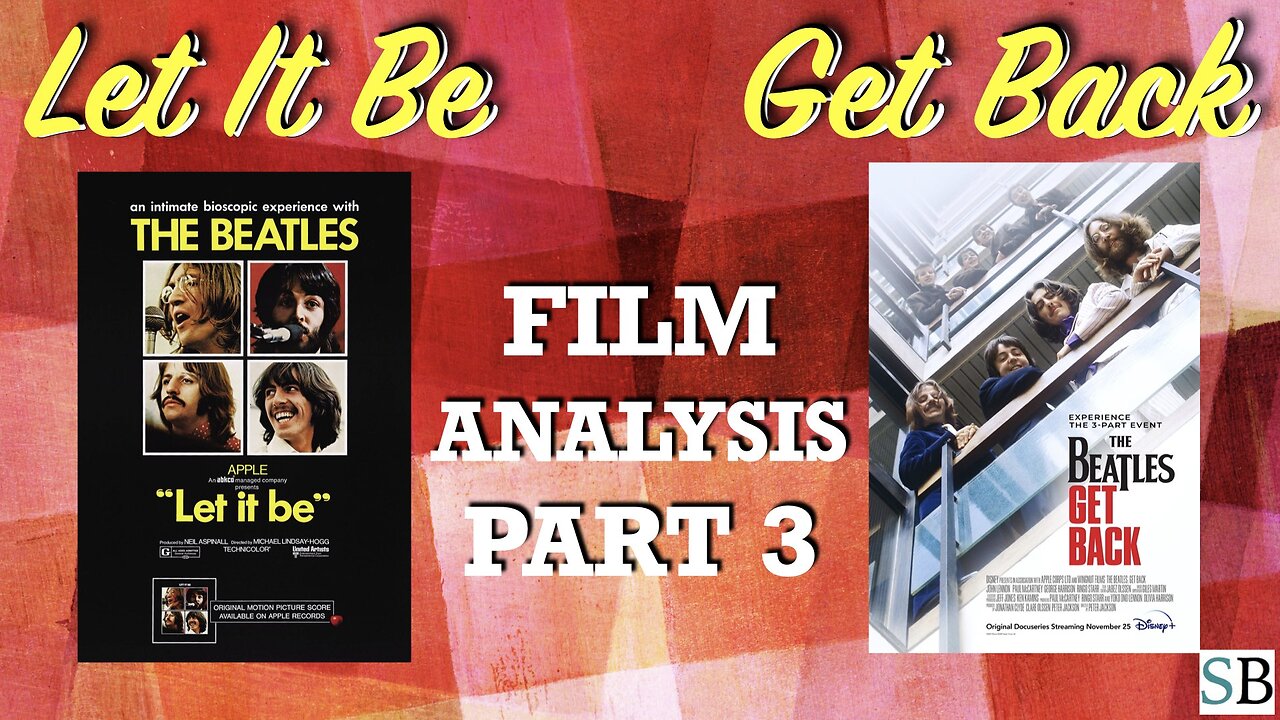
Let It Be & Get Back - Film Analysis: Part 3 of 3
11 months ago
358
This video is a breakdown of the Paul is Dead clues and exposure of the Beatles myth, as shown in the “Let it Be” and “Get Back” documentaries.
Cat’s YouTube channel: https://www.youtube.com/channel/@supernaturalbeatles
Cat’s Rumble back up channel: https://rumble.com/user/SupernaturalBeatles
Cat’s Substack blog: https://supernaturalbeatles.substack.com/
Cat’s Telegram channel: https://t.me/supernaturalbeatles
Loading 2 comments...
-
 LIVE
LIVE
Dr Disrespect
4 hours ago🔴LIVE - DR DISRESPECT - WARZONE - 3 SOLO WINS CHALLENGE
11,836 watching -
 15:32
15:32
T-SPLY
45 minutes agoDems Turn on Fetterman in Brutal Betrayal!
1 -
 1:11:34
The Quartering
2 hours agoGhetto Flight Attendants FAFO, Bill Belichick PSYCHO Girlfriend BANNED, Ethan Klein Lawsuit & More
35.3K28 -
 33:56
33:56
Michael Franzese
3 hours agoThe Godfather of the South: Carlos Marcello’s Secret Reign
11.7K1 -
 LIVE
LIVE
Crypto Power Hour
8 hours agoPolygon Report w/ Max ‘Nill” Rennillo, Ecosystem Lead
57 watching -
 28:43
28:43
Tactical Advisor
1 hour agoBroken Ruger RXM Update | Vault Room LIve Stream 023
2.15K2 -
 1:02:15
Jeff Ahern
1 hour agoFriday Freak Out With Jeff Ahern!
1.64K1 -
 3:16:17
Barry Cunningham
7 hours agoTRUMP DAILY BRIEFING: WHITE HOUSE PRESS CONFERENCE AND PRESIDENT TRUMP EPIC CHESS MOVE!
32.2K12 -
 26:29
26:29
Scary Mysteries
7 hours agoTexas' Most TRAGIC Case: The Cruel Murder of DEBORA SUE SCHATZ
1.56K1 -
 20:50
20:50
Nick Shirley
4 hours ago $0.21 earnedInside Alcatraz The Future Mega Prison of America
4.07K6