Let it Be & Get Back - Film Analysis: Part 2 of 3
1 year ago
451
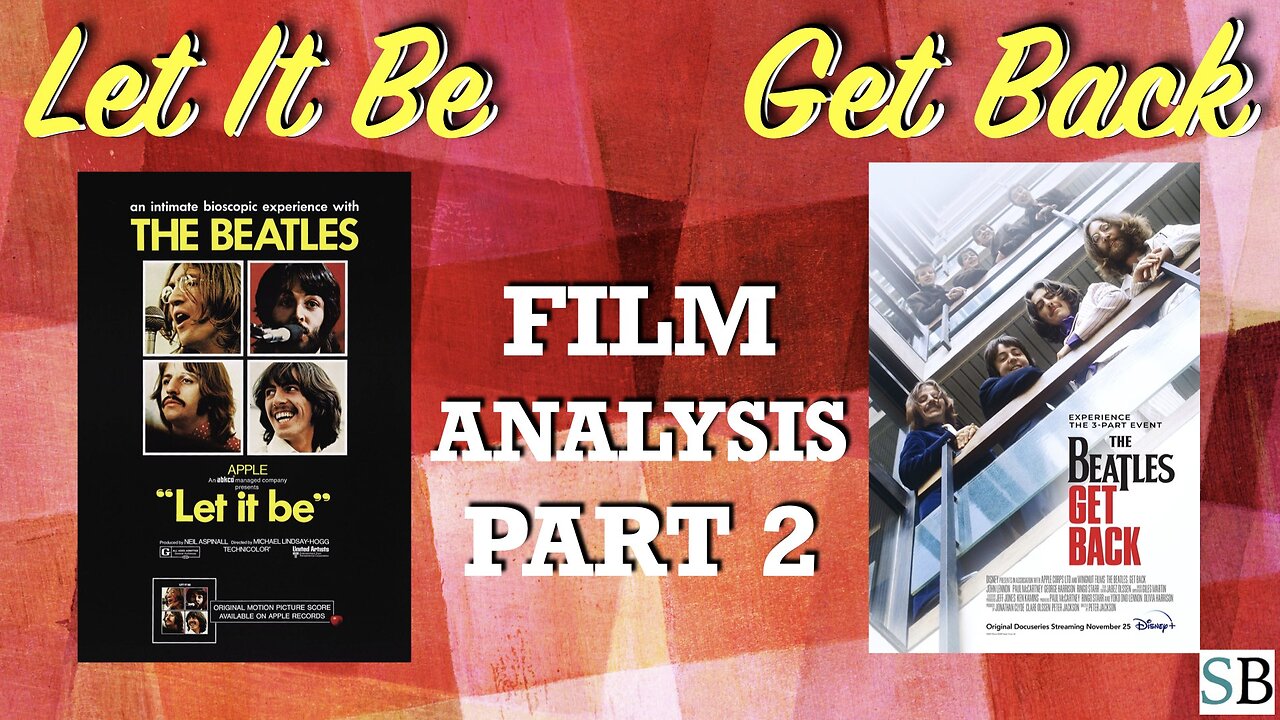
This video is a breakdown of the Paul is Dead clues and exposure of the Beatles myth, as shown in the “Let it Be” and “Get Back” documentaries.
Cat’s YouTube channel: https://www.youtube.com/channel/@supernaturalbeatles
Cat’s Rumble back up channel: https://rumble.com/user/SupernaturalBeatles
Cat’s Substack blog: https://supernaturalbeatles.substack.com/
Cat’s Telegram channel: https://t.me/supernaturalbeatles
Loading 1 comment...
-
 19:53
19:53
MetatronHistory
19 hours agoRome VS Greece - Ultimate Clash of Civilizations Explained
38.7K9 -
 LIVE
LIVE
The Big Mig™
5 hours agoThe Big Mig Show's Greatest Hits w/ Americas Future, Karmageddon, Operation Gideon,..
190 watching -
 1:32:33
VapinGamers
4 hours ago $5.21 earnedTools of the Trade - EP12 The Art of Story Telling with MidnightinTheMountains - !rumbot !music
23.6K2 -
 3:09:50
SOLTEKGG
3 hours ago🔴LIVE - Battlefield 6 - Going Pro in RED SEC
16.1K1 -

Midnight In The Mountains™
5 hours agoThe Midnights Play Arc Raiders | Loot Scoot and KILL | Crypto Wallet up n running GO JOIN THE BETA!
14.7K3 -
 53:25
53:25
X22 Report
6 hours agoMr & Mrs X - Trump Is Using The Same Tactic As Our Founding Fathers To Rebuild America - EP 17
89K28 -
 3:15:31
PudgeTV
3 hours ago🟣 Arc Raiders - Gaming on Rumble | Going Topside w My Daughter’s Husband
14K1 -
 2:05:43
LFA TV
23 hours agoRUMBLE RUNDOWN WEEK 7 with SHAWN FARASH 11.22.25 9AM
148K9 -
 3:23:01
ttvglamourx
4 hours ago $1.15 earnedGLAMOURX VS CALL OF DUTY LOBBIES !DISCORD
18.4K3 -
 LIVE
LIVE
DannyStreams
6 hours agoSaturday Morning Tarky
38 watching