DIY Wooden Stool Design
In this woodworking project, we'll guide you through creating a charming and sturdy wooden stool that adds a touch of rustic elegance to any space.
Materials Needed:
4 pieces of solid wood (ideally hardwood) for legs, approximately 18 inches long and 2 inches thick
1 piece of solid wood for the seat, approximately 12 inches square and 1 inch thick
Wood glue
Screws
Sandpaper (medium and fine grit)
Wood stain or paint (optional)
Varnish or sealant (optional)
Tools Needed:
Saw (circular saw, miter saw, or handsaw)
Drill with drill bits and screwdriver bits
Sanding block or orbital sander
Measuring tape
Pencil
Clamps
Instructions:
Cut the Wood: Measure and cut the four legs to the desired height using the saw. Ensure they are all the same length for a balanced stool.
Prepare the Seat: Measure and cut the seat to the desired dimensions. Sand the edges to smooth them out.
Assemble the Legs: Arrange the four legs in a square or rectangular shape, ensuring they are evenly spaced apart. Apply wood glue to the top of each leg where they will attach to the seat.
Attach the Seat: Carefully place the seat on top of the legs, aligning it evenly. Use clamps to hold the pieces together firmly. Pre-drill holes through the seat into each leg, then secure them with screws.
Reinforce the Joints: To add strength to the stool, consider adding additional screws from the inside of the legs into the seat. This will provide extra stability.
Sand and Finish: Sand the entire stool with medium grit sandpaper to smooth out any rough edges and surfaces. Follow up with fine grit sandpaper for a silky finish. Wipe away any dust.
Stain or Paint (Optional): If desired, apply wood stain or paint to the stool to enhance its appearance. Allow it to dry completely according to the product instructions.
Apply Sealant (Optional): For added protection and longevity, apply a coat of varnish or sealant to the stool. This will help repel moisture and prevent damage over time.
Enjoy Your Creation: Once the sealant is dry, your wooden stool is ready to use! Place it in your kitchen, living room, or wherever you need an extra seat or decorative accent.
With these steps, you'll have crafted a beautiful wooden stool that combines functionality with rustic charm, perfect for any home or workspace.
-
 24:25
24:25
Woodworking With Wes
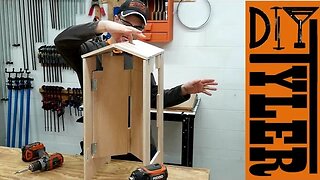
10 months ago $0.01 earnedHow to Build a DIY Wooden Stool: Easy Woodworking Project for Beginners 🔨
15 -
 10:32
10:32
PatriotDIY
1 year ago $0.02 earnedBuild a DIY Step Stool / Beginner Woodworking
23 -
 3:12
3:12
Fanger Woodworking
5 months agoDIY Shop Stool
351 -
 7:56
7:56
WoodWorkWeb
6 years agoHow To Make a 3 Legged Wood Stool (Milking Stool)
13 -
 9:57
9:57
Hew And Awe
9 months agoCrafting A Simple Wooden Stool - Power Carved & Hand Carved Ash Walnut & Oak. #powercarving
20 -
 8:15
8:15
Wood, Metal, Everything
7 years agoFolding Plywood Stool | A SUPER Functional Project
-
 8:03
8:03
How You Can Make It
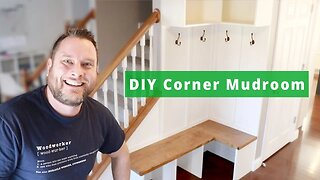
3 years ago $0.01 earnedHow To Make a DIY Shaker Style Corner Builtin Mudroom | DIY Woodworking Project
202 -
 0:56
0:56
yourtopshelflife
2 years agoEasy Wood Chair to Build 😎 Aldo Leopold bench design 😎 #woodworking #SideHustle #shorts
192 -
 6:13
6:13
Peter von Panda
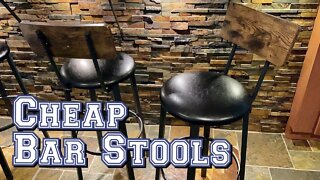
2 years agoCheap Rustic Bar Stools Review
384 -
 10:19
10:19
dustin penner
5 years agoBuilding a Stool
41