Premium Only Content

Installing an HMI screen
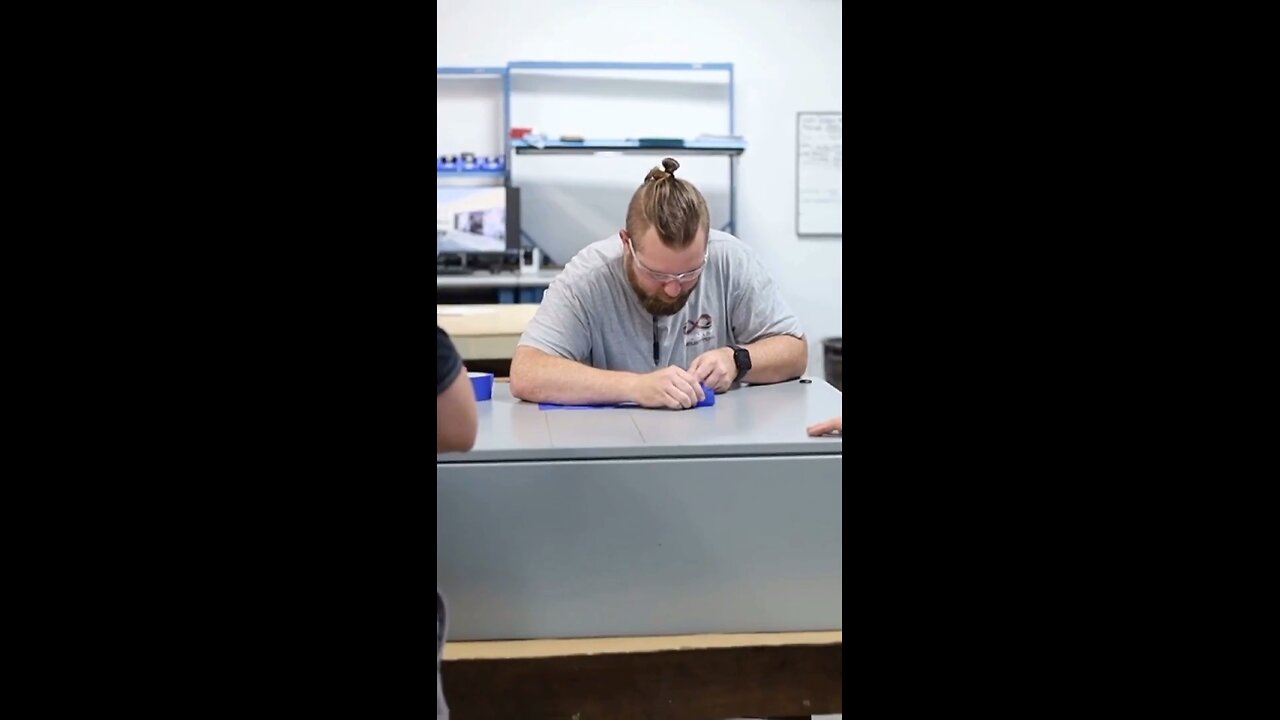
Here’s Myles showing some of our new panel techs the process of properly installing an HMI screen on a cabinet.
Steps to Cut a Hole for an HMI Screen
1. Read the Specifications: Before starting, carefully read the HMI screen installation guide to understand the exact dimensions and any specific requirements for the cutout.
2. Measure and Mark: Using a measuring tape or ruler, determine where the HMI screen will be placed on the control panel cabinet. Mark the center point, and then draw the precise dimensions of the required cutout using a marker or pencil. Ensure the lines are clear and straight.
3. Tape the Line: Apply painter's tape or masking tape along the marked line. This will help prevent the surface from chipping or scratching during cutting and will allow for a cleaner edge.
4. Drill Starter Holes: At each corner of the marked cutout, drill a hole large enough for the blade of your jigsaw to fit through. These starter holes will make it easier to begin cutting without damaging the surrounding area.
5. Cut the Hole: Insert the jigsaw blade into one of the starter holes and carefully follow the taped lines. Keep the tool steady and the cut straight to ensure a clean finish. If you are using a panel saw, align it with the marks and proceed with caution.
6. Smooth the Edges: Once the cutout is complete, use a file or deburring tool to smooth any sharp edges or irregularities. This step is essential to prevent injury and to ensure the HMI screen fits perfectly.
7. Test Fit the HMI Screen: Gently place the HMI screen into the cutout to check the fit. If there are any tight spots or gaps, adjust by filing the edges until the fit is just right.
8. Secure the HMI Screen: Follow the manufacturer's instructions to secure the HMI screen into the cutout. This may involve screws, clamps, or adhesive depending on the design.
9. Final Inspection: Double-check all work for cleanliness
and ensure the HMI screen is securely installed and operational.
-
 2:17:05
Blabs Life
5 hours agoPART 3: Peter Jackson's King Kong: The Official Game of the Movie | Noob Plays
5.48K1 -
 18:07
18:07
MetatronCore
3 hours agoAmala Ekpunobi is BASED
323 -
 1:01:48
BonginoReport
4 hours agoWaddle & Gobble Receive Presidential Pardons! - Nightly Scroll w/ Hayley Caronia (Ep.185)
101K27 -
 53:41
53:41
Katie Miller Pod
3 hours agoMike & Kelly Johnson on Marriage, Family, & Demands of the Job | The Katie Miller Podcast Ep. 16
21.8K12 -
 1:31:04
The Daily Signal
4 hours ago $2.67 earned🚨BREAKING: Judicial CHAOS—$7 Million Somalian Fraud Scandal Thrown Out, Trans Terrorist Released
9.15K10 -
 9:07:11
GritsGG
10 hours ago#1 Most Warzone Wins 4049+!
18.1K1 -
 1:05:43
TheCrucible
5 hours agoThe Extravaganza! EP: 65 (11/25/25)
109K11 -
 7:29:53
The Rabble Wrangler
17 hours agoBattlefield 6 Free Week | Come Play With The Best in the West!
10.1K -
 1:35:57
Kim Iversen
4 hours agoThe Macrons Tried To KILL Candace Owens?
48.8K91 -
 1:15:59
vivafrei
7 hours agoKash interview - 27 Minutes of No Answers! Another Soft-on-Crime Catastrophe! Pedo Coach? & MORE
186K101