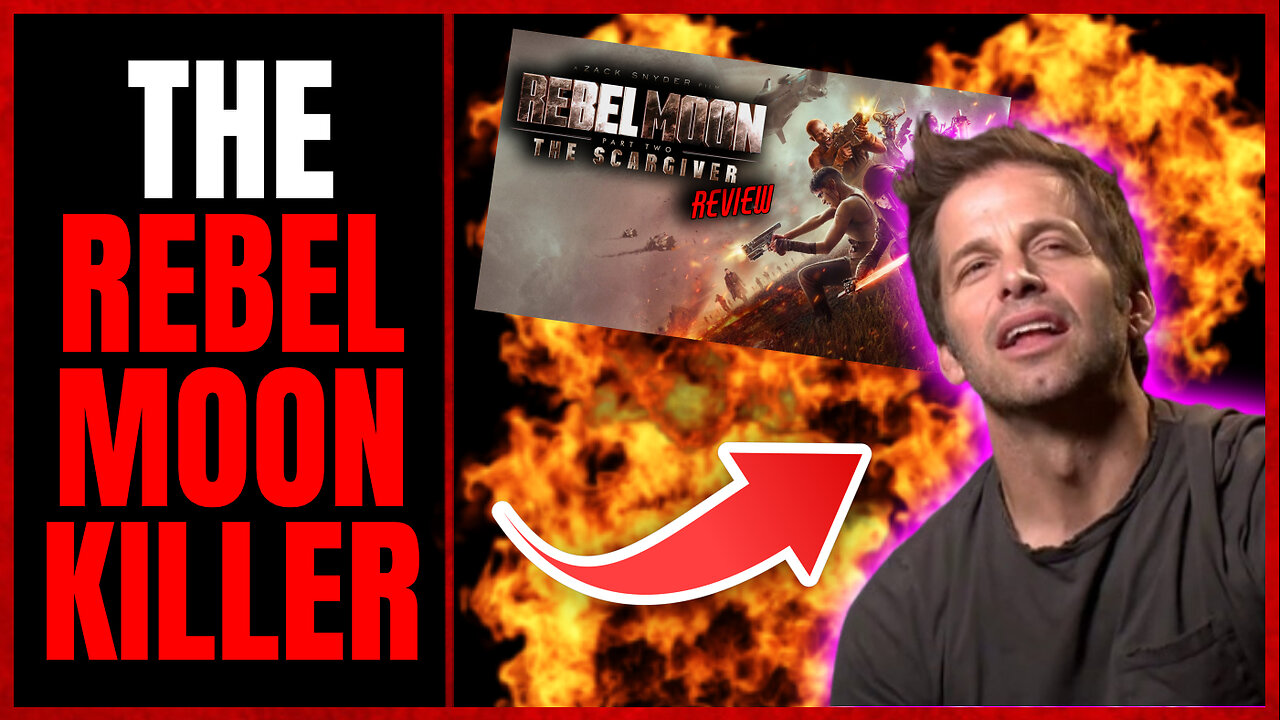
Rebel Moon - Part Two REVIEW | This Is It!
1 year ago
12
I Review Rebel Moon Part Two The Scargiver
X - https://twitter.com/SlavsFreeTalk
Website: SlavsFreeTalk.com
Host, Editor, Producer - Robert Slavinsky
Loading comments...
-
 5:51
5:51
Slav's Free Talk
20 days agoDCU Expands! Jimmy Olsen TV Series “DC Crime” Officially in Development
9 -
 LIVE
LIVE
TheCrucible
2 hours agoThe Extravaganza! EP: 68 with guest co-host Rob Noerr (12/02/25)
5,249 watching -
 LIVE
LIVE
Redacted News
1 hour agoWar Alert! CIA Caught Inside Venezuela Trying to Kill Maduro, Russia Captures 86 cities since Sept
9,658 watching -
 LIVE
LIVE
Red Pill News
1 hour agoMinnesota Fraud Gets Worse - Walz Under Investigation on Red Pill News Live
1,774 watching -
 1:17:03
vivafrei
2 hours agoMiranda Divine & Dan Bongino Go Fisticuffs! Jillian Michaels & Crowder Go Fisticuffs! AND MORE!
80.6K22 -
 1:19:31
The Quartering
3 hours agoWoke Church Exposed, Income Taxes To End?, Gross Doordash Video, & Based Chic At Planet Fitness
108K58 -
 24:55
24:55
Stephen Gardner
2 hours ago🔥Trump Just Got THE EVIDENCE we’ve ALL been waiting for!
12.9K18 -
 LIVE
LIVE
LFA TV
19 hours agoLIVE & BREAKING NEWS! | TUESDAY 12/02/25
1,271 watching -
 LIVE
LIVE
John Crump Live
3 hours agoDLD Makes His Case For Micro Influencer of The Year
35 watching -
 LIVE
LIVE
freecastle
6 hours agoTAKE UP YOUR CROSS- Then you will call on ME and come and pray to ME, and I will LISTEN to you."
108 watching