Shaping the Camarilla Mask™: Roughing Out the Contours
1 year ago
24
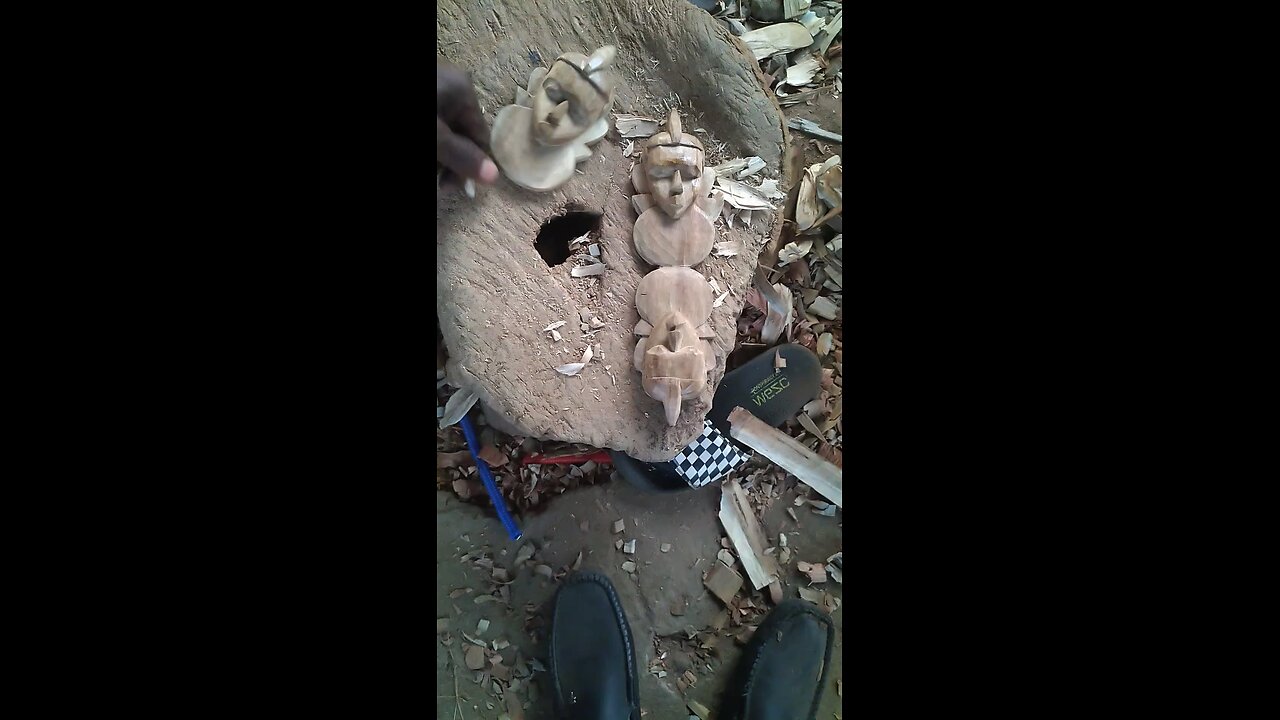
Before diving into those intricate details, start by focusing on the overall shape of your wood mask. Use larger gouges to carve out the basic curves of the face – the rise of the cheekbones, the slope of the nose, the hollow of the eyes.
Think of it like sculpting with clay – you're establishing the main features first. Pay attention to symmetry and proportions. Remember, wood is forgiving! You can always remove more, but adding it back is tricky.
Loading comments...
-
 31:02
31:02
Kimberly Guilfoyle
3 hours agoFull Breaking News Coverage: Live with John Nantz & Steve Moore | Ep250
11.4K5 -
 1:15:19
vivafrei
4 hours agoShameless Politicization of Tragedy! Susan Monarez is OUT! Pritzker is an IDIOT! & MORE!
98.6K41 -
 LIVE
LIVE
Tundra Tactical
1 hour agoCracker Meme Review On Tundra Meme Review!!
48 watching -
 LIVE
LIVE
Wayne Allyn Root | WAR Zone
5 hours agoWAR Zone LIVE | 28 AUGUST 2025
89 watching -
 LIVE
LIVE
LFA TV
11 hours agoLFA TV ALL DAY STREAM - THURSDAY 8/28/25
1,225 watching -
 LIVE
LIVE
freecastle
3 hours agoTAKE UP YOUR CROSS- CREATED IN HIS IMAGE
130 watching -
 1:49:30
The Quartering
4 hours agoCount Dankula Live On Migrant Crisis In Europe, Whiteness & More
121K162 -
 3:46:59
Barry Cunningham
8 hours agoBREAKING NEWS: KAROLINE LEAVITT HOLDS WHITE HOUSE PRESS CONFERENCE (AND MORE NEWS)
72K54 -
 47:21
47:21
Stephen Gardner
21 hours ago🔥Elon Just Exposed the Most Corrupt Man on Earth - Trump Makes BOLD MOVE!
36.1K106 -
 56:48
56:48
The HotSeat
3 hours agoI'm NOT Sorry! Guns Aren’t the Problem—Godless Culture Is
17.2K17