How To Make A Sliding Dovetail Joint on the Table Saw _ Woodworking
Creating a sliding dovetail joint on a table saw requires precision and careful attention to detail. Here's a step-by-step guide to making a sliding dovetail joint using a table saw:
Materials and Tools Needed:
Hardwood lumber for the joint components
Table saw with dado blade or router table with dovetail bit
Miter gauge or sled for guiding the workpiece
Dovetail jig (optional, but recommended for more precise cuts)
Measuring tape, pencil, and straight edge
Clamps
Chisel and mallet (for fine-tuning the fit)
Step-by-Step Instructions:
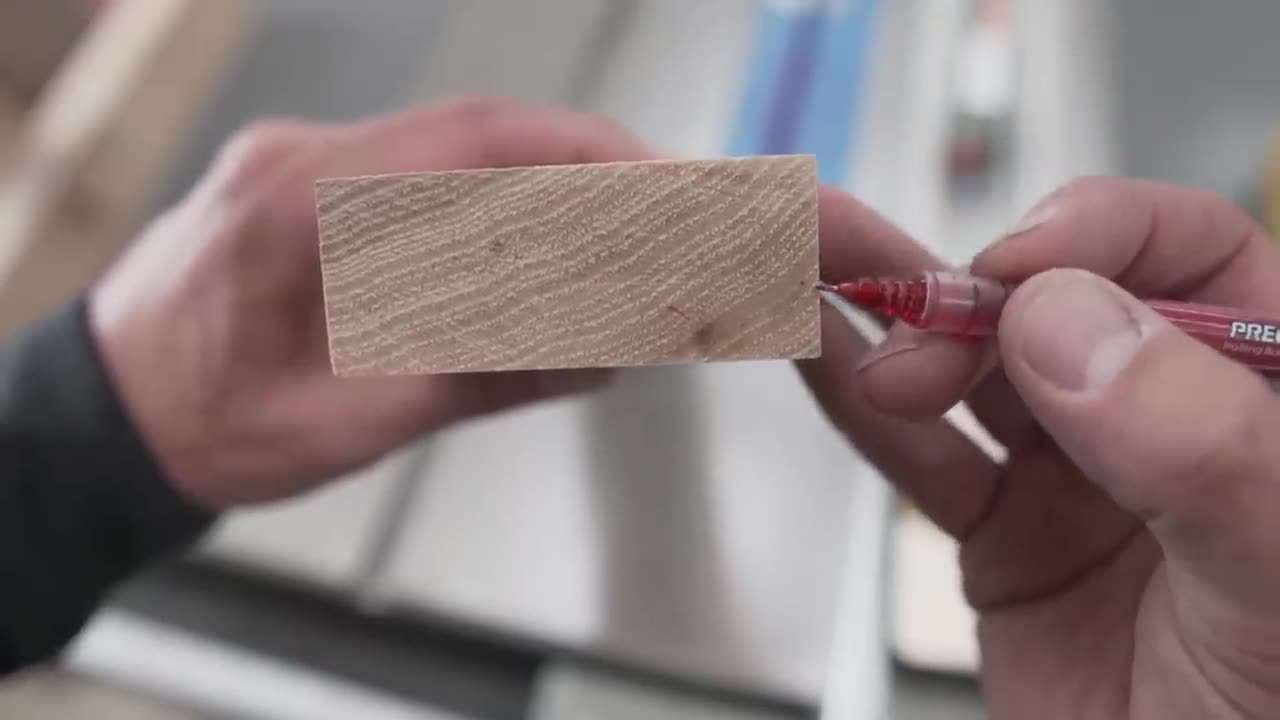
Prepare the workpieces: Cut the boards to the desired dimensions and mark the location of the dovetail joint on each piece. One board will have the dovetail "tail," and the other will have the dovetail "socket."
Set up the table saw: Install a dado blade on the table saw and adjust the height to match the thickness of the dovetail joint. Set the fence to position the dado blade at the correct distance from the blade.
Make test cuts: Use scrap pieces of wood to make test cuts and fine-tune the setup of the table saw. Make adjustments to the height and position of the dado blade as needed to achieve the desired fit for the joint.
Cut the dovetail sockets: Place the board that will receive the dovetail joint against the fence of the table saw and use a miter gauge or sled to guide it through the blade. Make multiple passes to remove material and create the dovetail socket. Take care to keep the workpiece flat against the table and fence to ensure straight and even cuts.
Cut the dovetail tails: Place the board that will form the dovetail joint on edge against the table saw fence and use the miter gauge or sled to guide it through the blade. Make multiple passes to remove material and create the dovetail tails. Again, keep the workpiece flat against the table and fence to ensure accuracy.
Dry-fit the joint: Test the fit of the dovetail joint by sliding the tail into the socket. The joint should be snug but not too tight. Use a chisel and mallet to fine-tune the fit if necessary.
Glue and assemble the joint: Apply wood glue to the mating surfaces of the joint and carefully assemble the pieces. Use clamps to hold the joint securely while the glue dries.
Sand and finish: Once the glue has dried, sand the joint smooth and apply a finish of your choice to protect the wood and enhance its appearance.
By following these steps and taking your time to ensure accuracy, you can create a strong and visually appealing sliding dovetail joint using a table saw.
-
 LIVE
LIVE
Sean Unpaved
55 minutes agoCup Swings, Homer Kings, & TNF Zzzz's
260 watching -
 2:18:47
Right Side Broadcasting Network
3 hours agoLIVE REPLAY: President Trump Greets Turkey’s President Erdogan - 9/25/25
29.3K17 -
 LIVE
LIVE
Steven Crowder
3 hours ago🔴 They Are Lying Because They Are Losing: ICE Shooter, White People, & ... Bees?
25,479 watching -
 LIVE
LIVE
Side Scrollers Podcast
1 hour agoYouTube ADMITS BLATANT Censorship + California Wants to FINE “Hate Speech” + More | Side Scrollers
360 watching -
 UPCOMING
IrishBreakdown
1 hour agoNotre Dame vs Arkansas Game Predictions
11 -
 LIVE
LIVE
DailyClout
1 hour ago"Dr. Henry Ealy: What to Do About Trauma"
42 watching -
 59:04
59:04
The Rubin Report
2 hours agoGavin Newsom Humiliates Himself on Colbert by Saying This Live On-Air
22.9K39 -
 LIVE
LIVE
The Shannon Joy Show
2 hours agoEpstein Enterprise Wobbling! Tom Massie Petition SUCCEEDS - Vote To Release ALL Files Imminent!
291 watching -
 LIVE
LIVE
The Mel K Show
1 hour agoMel K & Jovan Hutton Pulitzer | For Reasons of National Security: The 2020 Election Audit Continues
666 watching -
 LIVE
LIVE
LFA TV
19 hours agoBREAKING NEWS ALL DAY! | THURSDAY 9/25/25
4,436 watching