Premium Only Content

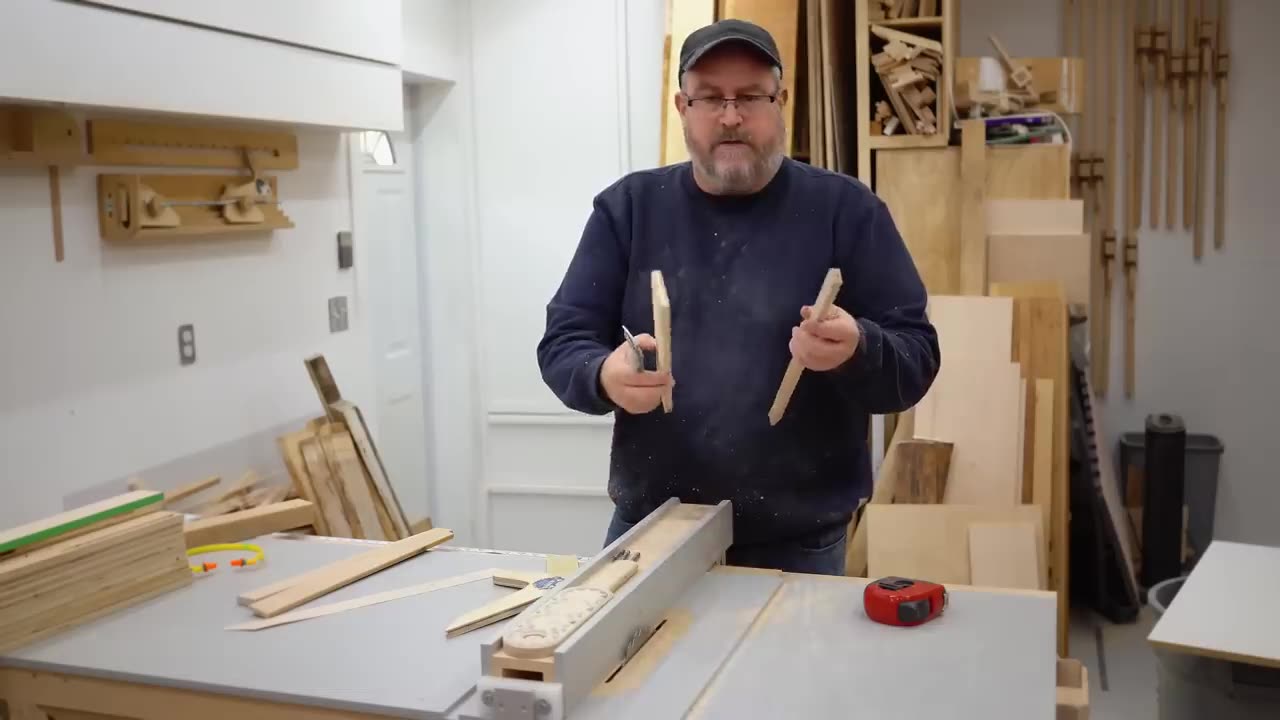
How To Make Wooden Full Extension Drawer Slides - Woodworking
Making wooden full extension drawer slides is a challenging yet rewarding woodworking project that requires precision and attention to detail. Here's a general overview of the process:
Materials and Tools Needed:
Hardwood lumber for the slides (e.g., maple, oak)
Plywood or hardwood for the drawer boxes
Measuring tape, pencil, and straight edge
Table saw or circular saw
Router with dado blade or straight bit
Drill and drill bits
Screws
Sandpaper or sanding block
Wood glue
Finish (e.g., stain, varnish, or paint)
Step-by-Step Instructions:
Measure the dimensions of your drawer openings and determine the desired length and width of your drawer slides.
Cut the hardwood lumber into strips to create the drawer slides. The width of the strips should match the thickness of the drawer sides.
Use a router to create dadoes or slots along the length of the drawer slides. These dadoes will hold the drawer bottoms and allow for full extension.
Cut the plywood or hardwood into pieces to create the drawer boxes, ensuring they are sized to fit within the drawer openings.
Assemble the drawer boxes using wood glue and screws, making sure they are square and flush.
Attach the drawer slides to the sides of the drawer boxes using screws, ensuring they are aligned and level.
Install the drawer slides into the cabinet openings, positioning them to allow for full extension of the drawers.
Test the drawers to ensure they slide smoothly and extend fully without binding.
Sand the drawer slides and boxes to remove any rough edges and smooth out any imperfections.
Apply a finish of your choice to protect the wood and enhance its appearance.
By following these steps and taking your time to ensure accuracy, you can create custom wooden full extension drawer slides that add both functionality and beauty to your woodworking projects.
-
 LIVE
LIVE
LumpyPotatoX2
2 hours agoBecome a HellDiver Today - #RumbleGaming
94 watching -
 LIVE
LIVE
Midnight In The Mountains
4 hours agoGaming w/ PER·SE·VER·ANCE | Sassy Saturday Fortnite | with the Midnights!
50 watching -
 LIVE
LIVE
shyboyking
2 hours agoThe Bots Of The Bots !!!😎
61 watching -
 24:06
24:06
True Crime | Unsolved Cases | Mysterious Stories
5 days ago $0.13 earnedShe Traveled Alone… and Never Came Back – 5 Mysterious Unsolved Cases (Part 6)
6.43K5 -
 27:23
27:23
Clickbait Wasteland
15 hours ago $0.02 earnedAsking New Yorkers Who They Support For Mayor: Staten Island
10.6K3 -
 16:58
16:58
World2Briggs
23 hours ago $0.01 earnedThe California Rant: Point Blank With No Fluff or BS. California Gold?
6.72K2 -
 17:49
17:49
Chris Harden
1 day ago $0.01 earnedThe Glass Capital That Shattered | The Decline of Streator, Illinois
5.55K1 -
 51:15
51:15
JohnXSantos
3 days agoClothing Brand Manufacturers + Winners
3.5K1 -
 10:06
10:06
Cyclops Videos Joe W Rhea
12 days agoHybrid Super 22 Rifle
5.05K1 -
 8:30
8:30
Millionaire Mentor
22 hours agoMaria Bartiromo Plays Clip That DESTROYS Adam Schiff’s Entire Story
3.44K1