2in1 Using an Electric Hand Plane - Rig System Part.5
Creating a 2-in-1 setup using an electric hand plane as Part 5 of a rig system project can significantly enhance the versatility and functionality of your woodworking tools. Here's how you can structure this segment:
Introduction:
Introduce Part 5 of the rig system project, focusing on the integration of an electric hand plane into the existing setup.
Highlight the benefits of having a 2-in-1 system, including increased flexibility and efficiency in woodworking tasks.
Materials Needed:
List the materials required for this part of the project, such as:
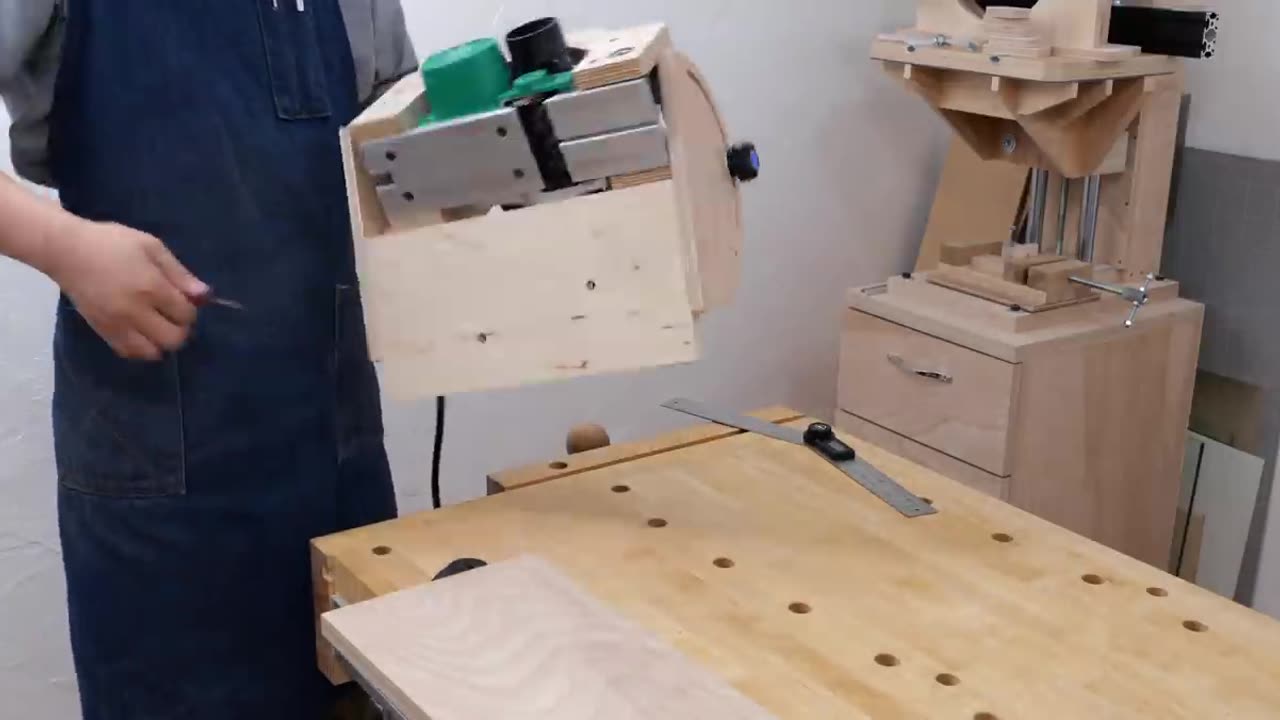
Electric hand plane
Mounting brackets or adapters
Screws, bolts, and nuts
Safety equipment (goggles, gloves, etc.)
Tools Needed:
Provide a list of tools necessary for the installation process, including:
Drill and drill bits for making holes
Screwdriver or wrench for assembly
Measuring tape and pencil for marking
Installation Steps:
Design and Layout:
Discuss the design considerations for integrating the electric hand plane into the rig system.
Use sketches or diagrams to illustrate the layout and placement of the hand plane within the setup.
Mounting the Hand Plane:
Attach mounting brackets or adapters to the rig system to accommodate the electric hand plane.
Ensure the hand plane is securely fastened and aligned with the other components of the setup.
Adjustment and Alignment:
Fine-tune the positioning of the hand plane to ensure optimal performance and compatibility with the rig system.
Make any necessary adjustments to align the blades or cutting surface with the workpiece.
Testing and Calibration:
Test the functionality of the 2-in-1 setup, including the electric hand plane and any other components integrated into the rig system.
Make any final adjustments or calibrations to ensure smooth operation and accurate results.
Safety Precautions:
Remind viewers to exercise caution when working with power tools and sharp objects.
Emphasize the importance of wearing appropriate safety gear, such as goggles and gloves, to prevent accidents or injuries.
Conclusion:
Summarize the key steps covered in Part 5 of the rig system project.
Encourage viewers to experiment with their own 2-in-1 setups and share their experiences with the community.
By providing clear instructions and demonstrations, you can create an informative and engaging Part 5 video for your electric hand plane rig system project, inspiring viewers to explore new possibilities in their woodworking endeavors.
-
 24:39
24:39
MYLUNCHBREAK CHANNEL PAGE
1 day agoInterdimensional Beings at Borobudur
29.4K18 -
 12:42
12:42
Scammer Payback
22 hours agoCalling Scammers who were Raided
9.46K10 -
 23:31
23:31
IsaacButterfield
15 hours ago $0.02 earnedThe Woke Mob Is Really CANCELLING Matt Rife For THIS…
9.83K12 -
 1:23
1:23
WildCreatures
8 days ago $0.94 earnedThis mother armadillo eating her palm nuts is truly adorable
10K14 -
 8:59
8:59
The Art of Improvement
10 hours ago $0.01 earnedHow to Build the Most Powerful Mindset for Success
9.9K2 -
 18:12:15
GritsGG
1 day ago36 Hour Stream! Most Wins 3420+ 🧠
237K11 -
 1:26:16
Michael Franzese
20 hours agoMenendez Brothers Denied Parole – Newsom Holds Their Fate
117K91 -
 2:36:02
I_Came_With_Fire_Podcast
18 hours agoSecret Origins of Transhumanism & The New Atlantis
37.8K18 -
 4:37:28
sophiesnazz
4 hours ago $0.04 earnedLETS TALK ABOUT BO7 !socials !specs
15.8K3 -
 3:01:44
MadHouseRetro
5 hours agoPUFFCO PIVIOT BUNDLE GIVEAWAY! and Spider-man 2 playthough!
14.5K1