How To Fix A Door That Sticks Pt 1 | Door That Sticks At The Top
Pry Bar: https://amzn.to/3wBhfAJ
Hammer: https://amzn.to/3IkEaCW
Torpedo Level: https://amzn.to/3TlJ1tW
Drill Bit Set: https://amzn.to/434sOg7
Wood Screws: https://amzn.to/3P5qteW
Finish Nails: https://amzn.to/3V3rhEV
Wood Shims: https://amzn.to/3T5Fkae
Electric Drill: https://amzn.to/430Uoum
Multi Tool: https://amzn.to/3TiVdLU
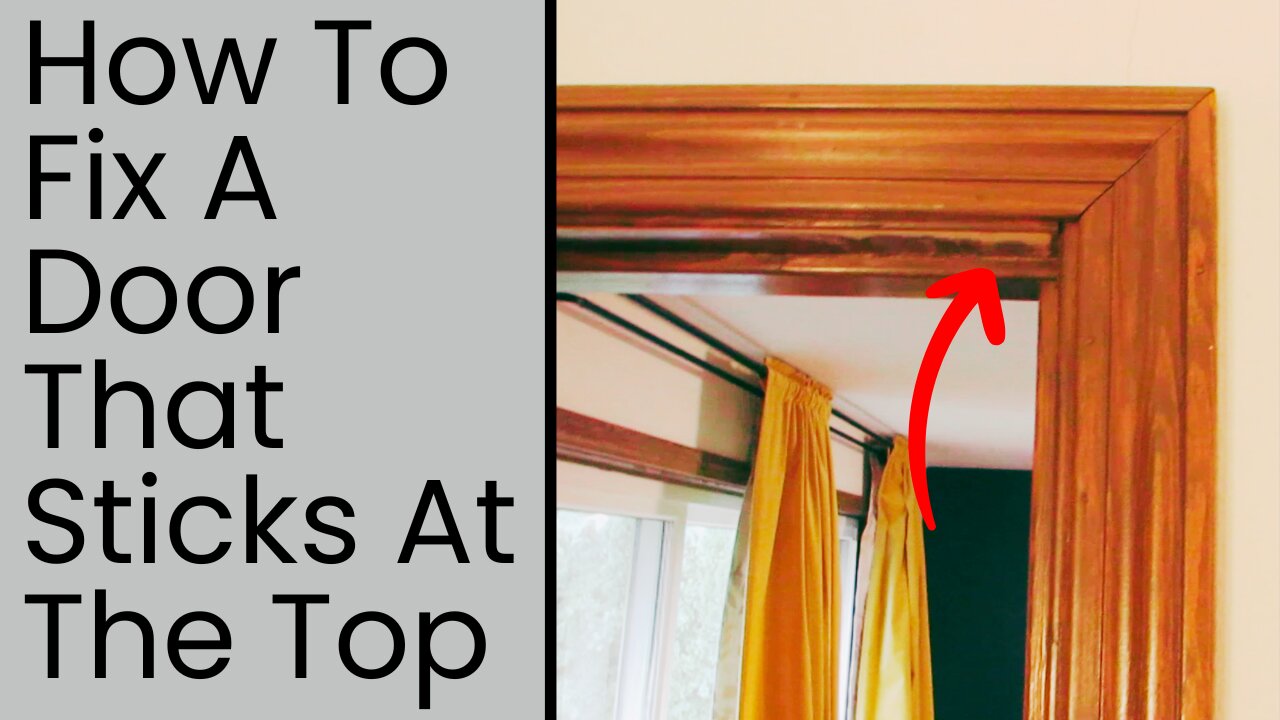
In this video I show you how to fix a door that sticks at the top. You don't need to cut the door down, or altar the door jamb at all. The only way to fix it is to first understand what is causing the problem.
If a door is sticking at the top, it is probably because the house is settling, and one of the jambs sunk slightly. After recognizing this issue, you can then go about fixing it the right way.
Remove the casing from the side of the door that is sticking. And remove the casing from the top. will need to remove the casing from both sides of the door.
The casing on the side that isn't sticking does not need to come off because we will not be doing anything to this side. This is the side of the door that we are going to try to duplicate on the other side of the door. If we can do this the door jamb at the top will be level and the door will stop sticking.
Once the casing is off in these locations, you want to cut the screws or the nails that are holding the jamb to the wall. Make this side of the door loose to be able to level it.
Use the multitool with a metal cutting bit to cut the screws or nails. Then the level will help make the jamb level. Put some shims behind the jamb on the side you are trying to fix. You don't need to put any at the top.
Put one or two screws at each part you have shims at. You only need them in three locations (top, middle, and bottom). Drill pilot holes for the screws at these locations.
After you install the screws, and both the top and side jambs are level, you can put the casing back on. Make sure the corners are square, and then nail them back on. If you were careful removing the casing, you can reuse it. But if you damaged it too much you may need to replace the pieces with new ones.
There is one way to fix it the right way. Take your time, and go methodically.
I hope you liked this video. Please give it a thumbs up if you took value from it. And hit the subscribe button to get more videos like this in the future.
Thank you for watching Kev's Castle. Please visit the blog for articles that cover topics like this, and much more. You can find the blog at:
Happy Renovating,
Kevin
-
 LIVE
LIVE
The Mel K Show
1 hour agoMORNINGS WITH MEL K - Reexamining the US relationship with International Banks, Treaties, and NGOs 8-27-25
672 watching -
 LIVE
LIVE
The Shannon Joy Show
3 hours ago🔥🔥SAVE Baby Kit! Hospital Injects 2 Pound Baby With Hep B Vaccine Without Mom’s Consent, Injures Him Severely Then Calls CPS On The Family!🔥🔥
178 watching -
 LIVE
LIVE
Viss
1 hour ago🔴LIVE - Improve Your Battle Royale Play with Tactics & Strategy! - PUBG
149 watching -
 43:26
43:26
Grant Stinchfield
3 hours agoBallot Harvesting Scams EXPOSED: Dead Voters, Fake Signatures, Real Crimes
6.8K1 -
 1:01:40
VINCE
3 hours agoThe Democrats' Ticking Time Bomb | Episode 112 - 08/27/25
173K121 -
 LIVE
LIVE
JuicyJohns
4 hours ago $0.42 earned🟢#1 REBIRTH PLAYER 10.2+ KD🟢
49 watching -
 LIVE
LIVE
LFA TV
6 hours agoLFA TV ALL DAY STREAM - WEDNESDAY 8/27/25
5,010 watching -
 LIVE
LIVE
GloryJean
3 hours agoAggressive Solo Gameplay on Mouse & Keyboard 🖱️ 6.7 K/D
30 watching -
 LIVE
LIVE
The Pascal Show
2 hours ago $0.11 earnedBREAKING! Mass Shooting At Annunciation Church In Minneapolis Multiple Shot
36 watching -
 1:43:04
Dear America
4 hours agoNo More IRS!! Tariffs Bring In Over $500 BILLION! + Taylor Swift Got ENGAGED… This Is A Nightmare!!
105K79