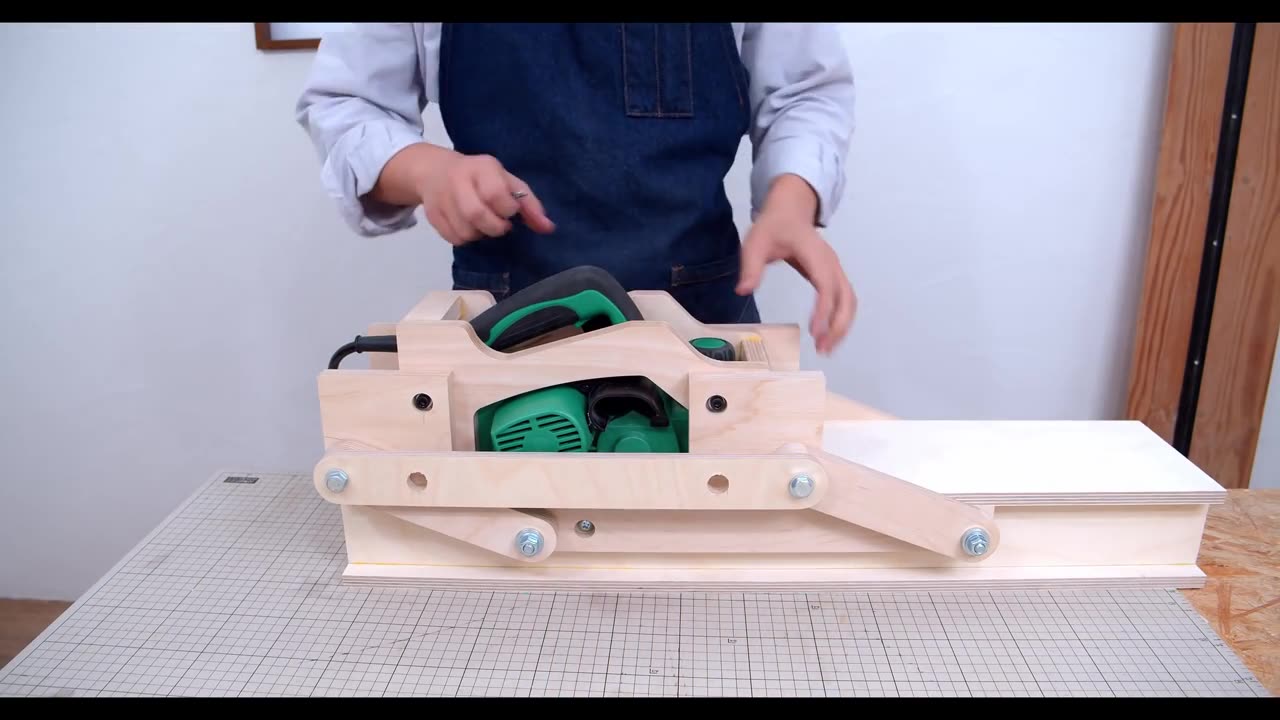
Parallel link Planer jig - Rig System Part.2
For Part 2 of your parallel link planer jig rig system project, you can focus on constructing the moving parts and fine-tuning the alignment for precise planing results. Here's a breakdown of what you can cover:
Introduction:
Recap briefly on what was covered in Part 1, which likely included designing and building the base or framework for the jig rig system.
Introduce the focus of Part 2, which is to create the moving parts and ensure smooth operation.
Materials and Tools:
Provide a list of additional materials and tools needed for this part of the project, such as:
Metal or wooden bars for the parallel links
Screws, bolts, and washers
Hinges or pivots for connecting the links
Leveling feet or adjustable supports
Measuring tools for precise alignment
Construction Steps:
Building the Parallel Links:
Cut the metal or wooden bars to the desired length for the parallel links.
Attach hinges or pivots to one end of each link to allow for movement.
Mounting the Links:
Attach the parallel links to the base of the jig rig system using screws, bolts, and washers.
Ensure the links are mounted securely and aligned parallel to each other and perpendicular to the planer.
Connecting the Planer:
Install brackets or mounts on the parallel links to secure the planer in place.
Test the movement of the planer along the parallel links to ensure smooth sliding motion.
Fine-Tuning Alignment:
Use leveling feet or adjustable supports to fine-tune the alignment of the planer.
Check for any misalignment or unevenness and make adjustments as needed to achieve precise planing results.
Testing and Adjustment:
Conduct test runs with the planer to verify the functionality and performance of the jig rig system.
Make any necessary adjustments to the parallel links, mounts, or alignment to optimize the operation of the planer.
Safety Precautions:
Remind viewers to prioritize safety when working with power tools and heavy machinery.
Emphasize the importance of proper assembly and alignment to prevent accidents and ensure accurate planing.
Conclusion:
Summarize the key steps covered in Part 2 of the project.
Encourage viewers to apply the techniques learned to their own woodworking projects and stay tuned for future tutorials.
By following these guidelines, you can create an informative and engaging Part 2 video for your parallel link planer jig rig system project, providing viewers with the knowledge and skills to build and optimize their own jig rig systems for precise planing.
-
 2:55:01
TimcastIRL
5 hours agoTrump Calls Democrat RETARDED, Whistleblower EXPOSES Democrat FRAUD | Timcast IRL
198K60 -
 LIVE
LIVE
Akademiks
4 hours agoMeg Thee Stallion spent $2 mil on lawyers to win $59k vs Milagro! 50 Cent BURIES Diddy. SNAKES HIM!
1,072 watching -
 LIVE
LIVE
SpartakusLIVE
5 hours agoI'M BACK from Florida || The RETURN to the Spartan Stronghold
628 watching -
 1:38:45
Joker Effect
4 hours agoWhy is everything so DIFFICULT?! Cuffem, Gypsy Crusader, WVAGABOND is getting SUED?! IDuncle is mad!
23.5K1 -
 54:46
54:46
Flyover Conservatives
23 hours agoInside the Kill Zones: Kidnappings, Camps & the War on Nigerian Christians Exposed - Judd Saul | FOC Show
26.1K1 -
 1:02:35
MattMorseTV
5 hours ago $22.10 earned🔴We just got the CONFIRMATION.🔴
38.4K84 -
 1:24:52
Glenn Greenwald
7 hours agoTrump Admin Preparing for New Regime-Change War Against Venezuela; Who Should Win Anti-Semite of the Year? See the Top 10 Finalists | SYSTEM UPDATE #551
117K77 -
 23:12
23:12
Jasmin Laine
9 hours agoCBC TURNS on Carney—Poilievre Speech Goes VIRAL, ROASTS Canada’s Elites
28.1K17 -
 1:16:21
The Daily Signal
8 hours ago $4.38 earned🚨BREAKING: Tim Walz Self-Destructs Over BILLIONS in Fraud Under His Watch, War Crime Allegations
25.2K8 -
 9:08
9:08
China Uncensored
11 hours agoIndia And China Are Headed To Another War
10.7K10