Premium Only Content

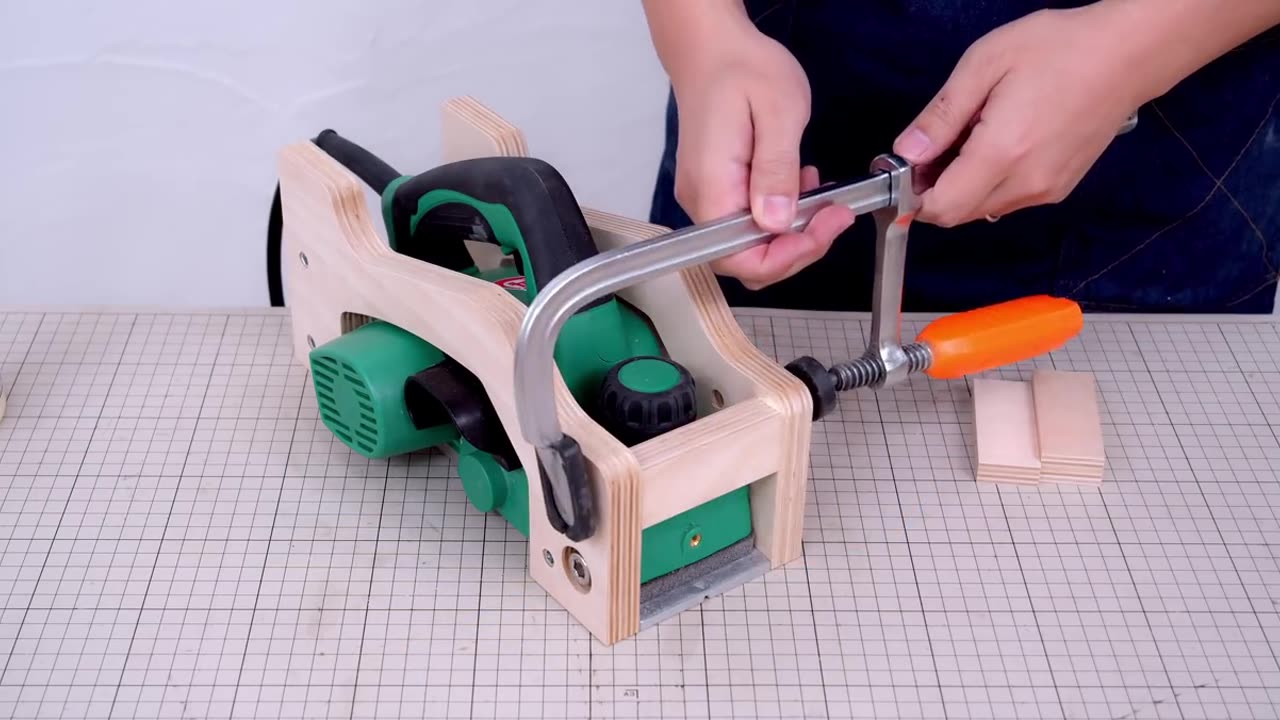
Planer slide jig - Rig System Part.1
Creating a planer slide jig or rig system can be an efficient way to achieve precise and consistent results when working with a planer. Here's an outline for Part 1 of such a project:
Introduction:
Briefly introduce the purpose of the planer slide jig and its benefits for woodworking projects.
Mention the focus of Part 1, which could be designing and constructing the base or framework of the rig system.
Materials Needed:
List the materials required for this part of the project, such as:
Sturdy plywood or MDF for the base
Aluminum or steel rails for the sliding mechanism
Screws, bolts, and nuts
Clamps or brackets for securing the planer
Safety equipment (goggles, gloves, etc.)
Tools Needed:
Provide a list of tools necessary for the construction process, including:
Circular saw or jigsaw for cutting materials
Drill and drill bits for making holes
Screwdriver or wrench for assembly
Measuring tape and pencil for marking
Construction Steps:
Design and Layout:
Discuss the design considerations for the base or framework, such as size, shape, and stability.
Use sketches or diagrams to illustrate the layout and dimensions of the components.
Cutting the Base:
Measure and mark the plywood or MDF according to the design specifications.
Use a circular saw or jigsaw to cut the base to the desired size and shape.
Assembling the Rails:
Attach the aluminum or steel rails to the base using screws or bolts.
Ensure the rails are aligned parallel to each other and spaced appropriately for the planer to slide smoothly.
Securing the Planer:
Install clamps or brackets on the base to secure the planer in place.
Consider adding adjustable features to accommodate different sizes or models of planers.
Safety Precautions:
Remind viewers to wear appropriate safety gear, such as goggles and gloves, when working with power tools and sharp materials.
Emphasize the importance of following safety guidelines and manufacturer instructions throughout the construction process.
Conclusion:
Summarize the key steps covered in Part 1 of the project.
Encourage viewers to stay tuned for Part 2, where additional components or features of the planer slide jig will be discussed.
By following these guidelines, you can create an informative and engaging Part 1 video for your planer slide jig project.
-

Redacted News
1 hour agoBOMBSHELL REPORT! ISRAEL PLANNED ATTACK ON US SOIL IN FALSE FLAG ATTEMPT? TRUTH OR LIES? | Redacted
150K59 -
 LIVE
LIVE
Candace Show Podcast
1 hour agoTO CATCH A PREDATOR! Israel BRIBING Pastors And Influencers. | Candace Ep 207
4,325 watching -
 43:38
43:38
Kimberly Guilfoyle
3 hours agoSafety, Security, and Prosperity, Interview with Former FBI Agent Chris Hinkle | Ep233
19.6K8 -
 58:40
58:40
The White House
1 hour agoPresident Trump Participates in One Big Beautiful Event
17K25 -
 LIVE
LIVE
Akademiks
4 hours agoDiddy Trial Day 31: Closing Arguments .. Prosecution Ready for Jury Verdict! Diddy on Eggshells 3/30
1,639 watching -
 50:09
50:09
The Finance Hub
3 hours ago $0.02 earnedYou Won't BELIEVE What JUST Happened To Jasmine Crockett!
6.13K2 -
 29:10
29:10
HotZone
3 hours ago $0.10 earnedIran vs Israel Who Really Won the Fight?
4.07K1 -
 LIVE
LIVE
LFA TV
10 hours agoLFA TV ALL DAY STREAM - THURSDAY 6/26/25
994 watching -
 2:08:52
Darkhorse Podcast
4 hours agoTranscending Health: The 282nd Evolutionary Lens with Bret Weinstein and Heather Heying
11.6K22 -
 LIVE
LIVE
Dr Disrespect
6 hours ago🔴LIVE - DR DISRESPECT - WARZONE VERDANSK - EXTREME CHALLENGES
2,006 watching