Premium Only Content

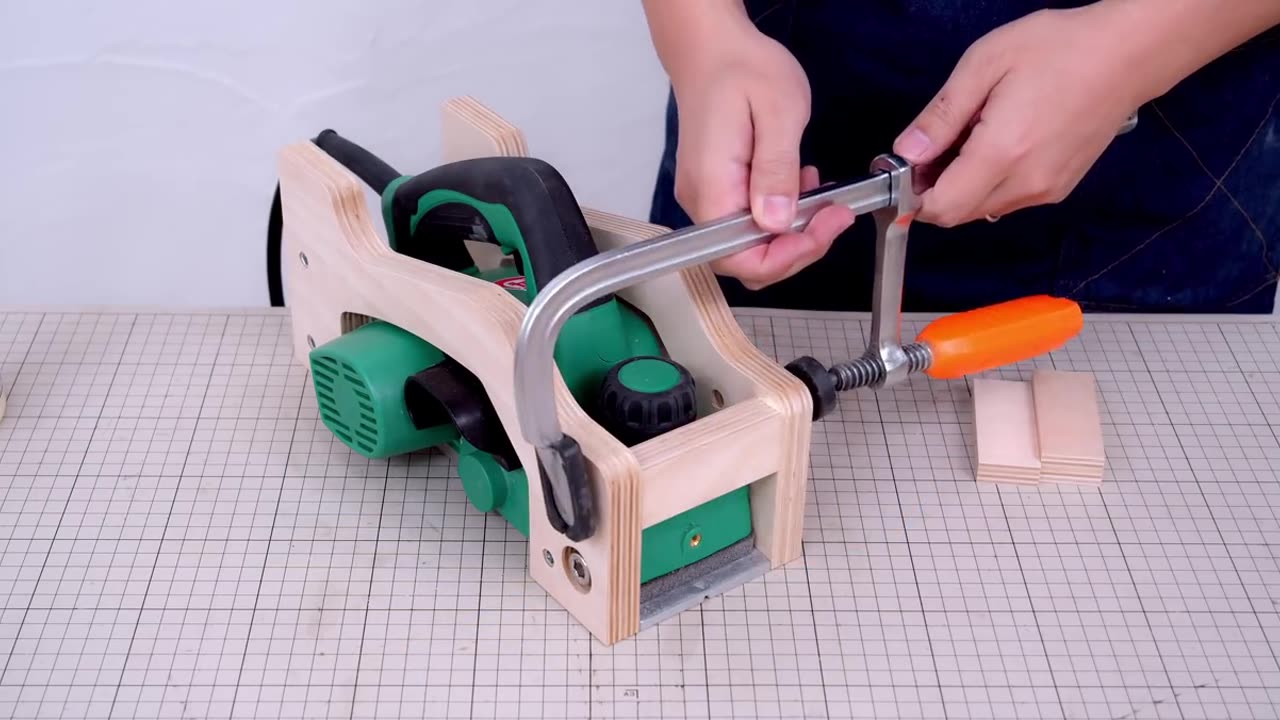
Planer slide jig - Rig System Part.1
Creating a planer slide jig or rig system can be an efficient way to achieve precise and consistent results when working with a planer. Here's an outline for Part 1 of such a project:
Introduction:
Briefly introduce the purpose of the planer slide jig and its benefits for woodworking projects.
Mention the focus of Part 1, which could be designing and constructing the base or framework of the rig system.
Materials Needed:
List the materials required for this part of the project, such as:
Sturdy plywood or MDF for the base
Aluminum or steel rails for the sliding mechanism
Screws, bolts, and nuts
Clamps or brackets for securing the planer
Safety equipment (goggles, gloves, etc.)
Tools Needed:
Provide a list of tools necessary for the construction process, including:
Circular saw or jigsaw for cutting materials
Drill and drill bits for making holes
Screwdriver or wrench for assembly
Measuring tape and pencil for marking
Construction Steps:
Design and Layout:
Discuss the design considerations for the base or framework, such as size, shape, and stability.
Use sketches or diagrams to illustrate the layout and dimensions of the components.
Cutting the Base:
Measure and mark the plywood or MDF according to the design specifications.
Use a circular saw or jigsaw to cut the base to the desired size and shape.
Assembling the Rails:
Attach the aluminum or steel rails to the base using screws or bolts.
Ensure the rails are aligned parallel to each other and spaced appropriately for the planer to slide smoothly.
Securing the Planer:
Install clamps or brackets on the base to secure the planer in place.
Consider adding adjustable features to accommodate different sizes or models of planers.
Safety Precautions:
Remind viewers to wear appropriate safety gear, such as goggles and gloves, when working with power tools and sharp materials.
Emphasize the importance of following safety guidelines and manufacturer instructions throughout the construction process.
Conclusion:
Summarize the key steps covered in Part 1 of the project.
Encourage viewers to stay tuned for Part 2, where additional components or features of the planer slide jig will be discussed.
By following these guidelines, you can create an informative and engaging Part 1 video for your planer slide jig project.
-
 LIVE
LIVE
Pickleball Now
4 hours agoLive: IPBL 2025 Day 2 | High-Intensity Matchups Continue in the Indian Pickleball League
166 watching -
 15:11
15:11
itsSeanDaniel
1 day agoAngry Liberal Defends ILLEGALS, Then Gets CALLED OUT For It
1.25K18 -
 10:32
10:32
Actual Justice Warrior
2 days agoColorado School FORCES Girl Into Bed With Trans
11.7K25 -
 18:14
18:14
Nikko Ortiz
14 hours agoMost Painful Internet Clips...
61.3K12 -
 2:08:21
Side Scrollers Podcast
19 hours agoHasan Dog Joke Gets Streamer BANNED + Great Reset 100% CONFIRMED + More | Side Scrollers
49.4K12 -
 11:35
11:35
MetatronGaming
3 days agoYou Won't Believe Your Own Eyes..
12.1K1 -
 20:22
20:22
The Pascal Show
9 hours ago $0.85 earnedARE THEY IGNORING HER?! Is The White House & FBI Ignoring Candace Owens' A**assination Claims?!
8.3K5 -
 1:24:49
omarelattar
2 days agoThe $100M Sales Expert: “The Psychology of Selling To Anyone!” (High Ticket, Phone & Ai Secrets)
33.2K3 -
 18:36
18:36
GritsGG
15 hours agoTrios is BACK! Slamming Lobby w/ Mr. Bobby Poff!
8.47K -
 LIVE
LIVE
Lofi Girl
3 years agolofi hip hop radio 📚 - beats to relax/study to
400 watching