Making Sliding Angle Grinder Stand _ DIY Sliding Angle Grinder Jig
reating a sliding angle grinder stand or jig can be a useful DIY project for woodworking or metalworking tasks that require precision cutting. Here's a basic guide to making one:
Materials Needed:
Angle grinder
Plywood or MDF board
Metal rails or drawer slides
Screws or bolts
L-brackets
Clamps
Safety goggles and gloves
Tools Needed:
Drill
Screwdriver or wrench
Saw (circular saw or jigsaw)
Measuring tape
Pencil
Steps:
Measure and Cut the Base: Begin by measuring and cutting a sturdy base for your sliding angle grinder stand from plywood or MDF board. The size of the base will depend on the dimensions of your angle grinder and the intended use of the jig.
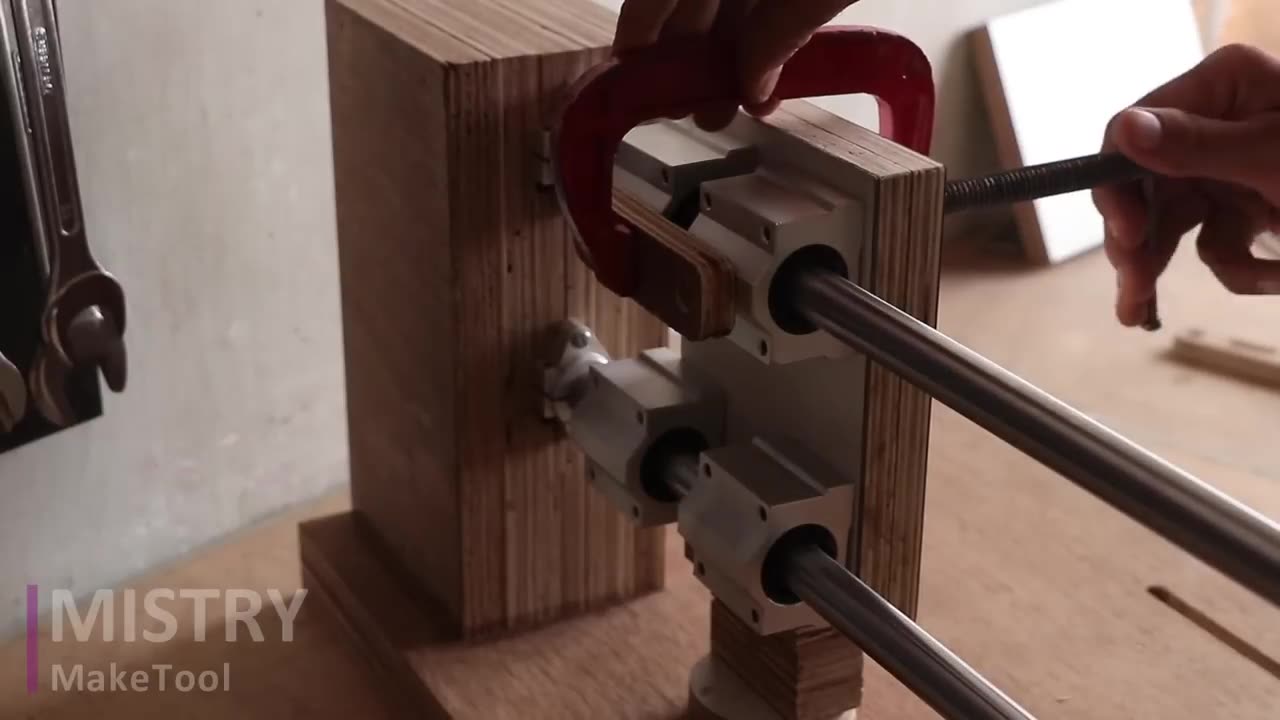
Attach Rails or Drawer Slides: Attach metal rails or drawer slides to the underside of the base using screws or bolts. These will serve as the sliding mechanism for the angle grinder.
Mount the Angle Grinder: Secure the angle grinder to the base of the sliding mechanism using clamps or L-brackets. Make sure the grinder is positioned securely and can slide smoothly along the rails.
Test the Sliding Action: Slide the angle grinder back and forth along the rails to ensure smooth movement and stability. Make any necessary adjustments to the mounting or sliding mechanism as needed.
Secure the Grinder Handle: If desired, you can attach a handle or grip to the angle grinder to make it easier to maneuver while using the sliding jig.
Safety Precautions: Always wear safety goggles and gloves when operating power tools like angle grinders. Make sure the sliding jig is securely anchored to a stable work surface to prevent accidents.
Test and Fine-Tune: Once the sliding angle grinder stand is assembled, test it out on scrap materials to ensure it performs as expected. Make any final adjustments or modifications as needed to achieve the desired results.
By following these steps, you can create a DIY sliding angle grinder stand or jig that provides stability and precision for your cutting tasks. Remember to prioritize safety and take your time to ensure proper assembly and functionality.
-
 LIVE
LIVE
The Big Mig™
5 hours agoA World Without Cancer w/ Expert John A. Richardson Jr.
4,641 watching -
 4:17:18
The Bubba Army
1 day agoTrump Pardoning Diddy? - Bubba the Love Sponge® Show | 7/30/25
54.7K12 -
 1:19:08
Dear America
3 hours agoGhislaine Maxwell WANTS TO TESTIFY + New Audio Reveals Trump’s Relationship With Epstein!!
123K102 -
 LIVE
LIVE
Badlands Media
10 hours agoBadlands Daily: July 30, 2025
3,979 watching -
 2:01:02
Matt Kohrs
11 hours agoHappy Fed Decision Day!!! || Live Trading
25.8K1 -
 59:26
59:26
Part Of The Problem
13 hours agoDave Smith | War Without Propaganda | Part Of The Problem 1291
14.5K6 -
 LIVE
LIVE
Wendy Bell Radio
8 hours ago2 Minutes And 17 Seconds
7,005 watching -
 53:02
53:02
The Official Corbett Report Rumble Channel
15 hours agoHow to Leave the Cage - #SolutionsWatch
10.5K2 -
 42:47
42:47
Outspoken with Dr. Naomi Wolf
18 hours ago"Jonathan Pollard: Are Allies of Israel being Targeted?"
17.6K7 -
 1:29:49
Game On!
19 hours ago $2.03 earned10,000 Followers Celebration Stream! Let's Talk Sports!
46.8K2