Premium Only Content

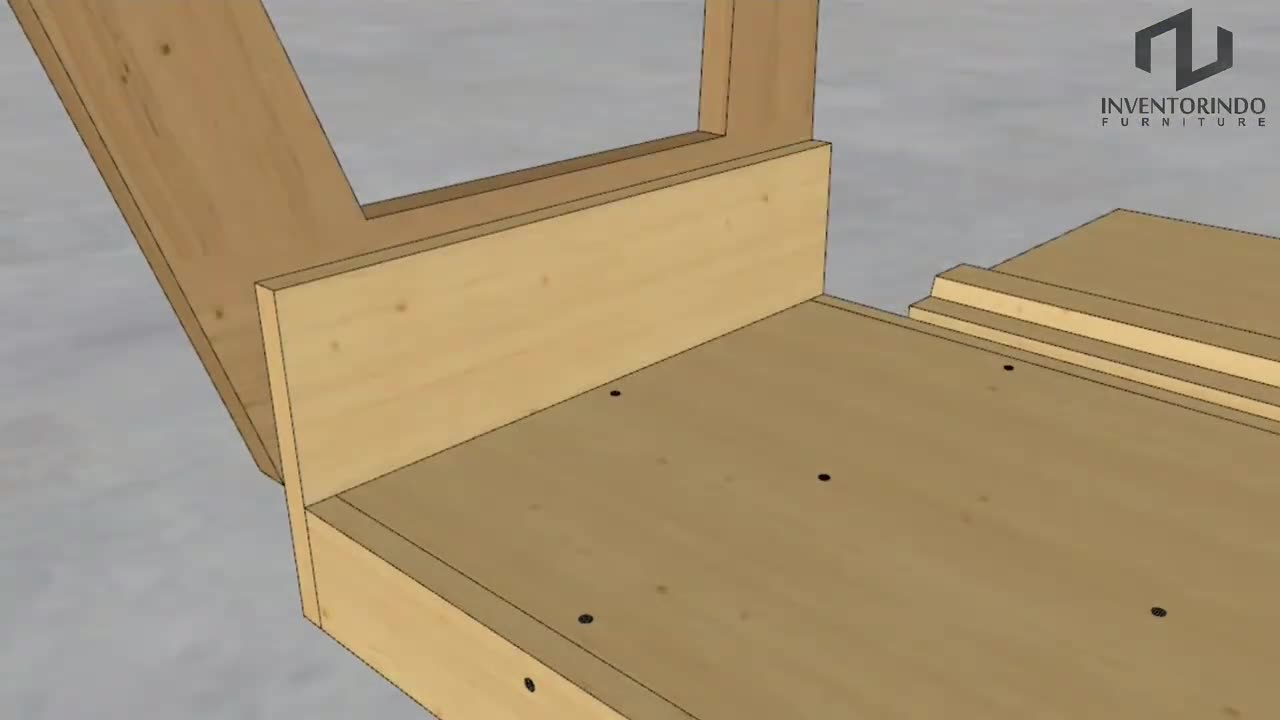
HOW TO MAKE A MULTIFUNCTIONAL TABLE WITH ROTATING DRAWER - STEP BY STEP (1)
Creating a multifunctional table with a rotating drawer can be a fun and rewarding DIY project. Here's a step-by-step guide to get you started:
Step 1: Gather Materials and Tools
Materials:
Wooden board or panel for the tabletop
Wooden boards for the table legs and frame
Wooden dowels or metal rods for the rotating mechanism
Drawer slides
Screws
Wood glue
Drawer handle
Sandpaper
Stain or paint (optional)
Tools:
Saw (circular saw, jigsaw, or handsaw)
Drill and drill bits
Screwdriver
Measuring tape
Pencil
Wood clamps (optional)
Wood router (optional, for decorative edges)
Step 2: Design the Table
Decide on the dimensions and design of your table. Consider the size of the tabletop, the height and width of the legs, and the overall aesthetic you want to achieve. Sketch out your design on paper, including the placement of the rotating drawer.
Step 3: Cut the Wood
Using a saw, cut the wooden boards to the desired dimensions for the tabletop, legs, and frame according to your design. If you're adding decorative edges to the tabletop or legs, use a wood router to create them.
Step 4: Assemble the Frame
Assemble the frame of the table by attaching the legs to the tabletop using screws and wood glue. Use a square to ensure that the legs are positioned at right angles to the tabletop for stability.
Step 5: Install Drawer Slides
Attach drawer slides to the underside of the tabletop and inside the frame according to the size of your drawer. Make sure the slides are level and aligned properly to allow the drawer to slide smoothly.
Step 6: Construct the Drawer
Build the drawer using wooden boards cut to the appropriate size. Assemble the drawer box using wood glue and screws, then attach the drawer bottom. Install the drawer handle on the front of the drawer.
Step 7: Create the Rotating Mechanism
Cut wooden dowels or metal rods to the length of the drawer width. Drill holes in the drawer sides and frame to accommodate the dowels or rods, ensuring that they are evenly spaced and aligned. Insert the dowels or rods into the holes to create the rotating mechanism.
Step 8: Sand and Finish
Sand all surfaces of the table and drawer to smooth out any rough edges or imperfections. Apply stain or paint to the wood as desired, following the manufacturer's instructions. Allow the finish to dry completely before proceeding.
Step 9: Final Assembly
Attach the drawer to the drawer slides inside the frame of the table. Test the rotation of the drawer to ensure that it moves smoothly without obstruction. Make any necessary adjustments to the rotating mechanism or drawer slides.
That's the first part of the process! Let me know if you're ready for the next steps or if you need further details on any of these steps.
-
 2:59:56
Laura Loomer
11 hours agoEP143: Remembering Charlie Kirk (1993–2025)
102K71 -
 58:04
58:04
Man in America
13 hours agoCharlie Kirk’s Assassination—An URGENT WARNING for America
105K130 -
 1:22:15
Glenn Greenwald
12 hours agoCharlie Kirk Assassination Fallout: U.S. Reps Call for Censorship; Do Graphic Videos Serve the Public Interest? Plus: WIRED Reporter on the Dark Side of Surrogacy | SYSTEM UPDATE #513
216K191 -
 1:48:36
Right Side Broadcasting Network
18 hours agoLIVE: President Trump Attends the Yankees Baseball Game - 9/11/25
189K26 -
 1:54:32
Badlands Media
12 hours agoBadlands Media Special Coverage - FBI Press Conference on Charlie Kirk's Assassination
156K20 -
 1:06:19
BonginoReport
13 hours agoManhunt Underway for Charlie Kirk’s Assassin - Nightly Scroll w/ Hayley Caronia (Ep.132)
330K258 -
 1:11:42
Flyover Conservatives
21 hours agoStructural Architect Destroys 9.11 Narrative... What Really Happened? - Richard Gage AIA | FOC Show
108K21 -
 1:51:14
Precision Rifle Network
16 hours agoS5E1 Guns & Grub - Charlie Kirk's "sniper"
62.7K19 -
 13:09:12
LFA TV
1 day agoLFA TV ALL DAY STREAM - THURSDAY 9/11/25
421K100 -
 1:01:56
The Nick DiPaolo Show Channel
14 hours agoDems + Media Killed Kirk | The Nick Di Paolo Show #1792
135K121