Homemade Table Saw 4 Removable Insert and FineTuning
Materials Needed:
Plywood or MDF for the table saw top and base
Hardwood for the fence and miter gauge slots
Steel or aluminum angle iron for the fence rails
Steel tubing or rods for the miter gauge
Bolts, nuts, washers, and screws
Table saw motor, arbor, and blade
Inserts made from hardwood or plastic
Sandpaper
Wood glue
Finish (such as varnish or paint)
Tools Needed:
Saw (table saw, circular saw, or jigsaw)
Drill and bits
Router and router table (optional)
Screwdriver
Clamps
Measuring tape
Square
Step-by-Step Guide:
Build the Tabletop:
Cut a piece of plywood or MDF to the desired size for the table saw top. Ensure it is flat and smooth. Cut another piece for the base, slightly larger than the top, to provide stability.
Install the Motor and Arbor:
Mount the table saw motor and arbor to the underside of the tabletop according to the manufacturer's instructions. Ensure the arbor is aligned perpendicular to the table surface.
Cut Fence and Miter Gauge Slots:
Use a saw or router to cut slots in the tabletop for the fence and miter gauge to slide in. These slots should be straight and parallel to the blade.
Install Fence Rails:
Attach steel or aluminum angle iron to the front and back of the tabletop to serve as rails for the fence. Ensure they are straight and parallel to each other.
Build the Fence:
Construct a wooden fence with a T-shaped profile that slides along the rails smoothly. Install locking mechanisms to secure the fence in place during use.
Make Miter Gauge:
Create a miter gauge using steel tubing or rods mounted in hardwood blocks. Ensure the gauge slides smoothly in the miter slots and locks securely at the desired angles.
Fine-Tuning Mechanism:
Implement a fine-tuning mechanism to adjust the blade height and angle precisely. This could involve adding threaded rods with knobs or using a rack and pinion system.
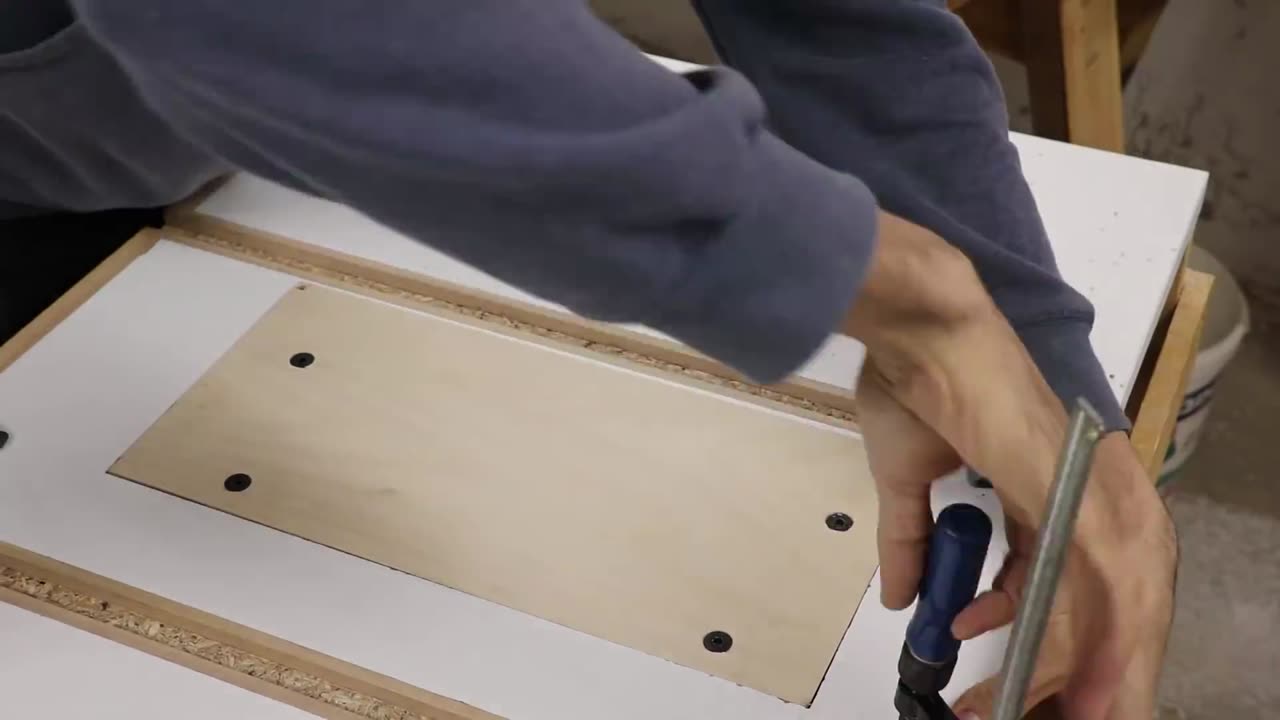
Create Removable Inserts:
Cut inserts from hardwood or plastic to fit into the table saw top around the blade. These inserts should be removable for blade changes and adjustments.
Sand and Finish:
Sand all surfaces of the table saw, including the tabletop, fence, and miter gauge, to remove any rough spots. Apply a finish of your choice to protect the wood and enhance its appearance.
Test and Adjust:
Before using the homemade table saw for woodworking projects, test all components to ensure they function smoothly and accurately. Make any necessary adjustments to achieve optimal performance.
Use and Enjoy:
With your homemade table saw complete, you're ready to start using it for a variety of woodworking tasks. Whether you're ripping boards or making precision cuts, your custom-built table saw will provide reliable performance and versatility in your workshop.
-
 1:48:12
Badlands Media
13 hours agoBaseless Conspiracies Ep. 161: The Human Hunting Files
75.1K29 -
 1:56:01
Inverted World Live
5 hours agoHome is Where The Great Pacific Garbage Patch is | Ep. 148
61.5K6 -
 5:32:24
Drew Hernandez
1 day agoTHE CURRENT STATE OF MAGA 2025 W/ GUEST: OWEN SHROYER
33.3K22 -
 34:21
34:21
Stephen Gardner
7 hours agoThey have NO IDEA what they just UNLEASHED!!
32.1K63 -
 3:08:15
Decoy
7 hours agoFinally
47.4K13 -
 2:55:01
TimcastIRL
7 hours agoTrump Calls Democrat RETARDED, Whistleblower EXPOSES Democrat FRAUD | Timcast IRL
226K65 -
 LIVE
LIVE
Akademiks
6 hours agoMeg Thee Stallion spent $2 mil on lawyers to win $59k vs Milagro! 50 Cent BURIES Diddy. SNAKES HIM!
899 watching -
 5:37:32
SpartakusLIVE
7 hours agoI'M BACK from Florida || The RETURN to the Spartan Stronghold
63.5K -
 1:38:45
Joker Effect
6 hours agoWhy is everything so DIFFICULT?! Cuffem, Gypsy Crusader, WVAGABOND is getting SUED?! IDuncle is mad!
35.8K3 -
 54:46
54:46
Flyover Conservatives
1 day agoInside the Kill Zones: Kidnappings, Camps & the War on Nigerian Christians Exposed - Judd Saul | FOC Show
34.6K1