Premium Only Content

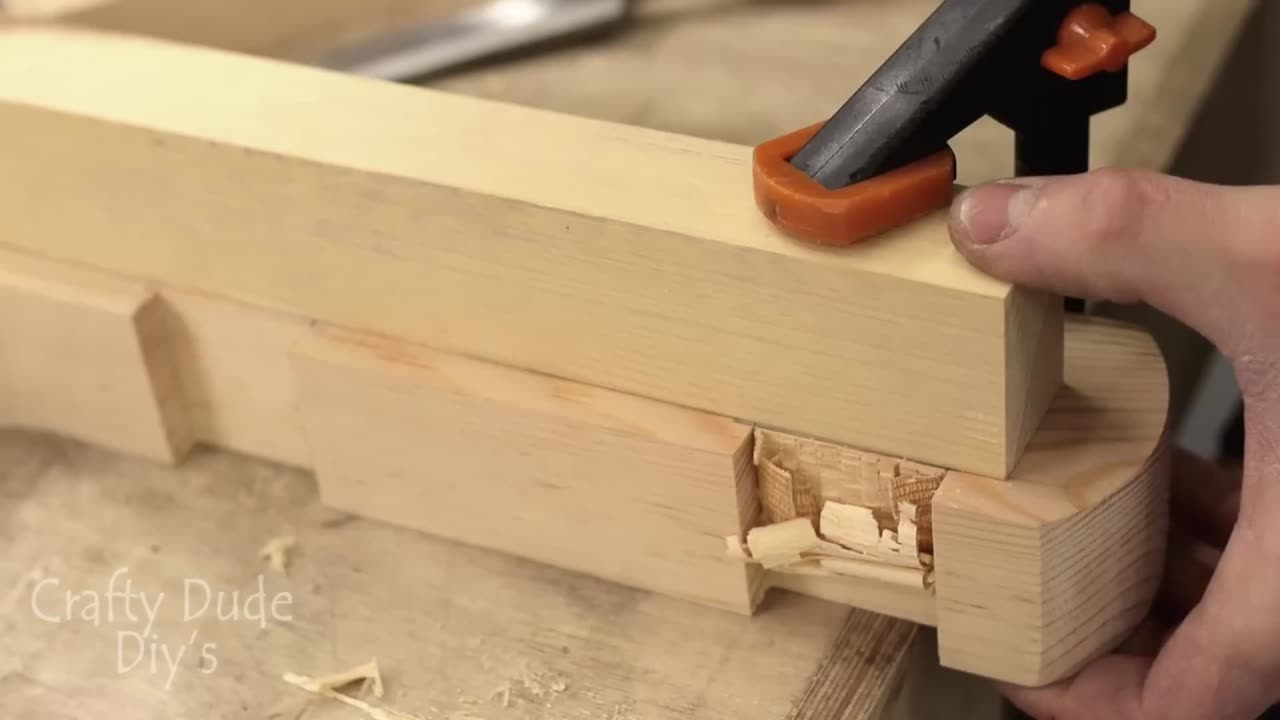
𝔹𝕖𝕟𝕔𝕙 𝕍𝕚𝕤𝕖 𝔻𝕚𝕐 𝔹𝕖𝕟𝕔𝕙 𝕍𝕚𝕤𝕖 𝕌𝕤𝕚𝕟𝕘 ℍ𝕒𝕟𝕕 𝕋𝕠𝕠𝕝𝕤
Materials Needed:
Wooden block for the vise jaw
Wooden block for the vise base
Metal rod or threaded rod
Nuts and washers
Wood glue
Wood screws
Sandpaper
Tools Needed:
Hand saw
Chisels
Drill with drill bits
Hammer
Screwdriver
Wood rasp or file
Step-by-Step Guide:
Prepare the Wooden Blocks:
Start by cutting two wooden blocks to the desired size. One will be the vise jaw, and the other will be the vise base. Ensure they are both flat and smooth.
Drill Holes for the Rod:
Measure and mark where you want the rod to go through the vise jaw and base.
Use a drill and appropriate drill bit to make holes through both wooden blocks. Make sure the holes are straight and aligned.
Insert the Rod:
Insert the metal rod or threaded rod through the holes in the vise jaw and base. Ensure it fits snugly but can still move freely.
Secure the Rod:
Use nuts and washers to secure the rod on both ends of the vise jaw and base. Tighten them enough to hold the rod in place but still allow it to rotate.
Attach the Vise Jaw to the Workbench:
Position the vise jaw where you want it on your workbench.
Use wood screws to attach the vise jaw securely to the workbench.
Test the Vise:
Open and close the vise to ensure it moves smoothly.
Adjust the nuts and washers as needed to tighten or loosen the grip of the vise.
Final Touches:
Sand down any rough edges or surfaces to ensure smooth operation.
Apply wood glue to reinforce the joints if desired.
Optional: Add Padding:
To protect your workpieces, you can add soft padding to the vise jaws using leather, rubber, or cork.
And there you have it! With some basic hand tools and materials, you can create your own DIY bench vise for woodworking projects. Remember to take your time, measure accurately, and
-
 1:45:57
Tucker Carlson
4 days agoAaron Siri: Everything You Should Know About the Polio Vaccine, & Its Link to the Abortion Industry
73.6K128 -
 LIVE
LIVE
Real Coffee With Scott Adams
1 hour agoCoffee With Scott Adam 1/01/25
2,456 watching -
 14:06
14:06
Stephen Gardner
1 hour ago🔥Trump FIGHTS BACK: Biden White House BUSTED in MAJOR SCANDAL!
41620 -
 6:08:13
MissesMaam
13 hours agoCelebrating New Years 2025 💚✨
54.5K16 -
 3:22:32
PandaSub2000
3 days agoPlatformer ExtravaPandza | ULTRA BEST AT GAMES (Original Live Version)
78.7K32 -
 5:43:19
Bitcoin Magazine
15 hours agoLIVE: MICHAEL SAYLOR'S $100K NYE BITCOIN PARTY
116K14 -
 5:06:15
AirCondaTv Gaming
22 hours ago $39.02 earnedOnce Human - New Year. New Meta. Happy New Year!
149K15 -
 1:00:37
Bright Insight
10 days agoOlmec Heads are Evidence of Lost Ancient Advanced Civilization
144K230 -
 13:43
13:43
Cooking with Gruel
2 days agoCreamy Saffron Risotto
126K24 -
 18:38
18:38
DeVory Darkins
1 day ago $44.20 earnedTrump Makes HUGE Announcement that may spark GOP Battle
150K90