𝔹𝕖𝕟𝕔𝕙 𝕍𝕚𝕤𝕖 𝔻𝕚𝕐 𝔹𝕖𝕟𝕔𝕙 𝕍𝕚𝕤𝕖 𝕌𝕤𝕚𝕟𝕘 ℍ𝕒𝕟𝕕 𝕋𝕠𝕠𝕝𝕤
Materials Needed:
Wooden block for the vise jaw
Wooden block for the vise base
Metal rod or threaded rod
Nuts and washers
Wood glue
Wood screws
Sandpaper
Tools Needed:
Hand saw
Chisels
Drill with drill bits
Hammer
Screwdriver
Wood rasp or file
Step-by-Step Guide:
Prepare the Wooden Blocks:
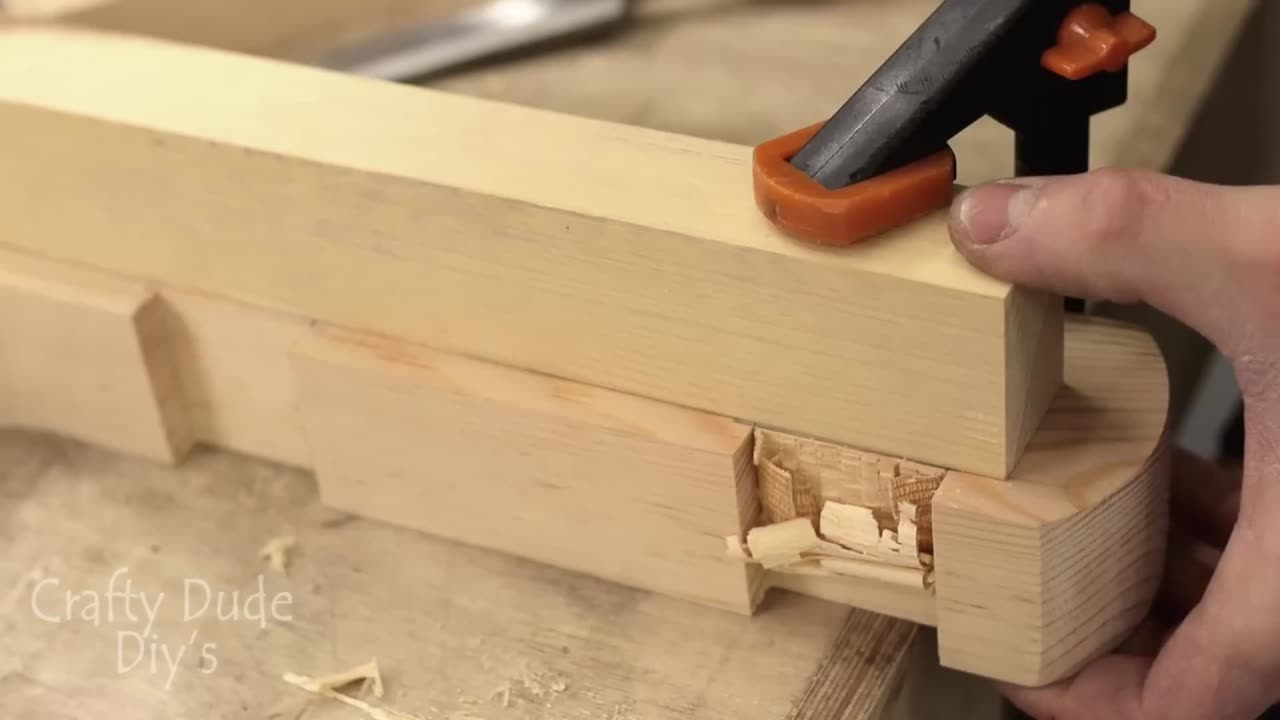
Start by cutting two wooden blocks to the desired size. One will be the vise jaw, and the other will be the vise base. Ensure they are both flat and smooth.
Drill Holes for the Rod:
Measure and mark where you want the rod to go through the vise jaw and base.
Use a drill and appropriate drill bit to make holes through both wooden blocks. Make sure the holes are straight and aligned.
Insert the Rod:
Insert the metal rod or threaded rod through the holes in the vise jaw and base. Ensure it fits snugly but can still move freely.
Secure the Rod:
Use nuts and washers to secure the rod on both ends of the vise jaw and base. Tighten them enough to hold the rod in place but still allow it to rotate.
Attach the Vise Jaw to the Workbench:
Position the vise jaw where you want it on your workbench.
Use wood screws to attach the vise jaw securely to the workbench.
Test the Vise:
Open and close the vise to ensure it moves smoothly.
Adjust the nuts and washers as needed to tighten or loosen the grip of the vise.
Final Touches:
Sand down any rough edges or surfaces to ensure smooth operation.
Apply wood glue to reinforce the joints if desired.
Optional: Add Padding:
To protect your workpieces, you can add soft padding to the vise jaws using leather, rubber, or cork.
And there you have it! With some basic hand tools and materials, you can create your own DIY bench vise for woodworking projects. Remember to take your time, measure accurately, and
-
 1:56:56
MattMorseTV
2 hours ago $1.66 earned🔴Trump's MASSIVE Press Briefing UPDATE.🔴
2.43K14 -
 LIVE
LIVE
Right Side Broadcasting Network
1 hour agoLIVE: Make America Healthy Again Commission Meeting - 9/9/25
1,177 watching -
 LIVE
LIVE
Awaken With JP
1 hour agoKaren Strikes Again, There is No Crime, Communism Succeeds! - LIES Ep 107
554 watching -
 1:57:40
The Charlie Kirk Show
2 hours agoWhere Do Rights Come From? + Lions and Scavengers + Midway Blitz | Shapiro, Yoo, McLaughlin | 9.9.25
30K8 -
 1:19:45
The White House
5 hours agoPress Secretary Karoline Leavitt Briefs Members of the Media, Sep. 9, 2025
14.4K8 -
 DVR
DVR
Mark Kaye
2 hours ago🔴 ICE Invades Chicago- Operation Midway Blitz
7.13K -
 LIVE
LIVE
Badlands Media
11 hours agoGeopolitics with Ghost Ep. 37- Sept. 9, 2025
920 watching -
 4:07
4:07
Michael Heaver
2 hours agoBattered Germany Quickly Erupting Into PANIC
3.89K1 -
 1:05:32
Timcast
3 hours agoNepal's Government COLLAPSES, Gen Z REVOLUTION Over Social Media Ban, 19 Dead
96.3K71 -
 2:06:23
Steven Crowder
5 hours agoBrian Stelter's Delusional Response to the Charlotte Stabbing is Everything Wrong With Media
267K237