Premium Only Content

Making a Replacement Screw for a Micrometer Using a Watchmaker's Lathe
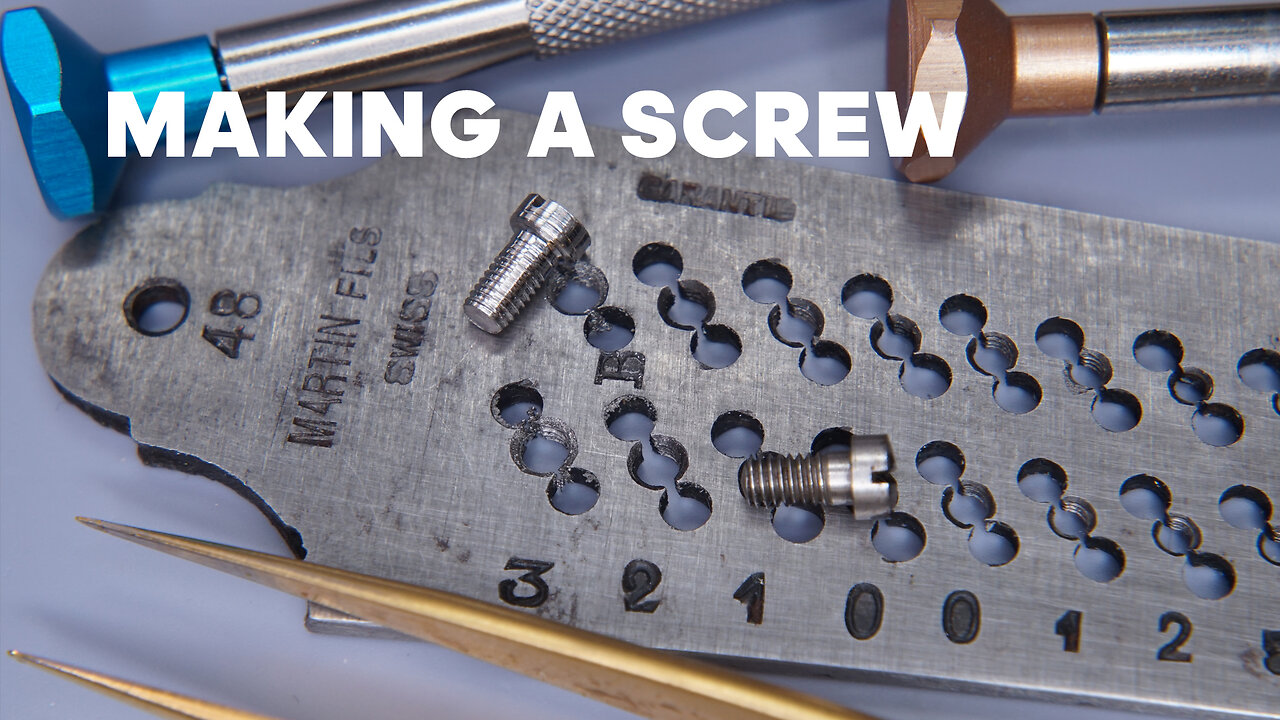
In this video I use my new Wolf Jahn Geneva-style 8mm Watchmaker's Lathe to make a replacement screw for one of my micrometers. This was my first time ever making anything on the lathe.
chapter index:
00:00 introduction to the micrometer
03:56 removing the broken screw
04:35 overview of the project including the Martin & Fils screw plate
05:49 testing the graver I recently sharpened on the 4mm steel rod
06:39 cutting the workpiece with a vintage graver
16:42 cutting with a new Glardon Vallorbe graver
19:20 using the Martin & Fils 48 B screw plate to thread the screw
21:10 removing some additional material from the workpiece
23:57 creating the thread with the screw plate
29:10 testing the new thread on the micrometer
33:37 deciding to remove some additional material under where the screw head will be
33:50 overview of how I plan to cut the slot in the screw head
35:55 removing additional material on the lathe to make the screw longer
37:01 cutting the screw head free from the stock
38:13 using the lathe to cut the slot in the screw head
41:10 admiring the finished screw
41:58 testing the final result in the micrometer
44:44 reviewing all of the tools I used to make the screw
48:15 a note about the messiness of the lathe tailings and how to control them
50:03 conclusion and thank you!
Here's an affiliate link for the steel I bought for this project:
https://s.click.aliexpress.com/e/_DBGU7wv
And here's a link for Dave's Watch Parts (where I sourced the Martin Fils screw plate):
https://www.daveswatchparts.com
If you're interested in the variable speed brushless DC servo motor that I have attached to my vintage watchmaker's lathe that was a purchase on AliExpress and cost $98 not including shipping.
Here's an affiliate link for that:
https://s.click.aliexpress.com/e/_DkLT5xP
I bought the 800W Kit, which includes the motor bracket.
I also bought the two v-belt pulleys you can see mounted on the motor's 14mm shaft separately:
smaller pulley (mounted closer to the motor in the video):
https://s.click.aliexpress.com/e/_DD2MTxP (select W4 O30 suit 4mm belt and specify bore size of 14mm to seller in message)
larger pulley (mounted on the end of the drive shaft in the video):
https://s.click.aliexpress.com/e/_De0TtwN (select Bore Diameter: 14mm, Width: 40mm)
You only need one pulley, and I recommend the smaller one even though it costs a bit more as it fits the 4mm belts better. I ordered two because I was not sure that the larger, less expensive one would work. It works fine but the belt can slip from side to side.
#watchmaker #restoration #watchrepair #watchrestoration #tools #comedy #lathe
-
 3:19:26
I Make Watches
2 months agoRestoring Fire Damaged Watches - Long Version
472 -
 1:18:31
The Culture War with Tim Pool
2 hours agoTim Pool Vs. Liquid Death CEO DEBATE
43.9K65 -
 1:58:33
The Quartering
2 hours agoCrowder Roasts Entitled Black Man, Hasan Piker Meltdown, Leftoid Instant Regret!
10.8K21 -
 1:03:29
DeVory Darkins
2 hours ago $21.77 earnedKash Patel drops DEVASTATING NEWS for Democrats as ANTIFA suffers MAJOR LEGAL BLOW
54.6K58 -
 LIVE
LIVE
Jeff Ahern
49 minutes agoFriday Freak out with Jeff Ahern
157 watching -
 1:14:56
Lara Logan
13 hours agoTHE ONLYFANS SCAM: Victoria Sinis Breaks Down the Dangers and Lies Targeting Your Children | EP 40
24K6 -
 3:02:51
Tundra Tactical
21 hours ago $0.28 earned{LIVE NOW} GunTuber Plays Battlefield 6...Terribly
8143 -
 40:50
40:50
The White House
2 hours agoPresident Trump Participates in a Bilateral Lunch with the President of Ukraine
11K19 -
 54:57
54:57
Sean Unpaved
3 hours agoRodgers-Flacco TNF Showdown, CFB Week 8 Upsets, NFL Week 7 Edges, & Weekend Locks
15.9K -
 2:05:45
The Culture War with Tim Pool
23 hours agoWokeness Is Dying, Conservatives Are Winning & Taking Back Entertainment | The Culture War Podcast
137K60