Premium Only Content

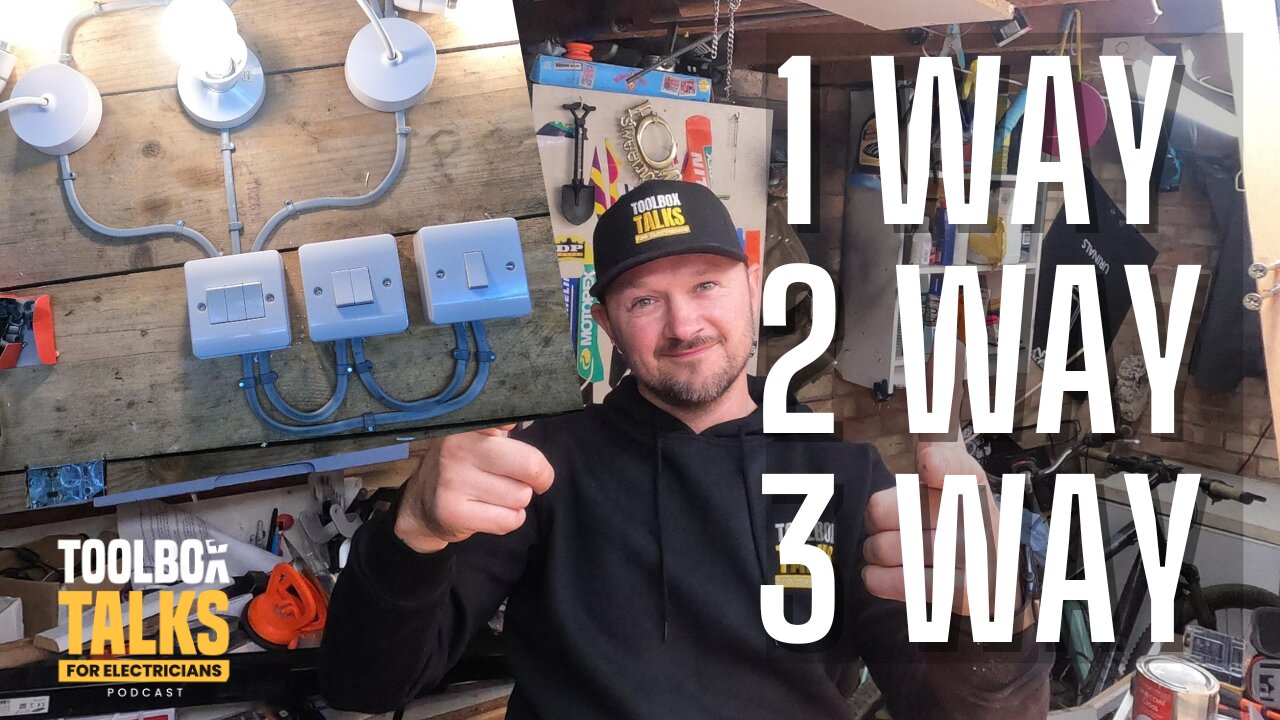
Light Switches Made Simple For Electricians
1 Way lighting is easy, then you need to master 2 way switches.
3 Way is when you have cracked it.
Wiring a 3-way lighting switch involves two switches controlling a single light fixture. This setup is commonly used in staircases, hallways, and large rooms where you want to control a light from two different locations. Here's a step-by-step guide on how to wire a 3-way lighting switch:
Materials Needed:
Two 3-way switches
One light fixture
Electrical wire (typically 14/2 or 12/2, depending on your local electrical codes)
Wagos
Screwdriver
Needle-nose pliers
Steps:
1. Turn Off Power:⚡
Before you start working, turn off the power to the circuit at the breaker box to ensure safety.
2. Identify the Wiring:
Identify the three wires connected to the existing light switch: common (usually brown), traveller 1 (usually brass), and traveller 2 (usually brass).
If you're installing new wiring, use a cable with three wires (brown, blue, and bare).
3. Install the First Switch:
Connect the common wire to the common terminal (usually brown) on the first switch.
Connect the two traveller wires to the two brass terminals on the first switch. It doesn't matter which traveller wire goes to which brass terminal.
Connect the ground wire to the ground terminal or the green screw on the switch.
Secure the switch into the electrical box.
4. Install the Second Switch:
Install the second switch at the other location.
Connect the common wire to the common terminal on the second switch.
Connect the two traveller wires to the two brass terminals on the second switch. Again, it doesn't matter which traveller wire goes to which brass terminal.
Connect the ground wire to the ground terminal or green screw on the switch.
Secure the switch into the electrical box.
5. Connect the Light Fixture:
Connect the common wire from the first switch to the black wire on the light fixture.
Connect the white wire from the light fixture to the neutral (usually bare ) wires in the electrical boxes.
Connect the ground wire from the light fixture to the ground wires in the electrical boxes.
6. Complete the Wiring:
At each switch location, connect the ground wires together with a wire nut.
Connect the neutral wires together with a wire nut.
7. Test the Circuit:
Turn on the power.
Test the circuit by flipping the switches. The light should turn on or off from either switch position.
Always adhere to local electrical codes and regulations, and if you're unsure, consult with a qualified electrician. Electrical work can be dangerous, so if you're not confident in your abilities, it's best to seek professional assistance.
-
 25:39
25:39
Tool Box Talk For Electricians
7 months agoInstall Interlinked Mains Smoke Alarms for Home Safety! 🚨
321 -
 LIVE
LIVE
AimControllers
40 minutes agoTRIVIA NIGHT!! WIN CUSTOM CONTROLLERS!!
352 watching -
 LIVE
LIVE
Barry Cunningham
1 hour agoWELCOME TO THE FANFARE MOVIE NIGHT! YOU WON'T WANT TO MISS THIS INTERVIEW AND FILM!
4,205 watching -
 LIVE
LIVE
RalliedLIVE
7 hours ago $4.34 earnedSHOTTY BOYS VS WARZONE
722 watching -
 7:28:28
Dr Disrespect
9 hours ago🔴LIVE - DR DISRESPECT - WARZONE VERDANSK - EXTREME CHALLENGES
136K6 -
 26:31
26:31
Glenn Greenwald
6 hours agoTrump at the NATO Summit: Michael Tracey Reports from The Hague | SYSTEM UPDATE #477
80K9 -
 DVR
DVR
RiftTV/Slightly Offensive
5 hours agoSHOCKING: Pro-Israel Extremist CRUCIFIES Christian Pastor | The Rift
11.8K2 -
 LIVE
LIVE
The Breanna Morello Show
7 hours ago $0.77 earnedAutopen Scandal Gets Worse, Commie Take Over in NYC?, FBI Whistleblowers Need Help, Dividing MAGA- The Breanna Morello Show
300 watching -
 38:23
38:23
ZeeeMedia
5 hours agoBanks Make Shock Move, Signals of Looming Economic Storm | Daily Pulse Ep 55
10.7K11 -
 LIVE
LIVE
Josh Pate's College Football Show
3 hours ago $0.12 earnedCFB Chaos Scenarios | Better OR Worse In 2025 | Toughest Places To Play | Truth About Josh Heupel
66 watching