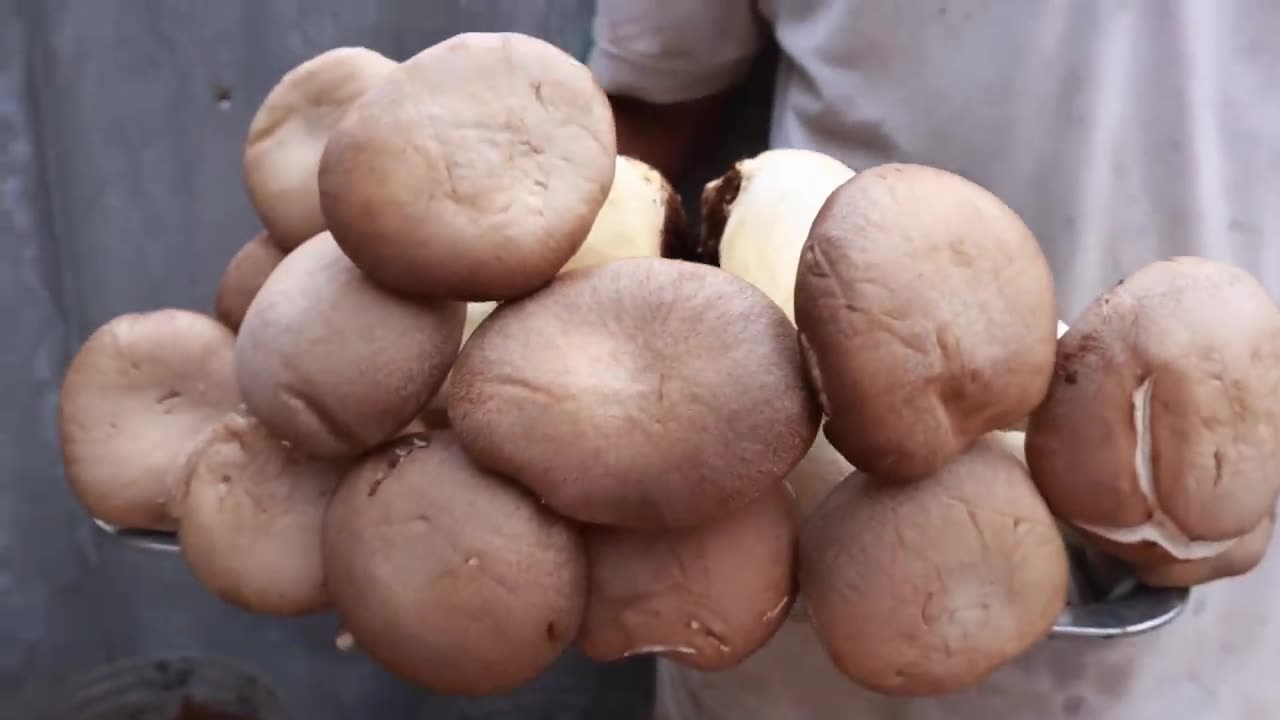
Growing Mushrooms at Home is Super Simple in Recycled Plastic Bottles
Zoom 5-10 EST daily https://us02web.zoom.us/j/6945489985?pwd=UllwRmwzRUhWS2pXUWNQODNEbnhSZz09 SwT80SwT80C
Growing Mushrooms at Home is Super Simple in Recycled Plastic Bottles
share 59Mushrooms are a versatile and delightful addition to various dishes, but they can be quite expensive when purchased from the store. However, you can save money and enjoy the freshest mushrooms by growing them at home. In this article, we’ll explore an innovative and eco-friendly method of cultivating mushrooms using recycled 5L plastic bottles. By following these steps, you can produce your own bountiful harvest of mushrooms in just 45 days.
Materials and Equipment Needed:
Recycled 5L plastic bottles
Straw
Mushroom embryo (spores or mycelium)
Plastic wrap
High-pressure watering can
Soil and substrate
Step 1: Preparing the Bottles
Begin by selecting your plastic bottles. Clean and sanitize them thoroughly to ensure a healthy growing environment for your mushrooms. Then, carefully cut off the top section of each bottle, leaving the bottom part intact. The open end will serve as the container for your mushrooms.
Step 2: Preparing the Straw
Straw is an excellent growing medium for many mushroom species. To prepare it, boil the straw to kill off any potential contaminants and soften it. Once boiled, allow the straw to cool and drain any excess water.
Step 3: Creating Air Holes
Use a drill or a heated metal rod to create small holes all over the plastic bottles. These holes serve as vital air exchange points for the mushroom growth process. Adequate air circulation is essential for successful mushroom cultivation.
Step 4: Layering the Bottles
Layer the bottom of your plastic bottles with the boiled straw, creating a substantial bed for your mushrooms. Ensure that the straw is evenly distributed and packed lightly.
Next, introduce the mushroom embryo (spores or mycelium) onto the straw bed. Layer more straw on top, allowing for a mix of straw and mushroom embryo within each bottle. This mixture will serve as the growing medium for your mushrooms.
Step 5: Covering with Plastic Wrap
Place plastic wrap over the top of each bottle to create a semi-sealed environment. This cover will help maintain humidity levels within the bottle and promote the mycelium’s growth, the network of mushroom roots.
Step 6: Initial Watering
Use a high-pressure watering can to moisten the straw and the mushroom embryo. This initial watering ensures that the growing medium is sufficiently hydrated.
Step 7: Observing Growth
Over the next 12 days, keep a close eye on your bottles. You should start to see some changes as the mycelium network expands within the straw. Once you observe signs of growth, it’s time to remove the plastic wrap carefully.
Step 8: Second Round of Watering
After removing the plastic wrap, continue to water your mushroom bottles regularly. This time, water directly into the bottle through the top opening, ensuring that the growing medium remains moist.
Step 9: Adding Soil and Substrate
Around 12-15 days after removing the plastic wrap, introduce a layer of soil and substrate to the top of each bottle. This mixture provides essential nutrients for the mushrooms as they enter the fruiting stage.
Step 10: Continued Watering and Growth
Continue to water the bottles as your mushrooms grow. Within 45 days, you should have fully grown mushrooms ready for harvest. Remember to maintain consistent humidity and moisture levels throughout the process for the best results.
Watch the video:
Growing mushrooms at home in recycled plastic bottles is an eco-friendly and cost-effective way to enjoy these delectable fungi. By carefully following these steps, you can turn your kitchen into a mushroom haven, providing a fresh and sustainable source of culinary delight right at your fingertips
-
 3:29:19
We The People - Constitutional Conventions
4 days agoThe Money Masters - Full Length
561 -
 LIVE
LIVE
Rallied
1 hour agoWARZONE SOLO CHALLENGES ALL DAY
1,348 watching -
 27:01
27:01
TheRoyaltyAutoService
7 hours agoAnother Shop Replaced The Timing Belt & Fuel Injectors On This Honda Pilot… Now It Has No Power!
3.55K1 -
 LIVE
LIVE
GritsGG
9 hours agoRanked Crim 2! Most Wins 3390+ 🧠
281 watching -
 LIVE
LIVE
IsaiahLCarter
22 hours agoJonah O. Wheeler: In Defense of Reality || APOSTATE RADIO #026
267 watching -
 LIVE
LIVE
Cewpins
3 hours agoSmoke Sesh🔥Gaming???💨420🍃!MJ !giveaway
48 watching -
 LIVE
LIVE
Phyxicx
1 hour agoShin Megami Tensei - Part 5 - 8/13/2025 | Chaos Route | Expert Difficulty
67 watching -
 1:59:32
vivafrei
11 hours agoEp. 277: Russia Peace Talks! Trump D.C. Takeover Leads to Lawsuit! Heat Wave Lawsuit? AND MORE!
61.6K32 -
 LIVE
LIVE
Nerdrotic
3 hours ago $3.48 earnedTransient Lunar Phenomenon: Deeper into the Mysteries of the Moon | Forbidden Frontier #112
570 watching -
 2:58:44
Barry Cunningham
1 day agoBREAKING NEWS: PRESIDENT TRUMP ABSOLUTELY TROLLS THE MEDIA! BIG WEEK AHEAD!
57.4K84