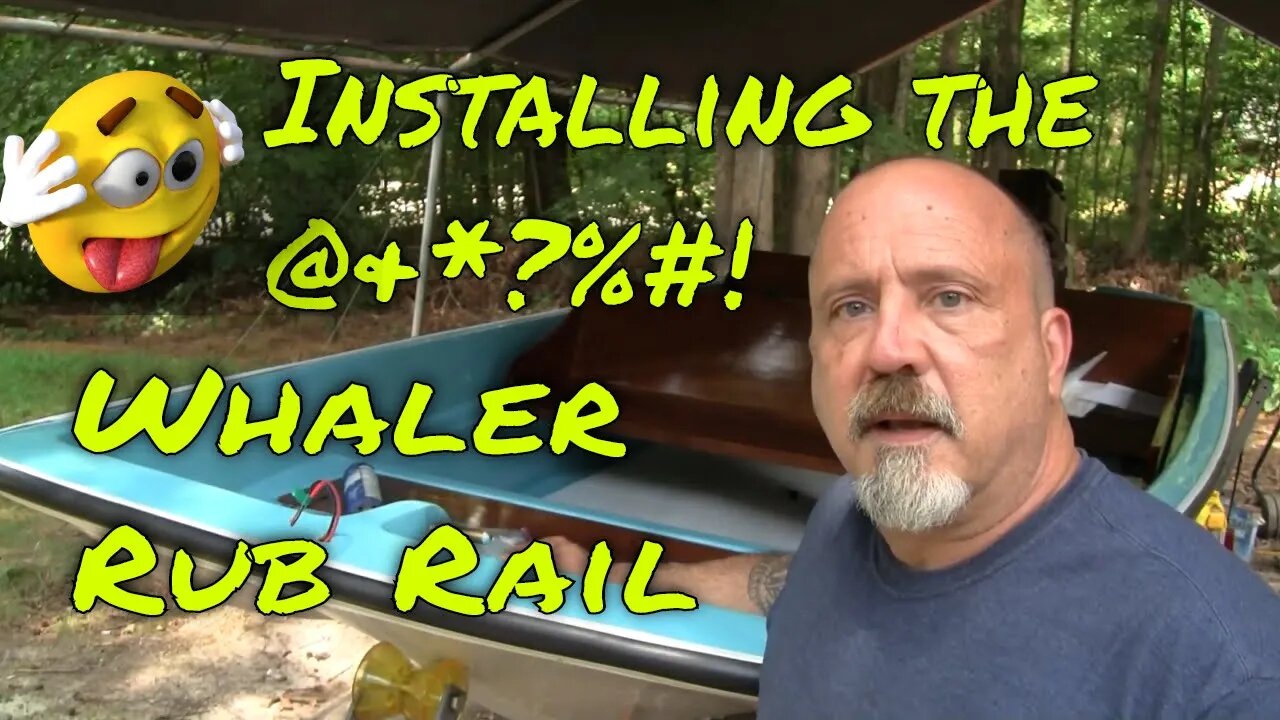
Installing the Rub Rail and Decals - Boston Whaler Restoration Part 16
Here's a video on how to install the rub rail on a Boston Whaler boat restoration. I also apply the official Boston Whaler decals in the appropriate locations. There was at least one mistake made along the way and I cover how to avoid making the same mistake when installing a boat rub rail. These whalers used a 3 part rub rail system. I opted to use only two of the parts which gives me the look and protection I was looking for.
I used a heat gun to help with radiusing the vinyl rail. Two thing about using the heat gun, use the lowest setting if possible to not deform or damage the rail and use gloves!
Parts List (affiliate Links)
GE Silicone: https://amzn.to/3gpE2SY
10x1" 316 SS Screws https://amzn.to/2D5363w
Rigid Drill Set: https://amzn.to/2D9ZVHy
Heat Gun (similiar to the one I used)
https://amzn.to/33hXwW0
Husky Mini Clamps https://amzn.to/3gzDXMV
NON Affiliate Links:
Decals: http://www.magicbrushsign.com (Authorized Boston Whaler Decal Source)
Rub Rail: https://www.integritymarinecorp.com/
Parts R1078 and F878
-
 LIVE
LIVE
LFA TV
22 hours agoLFA TV ALL DAY STREAM - FRIDAY 8/1/25
997 watching -
 1:23:12
Roseanne Barr
2 hours agoBlackmail Nation: The Epstein Cover-Up with Nick Bryant | The Roseanne Barr Podcast #109
61K22 -
 26:40
26:40
Michael Franzese
2 hours agoThe Self-Proclaimed King of the Mafia: Vito Genovese’s Fatal Throne
9.46K -
 LIVE
LIVE
Nerdrotic
4 hours ago $5.58 earnedWe Stand Behind Sydney Sweeney | Naked Gun | Fantastic Flop? - Friday Night Tights 365
1,930 watching -
 1:02:28
Sarah Westall
2 hours agoTrump’s Economic Plan will Change the World Economic System. Will it Work? w/ Andy Schectman
11.8K2 -
 10:22
10:22
Clownfish TV
4 hours agoJaguar CEO OUT After 'Woke' Rebrand Backfires!
4.51K3 -
 9:24
9:24
Faith Frontline
5 hours agoJordan Peterson CAUGHT OFF GUARD by George Janko’s Jesus Question
10K18 -
 1:18:23
vivafrei
5 hours agoGhislaine Quiety Moved to Texas Facility? Tish Sues Trump Over Trans E.O. Canada Madness & MORE!
92.4K60 -
 LIVE
LIVE
Akademiks
7 hours agoShannon Sharpe FIRED. KSOO Found Guilty! Gilbert Arenas ARRESTED! NBA Youngboy 14th kid OTW. 1/30
977 watching -
 2:09:16
Tucker Carlson
6 hours agoCandace Owens: Macron, Harvey Weinstein, and Why “Christ Is King” Totally Broke People’s Brains
129K303