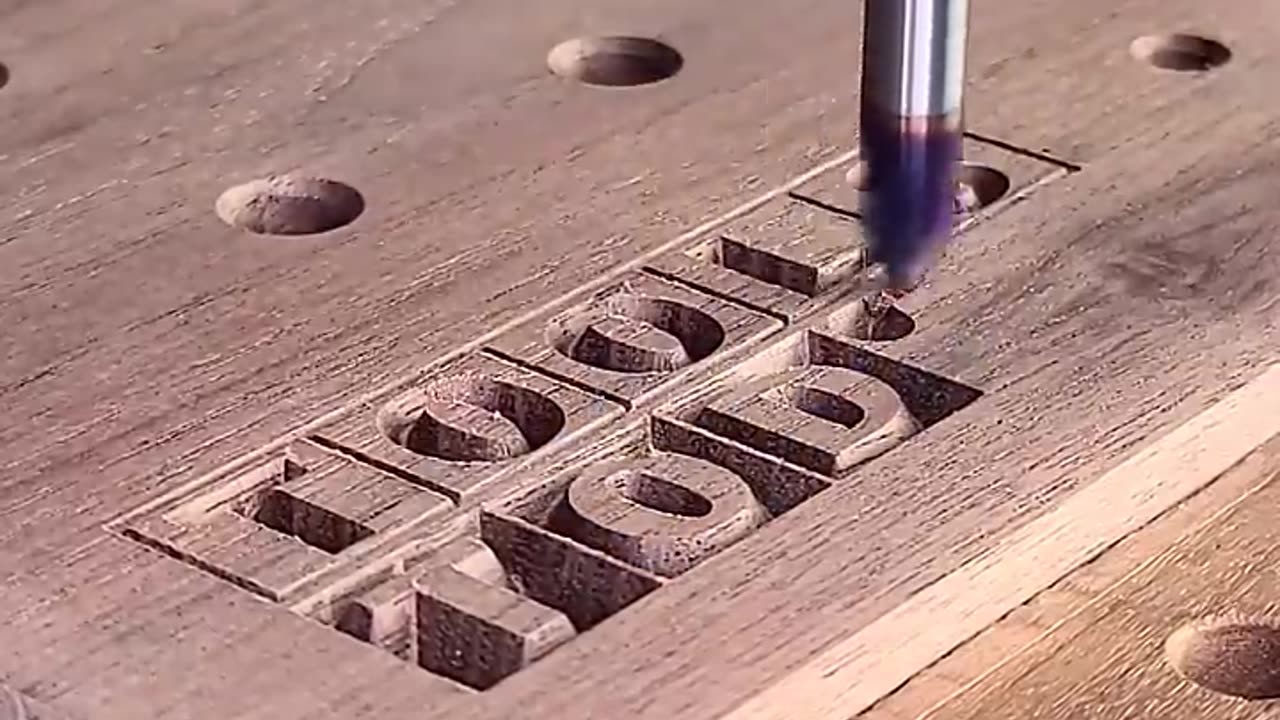
Carving Logo and Filling With Epoxy. #Carving #Logo #Filling #Epoxy #Curing #Finishing #Crafting
### Materials Needed:
1. **Carving Material:** Wood, resin, or any material of your choice.
2. **Carving Tools:** Chisels, carving knives, rotary tools for intricate details.
3. **Epoxy Resin Kit:** Includes resin and hardener.
4. **Mixing Cups:** Graduated cups for accurate measurements.
5. **Stir Sticks:** Wooden or plastic sticks for mixing epoxy.
6. **Pigments/Dyes:** Optional for adding color to epoxy.
7. **Mold Release:** If using a mold for epoxy filling.
8. **Safety Gear:** Gloves, safety goggles, and a respirator mask for fume protection.
9. **Sanding Tools:** Sandpaper or sanding machine for smoothing the surface.
### Steps:
1. **Design Carving:**
- Sketch your logo/design on the material's surface.
- Use carving tools to carefully remove excess material, shaping the design.
- Start with broader tools for rough shaping and switch to finer tools for detailing.
2. **Preparing for Epoxy:**
- Ensure the carved area is clean and free of dust or debris.
- If using a mold, apply mold release agent to ease removal later.
3. **Mixing Epoxy:**
- Follow the instructions on your epoxy resin kit for the right resin-to-hardener ratio.
- Add pigments or dyes if you want a colored design.
- Mix the epoxy thoroughly but avoid creating air bubbles.
4. **Filling the Carved Area:**
- Slowly pour the epoxy into the carved area, ensuring it covers the entire design.
- Use a stir stick to guide the epoxy into intricate details.
- Pop any visible bubbles using a heat gun or a torch (carefully!).
5. **Curing:**
- Let the epoxy cure in a dust-free, well-ventilated area.
- Follow the recommended curing time provided by the epoxy manufacturer.
- Avoid touching or disturbing the curing epoxy.
6. **Finishing:**
- Once cured, the epoxy surface might have a slight dome. You can sand it flat using sandpaper or a sanding machine.
- Gradually move to finer grits of sandpaper for a smooth finish.
- Polish the surface with a polishing compound or wax for a glossy shine.
7. **Final Touches:**
- Clean the surface to remove any dust or residue.
- Inspect the carved logo for any imperfections and touch up if necessary.
Remember, practicing on small pieces before attempting complex projects can improve your skills. Always follow safety guidelines and work in a well-ventilated area.
.
.
.
.
.
Follow For more updates
1. #EpoxyArt
2. #ResinCrafts
3. #DIYCarving
4. #Craftsmanship
5. #WoodworkingArt
6. #EpoxyDesign
7. #HandmadeCrafts
8. #ArtisticCarving
9. #CustomEpoxy
10. #CreativeCrafting
11. #CarvedArtwork
12. #ResinInlay
13. #CraftersCommunity
14. #EpoxyMasterpiece
15. #WoodArtistry
-
 11:07
11:07
Politibrawl
12 days agoRepublican rising star DESTROYS theatrical Democrat in front of the entire world
42.1K21 -
 LIVE
LIVE
StoneMountain64
3 hours agoOnly game with BETTER desctruction than Battlefield?
251 watching -
 LIVE
LIVE
Viss
4 hours ago🔴LIVE - Viss & Dr Disrespect Take on The 5 Win Minimum PUBG Challenge!
144 watching -
 LIVE
LIVE
sophiesnazz
57 minutes agoLETS TALK ABOUT BO7 !socials !specs
86 watching -
 1:12:05
The Quartering
3 hours agoToday's Breaking News!
59.5K13 -
 LIVE
LIVE
GritsGG
6 hours agoWin Streaking! Most Wins 3390+ 🧠
63 watching -
 2:20:00
Tucker Carlson
4 hours agoDave Collum: Financial Crisis, Diddy, Energy Weapons, QAnon, and the Deep State’s Digital Evolution
95.8K80 -
 1:06:56
Sean Unpaved
19 hours agoSwitch-Hitting Stories: Chipper on Baseball, Football, & the Game's Future
20.1K1 -
 1:23:11
Timcast
4 hours agoTrump SLAMS Anti-American Museums, BANS Migrants For WOKE Views
130K87 -
 5:46
5:46
Buddy Brown
1 day ago $3.21 earnedOklahoma Just Made the BOLDEST MOVE of our Time! | Buddy Brown
35.2K14