Premium Only Content
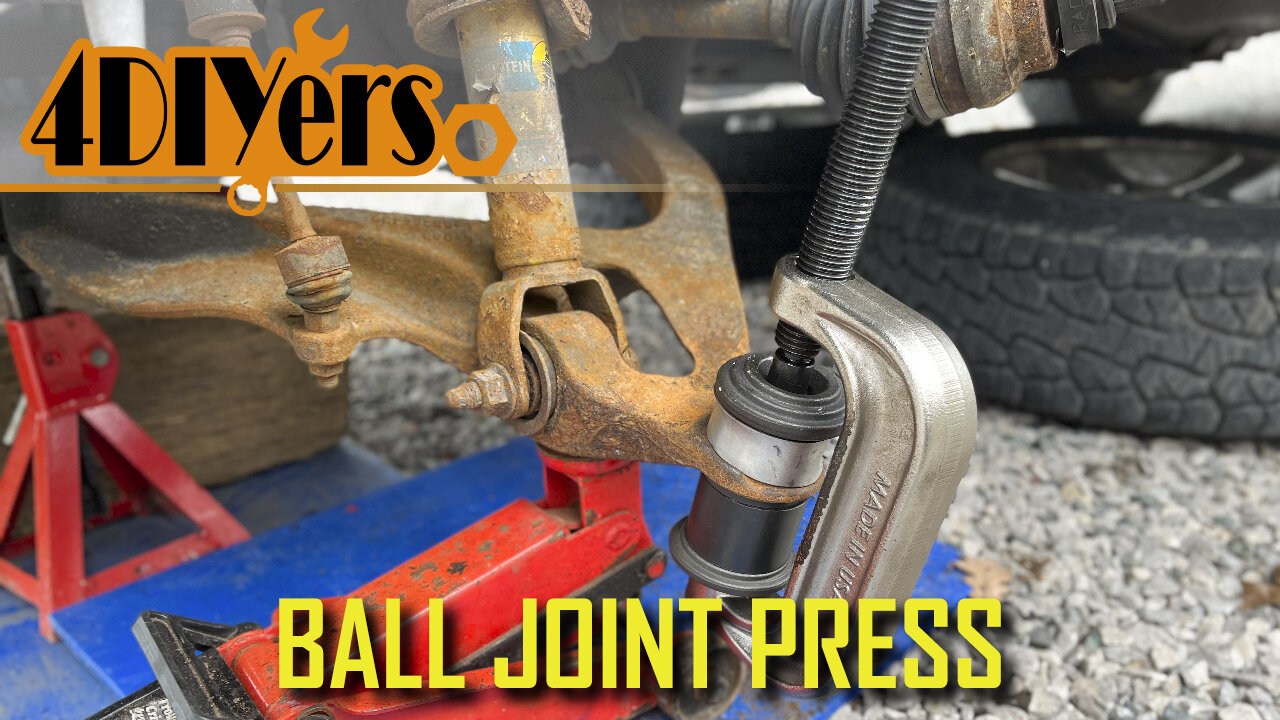
How to Use a Ball Joint Press
How to use a ball joint press. This video includes the removal and installation of the pressed in ball joints into a control arm. For this example I will be using my 2006 dodge ram. Here I’m using my OTC kit model number 7249, there are various kits available. It’s always important to invest in something which is a good quality so it doesn’t let you down part way through a job #balljoint #suspension #mechanic
Amazon OTC ball joint press links
USA: https://amzn.to/3zAGimp
Canada: https://amzn.to/3JbsZvO
Website: http://4diyers.com
Patreon: https://www.patreon.com/4diyers
Facebook: https://www.facebook.com/4diyers
Twitter: https://twitter.com/4DIYers
Instagram: https://www.instagram.com/4diyers/
Tumblr: http://4diyers.tumblr.com
Pintrest: https://www.pinterest.com/4diyers/
Tools/Supplies Needed:
-ball joint press
-ball joint separator
-hammer
-gear oil
-new ball joints
-pliers
-ratchet and socket set
Procedure:
Remove the wheel, procedures for accessing the ball joint will vary between vehicles. Considering this truck is four-wheel drive, I will be removing the steering knuckle to access the lower ball joint. Therefore the axle needs to be disconnected.
Ball joints may be equipped with a stover nut or castle nut. In the case of a castle nut, a cotter pin will need to be removed. The cotter pin needs to be straightened out and then pulled through the whole using pliers.
To disconnect the taper on the ball joint from the steering knuckle, a ball joint separator is used. You can also hit the start with the hammer or use a pickle fork. This is an aluminum steering knuckle, do not hit it with a hammer as you do risk cracking it.
Use the ball joint separator to disconnect the lower ball joint. When removing the steering knuckle, the spline will need to be disconnected from the wheel bearing on this four-wheel-drive truck.
Using a wire brush, clean around the ball joint. This will remove any debris so we can determine if a clip is required to be removed and no debris binds up around the ball joint when it’s being pressed out of its position.
Using snap ring pliers, remove the snap ring. Ross can sometimes hold these snap rings in place so the assistance of a standard screwdriver may be required.
This is a serviceable ball joint, the grease fitting will need to be removed. With this removed, we will have a flat surface for the press to push on.
Oil the threads on the press using gear oil. This will ensure there is no binding and you’re not causing any damage to the threads of the press.
The ball joint will have a lip on the one side where it holds it into place. On the opposite side is where the snap ring is located. The snapper inside is where the ball joint is pushed from. The threaded rod will push down onto the ball joint, on the other side there will be a sleeve and a face plate where the opposite side of the C frame of the press locks on to. When the press is tightened, this will push the ball joint down and it has free space for movement within that sleeve. The sleeve should be larger than the ball joint retaining ring.
Once that ball joint has been removed, use a wire brush to clean up any rust or debris around the face and inner bore of where that ball joint would be located.
Always ensure the attachments for your ball joint press is clean. This particular ball joint doesn’t have a boot installed at the moment, this will be installed after. There is exposed grease and contaminants can stick to this.
Use a sleeve that can fit on the ring of the ball joint. You’ll need free space so the ball joint can push through without any obstructions.
Depending on the distance, you may need to change attachments as the press doesn’t open up wide enough. Tighten the press so the ball joint is slowly pushing in. Remove the ball joint press so you can switch attachments to fully push through. Tighten the ball joint press until that ball joint is fully seated.
Install the boot to protect the joint. This particular brand does come with an installation cup to push on the boot.
If you have a serviceable ball joint, the next step is installing the grease fitting. Make sure the grease fitting is angled in such a way so it doesn’t interfere with the steering knuckle and can be easily accessed.
Using snap ring pliers, install the new snap ring for the ball joint. A standard screwdriver may be required to help push down that snap ring and shirts for seated.
Install all other parts in reverse of removal.
Thank you to all those who watch my videos and support my content. Don't forget to subscribe to my channel for future tutorial videos and like my video if you found it helpful. New videos are always being uploaded every week!
© 4DIYers 2013
All Rights Reserved
No part of this video or any of its contents may be reproduced, copied, modified or adapted, without the prior written consent of the author.
-
 2:07:09
DLDAfterDark
7 hours ago $3.48 earnedDLD Live! Gun Talk - Welcome To The Armory! Feat. BDG&G Josh & The Okayest Shooter
18.1K -
 2:40:52
Tundra Tactical
12 hours ago $22.60 earned🛑 What The Hell Happened To Our Gun Rights?? May 2025 Edition
48K2 -
 2:26:01
The Connect: With Johnny Mitchell
14 hours ago $3.73 earnedHow A Los Angeles Drug Kingpin Sold 40 TONS OF WEED, Got Life In Prison & Then Pardoned By Trump
25.2K4 -
 25:22
25:22
Forrest Galante
6 hours agoPrivate Tour of Australia’s Best Aquarium
35.8K1 -
 2:07:09
BlackDiamondGunsandGear
12 hours ago🔴 LIVE SHOW w/ DLD & Okayest Shooter
26.1K2 -
 4:32
4:32
TruthStream with Joe and Scott
5 days agoTo Unite Music Video 2025 in 432 HZ written by Joe Rosati & Steve Collins. featuring Stephen Tenner, Kristen Capolino and KC Sunshine. Produced by Lewis Herms
50.6K13 -
 3:09:13
Joker Effect
15 hours agoFIRST EVER AMATEUR BOXING EVENT STREAMED ON RUMBLE! BOUGHT TO YOU BY WOLFSDEN BOXING!
77.9K11 -
 3:33:13
Barry Cunningham
11 hours agoTHE DOGEFATHER & THE DON! HOW ELON MUSK & PRESIDENT TRUMP ARE SAVING AMERICA!
133K95 -
 6:55:08
Phyxicx
10 hours agoGetting ready for $350 tournament! - 5/31/2025
27.5K -
 5:28:16
Tommy's Podcast
8 hours agoE742: Atomic Piledriver
38.8K2