How to Change the Cabin Filter on a BMW 3 Series E90
How to replace the cabin filter on a BMW E90 body style. This particular car I am working with you today is a 2010 335d. A plugged cabin filter can cause issues such as an odor in your interior, poor performance of your AC system, and even shorten the life of your HVAC blower motor #turnermotorsport #bmw3series #bmwe90
Air filter link: https://bit.ly/3zBdPwU
Website: http://4diyers.com
Patreon: https://www.patreon.com/4diyers
Facebook: https://www.facebook.com/4diyers
Twitter: https://twitter.com/4DIYers
Instagram: https://www.instagram.com/4diyers/
Tumblr: http://4diyers.tumblr.com
Pintrest: https://www.pinterest.com/4diyers/
Tools/Supplies Needed:
-8mm socket on screwdriver handle
-new replacement cabin filter
-vacuum cleaner
-clean rag
-brush
-bottle of water
Procedure:
First is opening the hood. You’ll find the cabin filter is located at the back of the engine bay just below the windshield. There is a big plastic panel that needs to be removed and is held in with 6 8mm screws.
Once the screws have been removed, then lift off the cover.
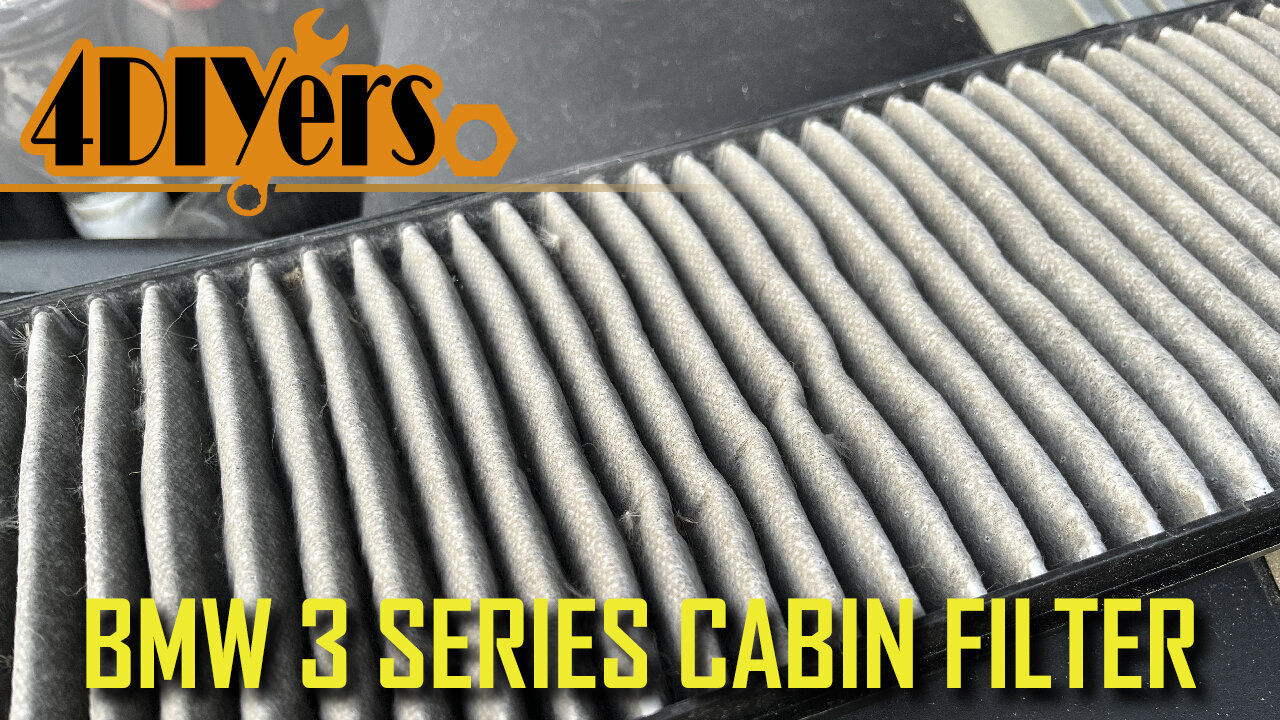
Before installing the new Air filter, I would recommend using a vacuum cleaner and a brush to clean up any loose debris. Cleaning the debris up will prolong the life of your new replacement cabin filter.
A bottle of water with a brush can also be used. Rinse the area sufficiently, there are drains on each side. If the water doesn’t fully drain due to how your vehicle is sitting, a wet-dry shop Vac can be used.
Now on to the cover. Disconnect the cabin filter from the front side by the three clips first and then lift it out of its position.
Again I would recommend cleaning the cover ensuring there is no dust or debris. Also clean the gaskets on the backside to ensure they properly seal.
Finally is installing the newer filter. Clip it onto the backside first and then snap it into place on the front side. Insured it properly seated. If you do find your cabin filter cover is broken, new replacements can be purchased.
Finally reinstalling the assembly back onto the car. Make sure it’s in the correct position and then install those 6 8mm screws.
After that, you’re officially done.
Thank you to all those who watch my videos and support my content. Don't forget to subscribe to my channel for future tutorial videos and like my video if you found it helpful. New videos are always being uploaded every week!
© 4DIYers 2013
All Rights Reserved
No part of this video or any of its contents may be reproduced, copied, modified or adapted, without the prior written consent of the author.
-
 LIVE
LIVE
Midnight In The Mountains
4 hours agoGaming w/ PER·SE·VER·ANCE | Sassy Saturday Fortnite | with the Midnights!
58 watching -
 LIVE
LIVE
shyboyking
2 hours agoThe Bots Of The Bots !!!😎
77 watching -
 24:06
24:06
True Crime | Unsolved Cases | Mysterious Stories
5 days ago $0.16 earnedShe Traveled Alone… and Never Came Back – 5 Mysterious Unsolved Cases (Part 6)
13.1K5 -
 27:23
27:23
Clickbait Wasteland
16 hours ago $0.04 earnedAsking New Yorkers Who They Support For Mayor: Staten Island
19.5K6 -
 16:58
16:58
World2Briggs
1 day ago $0.03 earnedThe California Rant: Point Blank With No Fluff or BS. California Gold?
12.4K2 -
 17:49
17:49
Chris Harden
1 day ago $0.01 earnedThe Glass Capital That Shattered | The Decline of Streator, Illinois
9.17K1 -
 51:15
51:15
JohnXSantos
3 days ago $0.01 earnedClothing Brand Manufacturers + Winners
5.78K1 -
 10:06
10:06
Cyclops Videos Joe W Rhea
12 days agoHybrid Super 22 Rifle
7K1 -
 8:30
8:30
Millionaire Mentor
22 hours agoMaria Bartiromo Plays Clip That DESTROYS Adam Schiff’s Entire Story
4.99K2 -
 27:32
27:32
The Finance Hub
22 hours ago $0.04 earnedBREAKING: JD VANCE JUST DROPPED A MASSIVE BOMBSHELL!!!
3.19K6