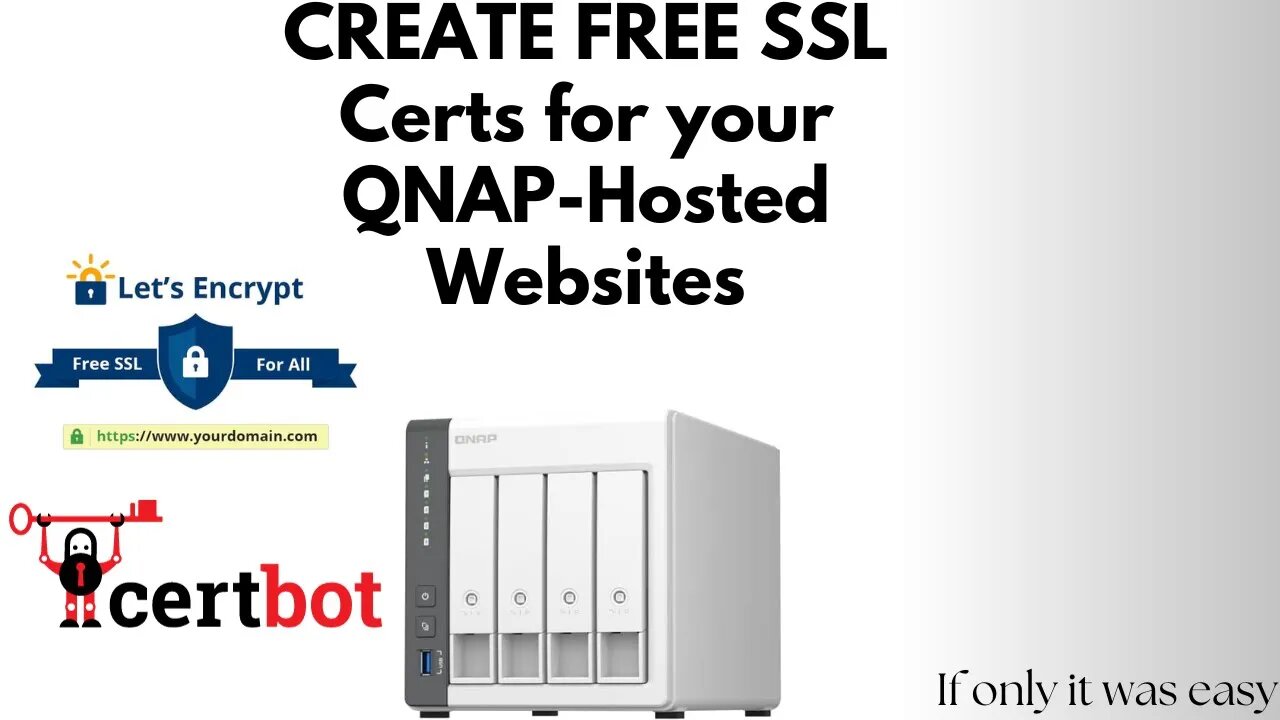
QNAP Hosting Websites Part 2: Using Let's Encrypt Certbot to get a free SSL Cert for the website
Alright, we are back at it again, let's go through the steps to get this right
Step 1) Preparation: We are assuming that you have your domain registered, and have full access to the domain folders wherever it is being hosted if you're going to do the manual file verification method, or you can log into your domain registrar without issue to add a DNS text record to do the DNS authentication method (Easier, faster, Recommended)
Step 2) Download and install Certbot, run the command prompt as administrator and run the following command: Certbot certonly --dry-run --manual --must-staple --staple-ocsp --key-type=rsa --rsa-key-size=2048 -v
2a: IMPORTANT --> you should attempt this with the --dry-run first to make sure what your doing fully works. If you go through the full setup with it and it is successful, THEN take out the --dry-run flag out and dun it again to actually generate the certs. Certbot will lock you out for 1 hr if you get it wrong 5 times.
2b: You should attempt to use --must-staple and --staple-ocsp as they are new standards emerging, in the video, I didn't use them but plan on doing so. So if for whatever reason using them messes something up, remove them and so now all you should be running without the dry-run flag is: Certbot certonly --manual --key-type=rsa --rsa-key-size=2048 -v
Step 3) It should ask you for the domain names you are registering, enter your domain names with a comma for each, and it is also recommended that you also do a wildcard subdomain version of your domain name. So if your domain name is ImNotTHatSmart.com, you should enter: ImNotTHatSmart.com, *.ImNotTHatSmart.com
3a: Note - Certbot will default to using the file method to authenticate the website unless you use a wildcard domain, or enter a dns flag that can vary depending on what service your using to manage your dns records.
Step 4) unless your renewing (in which case, just say yes or e, whatever to continue), now you should get exact instructions for creating the dns record for authentication.
4a: Just follow the video, but it really isn't too complicated, you're just gonna create a text record for the domain name you need, if you doing multiple different domains (not just subdomains) then just pay attention to the specific challenge information your putting for each dns text you have to make and make sure they are tied to the correct domains.
Step 5) Hit enter in the command prompt when done (You should check it first via the google url certbot gives you), after that, it should generate your certificates in the cerbot folder at the root of your hard drive for windows users.
Step 6) Navigate to where your certificate files were created and copy them out to another folder like I did (For those not using admin accounts by default like good people are supposed to do).
Step 7) Sign into the QNAP server, go to control panel --> Security --> SSL and then hit the replace button.
Step 8) Select the correct certs for ALL THREE options like in the video, making sure you use the fullchain file for the intermediate option.
Step 9) Hit apply and then check your website, you should now have an https that is not slashed through and the padlock for your website =)
-
 2:27:53
TheSaltyCracker
5 hours agoGot Him ReeEEStream 9-12-25
242K288 -
 52:11
52:11
Sarah Westall
7 hours agoBread and Circus Keeps you Financially Ignorant – Its Better for the Elites w/ Chris Russo
47.8K3 -
 LIVE
LIVE
I_Came_With_Fire_Podcast
13 hours agoFriday Night Live Fire
460 watching -
 1:20:39
Flyover Conservatives
15 hours agoFrom Demonic Deception to Divine Direction: Sid Roth’s Radical Encounter With God | FOC Show
40.9K1 -
 DVR
DVR
Chrissie Mayr
3 hours agoChrissie Mayr Reactions to Charlie Kirk, Liberal Celebrations, and More
35.9K11 -
 1:05:46
AlaskanBallistics
3 hours ago $0.79 earnedRemembering Charlie Kirk
38.2K6 -
 1:23:27
Glenn Greenwald
6 hours agoNetanyahu’s Crude Exploitation of Charlie Kirk’s Death to Get the American Right Back into Line; Plus: Q&A With Glenn on Charlie Kirk's Assassination, Online Civil Discourse, and More | SYSTEM UPDATE #514
202K137 -
 4:10:25
Nerdrotic
9 hours ago $1.04 earnedCulture Is VITAL! Streaming BUST, Warner Bros. Buyout | Friday Night Tights 371 with Vara Dark
213K27 -
 1:02:32
BonginoReport
8 hours agoCharlie Kirk’s Assassin In Custody, Details Emerge - Nightly Scroll w/ Hayley Caronia (Ep.133)
196K202 -
 LIVE
LIVE
LFA TV
1 day agoKILLER CAUGHT LIVE PRESSER! - FRIDAY 9/12/25
597 watching