Premium Only Content

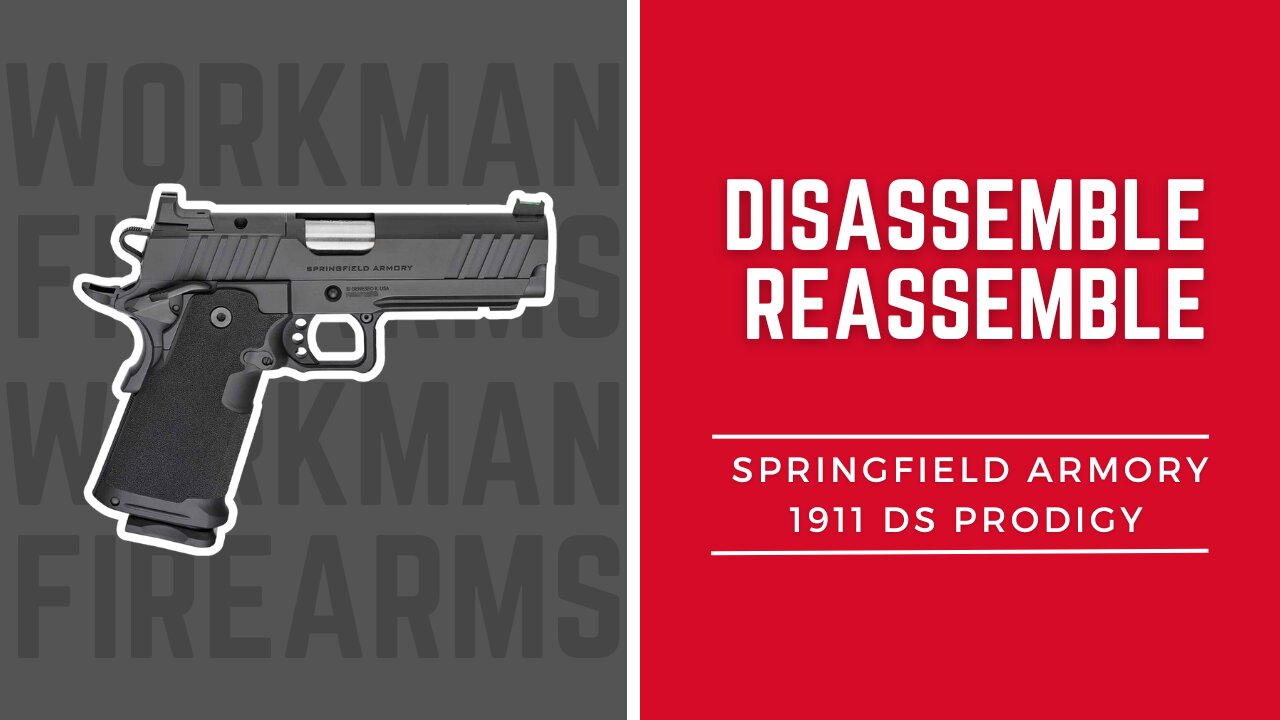
How to Disassemble and Reassemble the Springfield Armory Prodigy
Workman Firearms
#workmanfirearms #springfield #prodigy
The video provides a comprehensive guide on how to disassemble and reassemble Springfield Armory's Prodigy, a double-stack 1911 pistol. The host emphasizes that you will need a 4mm Allen key for the process and optionally a punch for easier disassembly.
### Disassembly:
1. **Clearing the Firearm:** The host starts by removing the magazine and locking the slide to the rear to ensure the firearm is clear.
2. **Guide Rod:** The two-piece full-length guide rod is unscrewed using a 4mm Allen key.
3. **Slide Stop:** The host aligns a dimple on the slide with the slide stop and uses a punch to push it out.
4. **Removing the Slide:** The slide is carefully slid off the frame.
5. **Recoil Spring and Guide Rod:** These are removed, along with the plug.
6. **Barrel Removal:** The barrel is pushed forward and removed from the slide.
### Reassembly:
1. **Barrel:** The barrel is slid back into the slide.
2. **Recoil Spring and Guide Rod:** These are reassembled and placed back into the slide.
3. **Slide onto Frame:** The slide is aligned with the frame and slid back.
4. **Slide Stop:** The slide stop is reinserted.
5. **Tightening the Guide Rod:** The guide rod is tightened using the Allen key.
The tutorial is clear, concise, and provides valuable information for anyone looking to understand the inner workings of the Springfield Armory Prodigy or perform maintenance on their own firearm.
Legal Notice: All content on the Workman Firearms Training Group YouTube channel reflects our own opinions and should NOT be taken as legal advice. Please seek out the guidance of professionally trained and licensed individuals before making any decisions.
Disclaimer: These videos are strictly for educational and entertainment purposes only. All work on arms should be carried out by a licensed individual, and all state and federal rules apply to such work. We (including YouTube) will not be held liable for any injury to yourself or damage to your firearms resulting from attempting anything shown in any of our videos.
Disclaimer: Links included in this description might be affiliate links. If you purchase a product or service with the links that I provide, Workman Firearms may receive a small commission. There is no additional charge to you! Your support helps us continue our mission to empower individuals with the knowledge to protect themselves and their loved ones, and to maintain the quality of our training services. Thank you for supporting Workman Firearms and Range 42, and for being a part of our commitment to safety, individual rights, and responsible firearm ownership.
Recommended Gear:
https://amzn.to/3QN1Gy4 - Hearing Protection
https://amzn.to/45tSItm - Shooting Glasses
https://amzn.to/3sn5aNg - Glock tool
https://amzn.to/3QKZdEj - Glock Parts Tray
https://amzn.to/3seZbKt - Glock Mag Loader
https://amzn.to/3KLDoAu - Base plate tool
0:00 Introduction
0:33 4MM ALLEN KEY
0:48 CLEAR THE FIREARM
1:07 REMOVE GUIDE ROD
1:48 REMOVE SLIDE
2:57 REMOVE BARREL
3:14 CLEAN & MAINTAIN
3:24 REASSEMBLE BARREL
4:46 ATTACH SLIDE
5:14 INSERT SLIDE STOP
5:45 FUNCTIONS CHECK
-
 6:39
6:39
Workman Firearms
11 months agoHow to install a Holosun 507K X2
982 -
 LIVE
LIVE
Drew Hernandez
9 hours agoTRUMP SECURES SETTING MEET BETWEEN PUTIN & ZELENSKYY
715 watching -
 LIVE
LIVE
SpartakusLIVE
6 hours agoSpartan HERO here to MOTIVATE the MASSES
328 watching -
 1:27:19
Badlands Media
18 hours agoCulture of Change Ep. 117: DARPA, Downloads & the Roots of the Narrative
33.4K2 -
 LIVE
LIVE
BubbaSZN
13 hours ago🔴 LIVE - MAFIATHON (COMPLETING THE MAFIA SERIES WITHOUT ENDING STREAM)
32 watching -
 2:50:02
TimcastIRL
4 hours agoTrump Calls Putin During Zelenskyy White House Visit, European Leaders Praise Trump | Timcast IRL
149K54 -
 1:54:34
FreshandFit
9 hours agoBrandon Carter Returns
30K3 -
 LIVE
LIVE
MissesMaam
9 hours agoResident Evil 4 *FIRST EVER PLAYTHROUGH*💚✨
290 watching -

SlingerGames
2 hours agoSlinger Slays Elden Ring - Pt. 8 - Enduring the Pain
5.42K -
 LIVE
LIVE
VapinGamers
3 hours ago $0.07 earnedOff The Grid - Co-Stream with BSparksGaming! Come Join the Mayhem! - !rumbot !music
19 watching