Premium Only Content

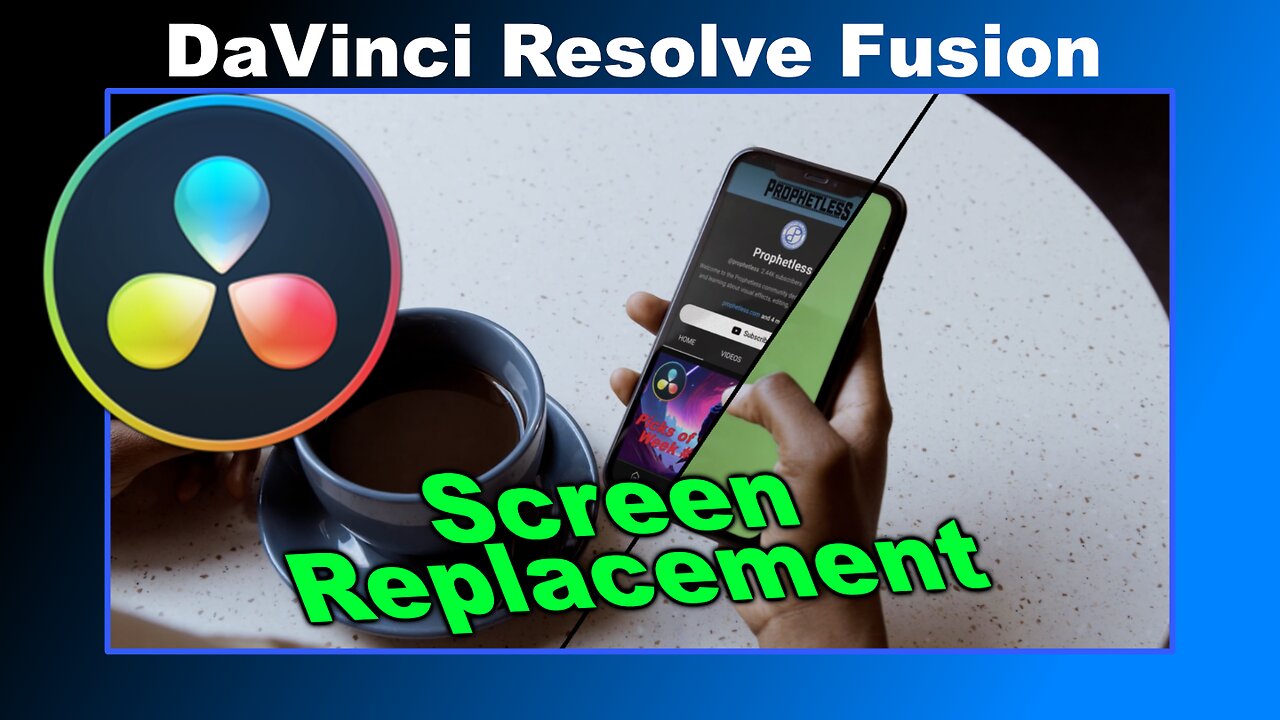
Screen Replacement in DaVinci Resolve Fusion: Beginner/Intermediate
A very common effect in DaVinci Resolve is replacing a screen. In this video we will look into some different methods to get good results. We start by using the planar tracker to track the phone in DaVinci Resolve Fusion. Then using the track we will attach our screen replacement to replace the green screen. Next we will look at how to build a custom screen replacement for our phone. That can be used for interactions with our new screen. After that we look at animating the screen to match the movement of the fingers when they interact with the phone. When our screen and animation are all done we look into keying the green screen of the phone and some techniques on retaining the natural refections and refining the edges. As one key will not be good enough for realistic results we add another key just for the finger and merge the 2 keys together to get an accurate matte. Finally we add a few finishing touches to help really sell the screen replacement.
As always if you have any problems or issues fell free to reach out in the comments and I will do my best to reply as soon as I can.
**VFX Courses** - https://www.prophetless.com
If you would like to follow along here are the links to video clips:
Video by cottonbro studio from Pexels: https://www.pexels.com/video/iphone-texture-technology-display-5054714/
And if you like our videos please consider subscribing!
We've had people reach out asking how they can help support. If you feel the videos add value, we just setup a paypal me account if you would like to help support us:
https://paypal.me/prophetless
00:00 - Intro
00:12 - Overview
00:39 - Tracking with the Planar Track
01:34 - Adding our Replacement image to the Planar track
03:49 - Overview of setting up our replacement screen images
06:50 - Animation for the replacement screen overview
10:43 - Adjusting our Key
14:27 - Refine the Key edge
15:20 - Secondary Key
18:57 - Finishing touches
-
 LIVE
LIVE
Nerdrotic
12 hours agoWarner Bros Fire Sale! | Last Ronin CANNED | WICKED For Good REVIEW - Friday Night Tights 381
1,546 watching -
 1:35:41
vivafrei
3 hours agoDemonizing Nick Fuentes into the Mainstream! Live with Jake Lang! Miranda Divine Guest & MORE!
64.4K48 -
 5:13
5:13
Buddy Brown
7 hours ago $0.78 earnedMuslim PATROL CARS Begin Monitoring NYC! | Buddy Brown
2.63K6 -
 12:54
12:54
MetatronGaming
3 hours agoYou Remember Super Mario WRONG and I can Prove it
10.7K4 -
 1:02:55
Russell Brand
3 hours agoThe Epstein Files Are Coming — And The Establishment Is Terrified! - SF653
81.7K14 -
 32:47
32:47
The White House
3 hours agoPresident Trump Meets with Zohran Mamdani, Mayor-Elect, New York City
22.4K50 -
 1:07:21
The Quartering
2 hours agoPeace Between Ukraine & Russia? Kimmel Meltdown & More layoffs
27.8K12 -
 LIVE
LIVE
Barry Cunningham
3 hours agoBREAKING NEWS: PRESIDENT TRUMP MEETS WITH COMMIE MAMDANI | AND MORE NEWS!
1,293 watching -
 LIVE
LIVE
LadyDesireeMusic
1 hour agoLive Piano Music & Convo | Anti Brain Rot | Make Ladies Great Again | White Pill of the Day
101 watching -
 LIVE
LIVE
StoneMountain64
4 hours agoArc Raiders Making Money and LEVELING Up
95 watching