Premium Only Content

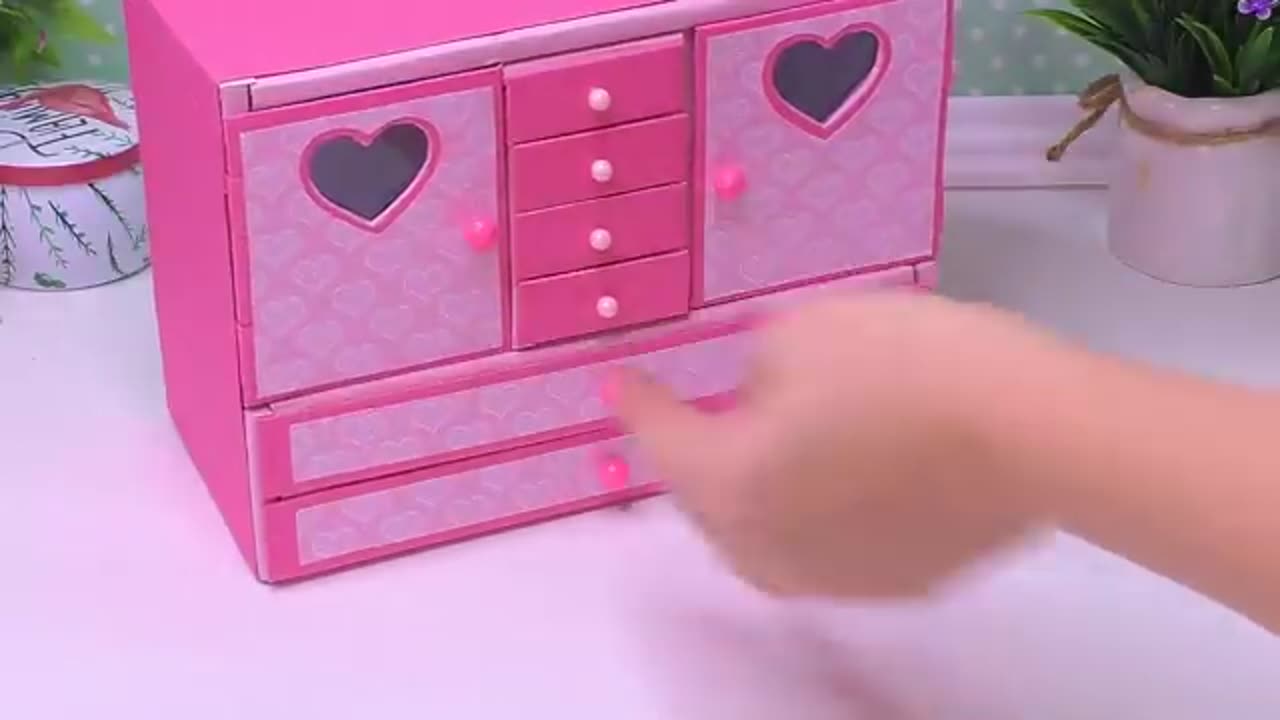
How to make a cute cardboard organizer and matchbox // Best use of waste material
Creating a cute cardboard organizer and matchbox from waste material is a great DIY project. Here's a step-by-step guide:
Materials Needed:
Cardboard boxes (various sizes)
Empty matchboxes
Scissors
Craft glue or hot glue gun
Decorative paper or fabric scraps
Markers or paint (optional)
Ribbon or twine (optional)
Steps to Make a Cute Cardboard Organizer:
Gather Your Materials: Collect cardboard boxes of different sizes and empty matchboxes. Make sure they are clean and free from any debris.
Cut the Cardboard: Cut the cardboard into pieces of the desired sizes for your organizer compartments. You can make them as large or small as you like, depending on what you plan to store.
Decorate the Cardboard: Cover the cardboard pieces with decorative paper or fabric. This adds a cute and personalized touch to your organizer. Use craft glue to secure the paper or fabric in place.
Assemble the Compartments: Arrange the cardboard pieces to create the compartments of your organizer. You can stack them or arrange them side by side. Use craft glue or a hot glue gun to attach them securely.
Make the Matchbox Drawers:
a. Decorate the empty matchboxes with decorative paper or paint them in cute colors and patterns.
b. Once dry, glue the matchboxes into some of the compartments to create small drawers.
Add Finishing Touches: You can further decorate your organizer with markers, paint, or ribbon. Get creative and add any embellishments you like.
Let It Dry: Allow the glue and any paint to dry completely before using your cute cardboard organizer and matchbox.
Now you have a charming and functional organizer made from waste materials. You can use it to store small items like jewelry, office supplies, or craft materials. It's a great way to upcycle and reduce waste while adding a touch of cuteness to your space!
-
 8:19
8:19
MattMorseTV
6 hours ago $0.90 earnedTrump is ACTUALLY DOING IT.
1.82K17 -
 LIVE
LIVE
ZWOGs
9 hours ago🔴LIVE IN 1440p! - Tarkov w/ Casey & crgoodw1n, Kingdom Come Deliverance, & More - Come Hang Out!
47 watching -
 1:45:02
Glenn Greenwald
4 hours agoIsrael Slaughters More Journalists, Hiding War Crimes; Trump's Unconstitutional Flag Burning Ban; Glenn Takes Your Questions | SYSTEM UPDATE #504
68K68 -
 LIVE
LIVE
Killerperk
48 minutes agoRoad to BF6. Come hang out #regiment #bf6
62 watching -
 LIVE
LIVE
Jokeuhl Gaming and Chat
1 hour agoDARKTIDE - Warhammer 40k w/ Nubes Bloobs and AoA
61 watching -
 LIVE
LIVE
Cripiechuccles
2 hours ago😁💚💙MOTA MONDAY WITH CRIPIE💚💙 👌SMOKING, GAMING & WATCHING FLICKS!:😁
49 watching -
 36:11
36:11
Stephen Gardner
1 hour ago🔥'Burn ALL TRUMP FLAGS’ says Tim Walz + Democrat CAUGHT rigging own election!
2192 -
 10:10
10:10
robbijan
1 day agoHollywood’s Hidden Messages: Predictive Programming & What’s Next
1.13K9 -
 40:13
40:13
MattMorseTV
3 hours ago $3.62 earned🔴It's EVEN WORSE than we thought...🔴
23.3K59 -
 LIVE
LIVE
MissesMaam
4 hours agoDying Light w/ Da Bois💚✨
77 watching