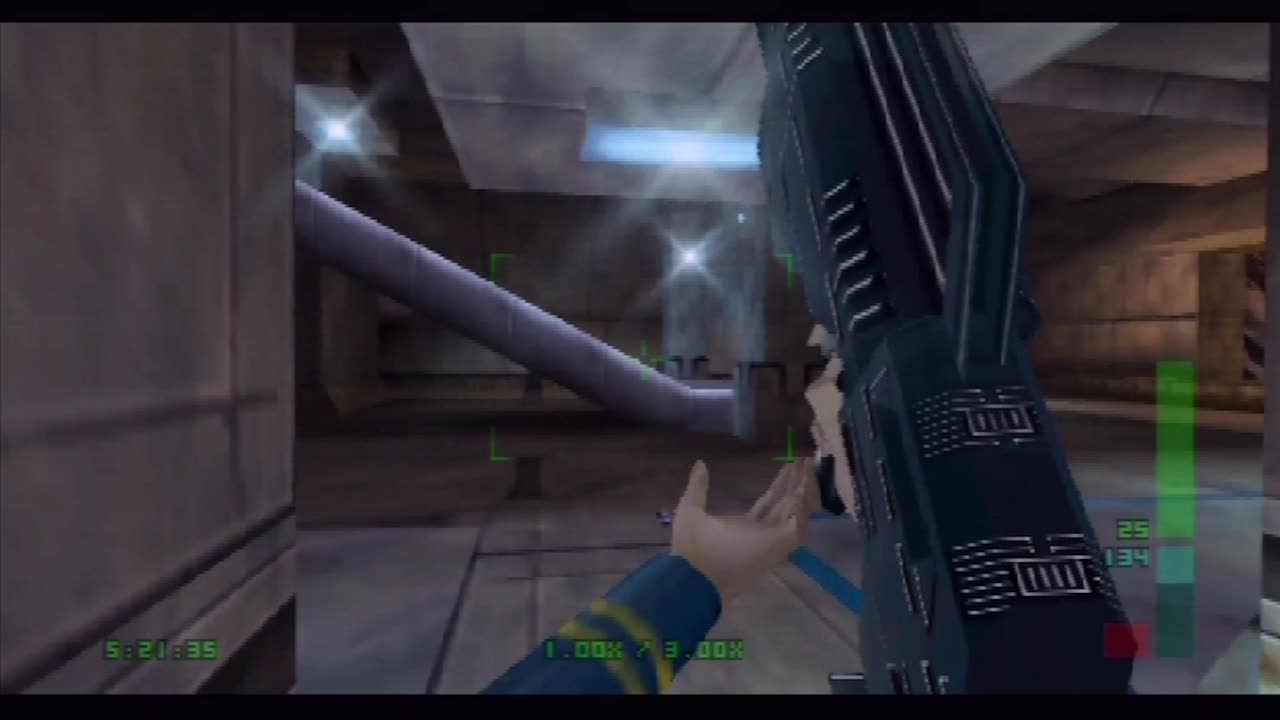
Perfect Dark Perfect Agent Playthrough (Actual N64 Capture) - Air Base Espionage
This is part 10 of my capture of me playing through the solo missions of Perfect Dark for the Nintendo 64. This is not an emulator. This footage was captured directly from my Nintendo 64 using an actual Perfect Dark cartridge. I'm playing on Perfect Agent difficulty.
When I uploaded my first Perfect Dark playthrough in 2012, I wasn't able to find any useful strategies for this mission by relying on either the Player's Guide or other videos. Most people just seemed believe that the Proximity Mines were worthless in this mission because you have to check in your equipment before taking on hoards of guards (leaving you without the weapons that you've collected to this point). But I devised a way to use the proximity mines to great effect. Here's how my method works:
After you disable the guards outside and grab the suitcase from upstairs, head into the escalator area and start taking out guards with your fists. Just walk behind them and punch them. If they greet you they'll stay in that spot for a moment, so circle behind them and don't worry about them turning around. I also prefer to punch out the guard near the baggage check so I don't have to worry about him later.
Before you check your luggage, run around this area and continue taking out guards, including the two Magnum-toting guards (one near the escalator, one near the freight elevator). Make sure you don't accidentally go through the metal detector near the left escalator as you'll fail the mission. This is why you only go down the right escalator where the two guards are stationed (one of them is in a dark suit and carries the aforementioned Magnum).
After you take out all the guards, place the proximity mines exactly where I placed them, and if you want, place your Dragon where I placed mine. When you're ready, head back down the escalator that goes to the baggage check and drop your suitcase. Then race to the security monitoring room, but make sure to stay away from your proximity mine you placed near the escalator, and make sure to hug the left wall directly below the security monitoring room to avoid setting off your other proximity mines.
Once you disable the security system you'll be swarmed by guards, but your proximity mines will make quick work of them. Your K7 Avenger can take care of any scraps. Feel free to grab some ammo, then head into the escalator area. It won't take long for more guards to arrive, but thankfully, your proximity mine that you placed at the top of the escalator will dispatch that wave of guards. Assuming you don't shoot the remaining guards downstairs with one of your guns, the last proximity mine at the bottom of the escalator will take them out. One thing I must note is that you can't place proximity on the escalator itself because its constant movement will set them off within a few seconds.
If you took out all three Magnum-toting guards (and made sure to knock out the one in the security monitoring room last), you'll also have double Magnums. This is the hidden weapon in this mission. However, the double Magnums won't do you any good unless you pick them up after you've checked your equipment. Otherwise, you'll simply lose them. They're not necessary or even recommended for this mission, but if you want to get them, it's not difficult using my method.
It's easier to board Air Force One from the upper level since you get to bypass another hoard of guards and don't have to deal with the laser grid defense system. Using my method, you're almost guaranteed to take no damage during this mission.
Recorded with the Hauppauge HD PVR and the official N64 S-video cable with native widescreen mode enabled. I used a Toshiba model D-R550 DVD Recorder to upconvert the N64's native 240p signal to 480i so that the Hauppauge could capture the console's audio/video signal.
I'm using a standard N64 controller.
-
 11:37
11:37
WatchmeplayNintendo
7 days agoExcite Truck S-Rank Playthrough - Tutorials
31 -
 43:55
43:55
pewculture
6 days ago $0.17 earnedIf the Purge was real, this is what we'd do... - EP#24
1.89K3 -
 8:14
8:14
MattMorseTV
1 day ago $8.38 earnedTrump just DROPPED the HAMMER.
47.3K59 -
 LIVE
LIVE
Lofi Girl
2 years agoSynthwave Radio 🌌 - beats to chill/game to
163 watching -
 22:39
22:39
BlabberingCollector
7 hours agoThe Alphabet Mafia Is Mad At JK Rowling AGAIN
1.05K2 -
 5:30:52
SpartakusLIVE
8 hours agoDuos w/ @GloryJean || #1 Masculine Muscle MASS sears YOUR retinas with MIND BENDING content
197K3 -
 3:05:49
TimcastIRL
7 hours agoNew DOCS PROVE Obama Hillary CONSPIRACY To SABOTAGE Trump Admin | Timcast IRL
211K91 -
 2:29:36
Laura Loomer
8 hours agoEP136: YOU'RE FIRED! White House Vetting Crisis Continues
52.4K39 -
 8:07
8:07
MattMorseTV
8 hours ago $5.51 earnedTrump just LOWERED PRICES by 75 PERCENT.
31.4K33 -
 LIVE
LIVE
Misfit Electronic Gaming
10 hours ago $3.68 earned"LIVE" "Blind Descent' +"Dollhouse of Dead" Playtest 10 Followers till we hit 1000! We CAN do this!
533 watching