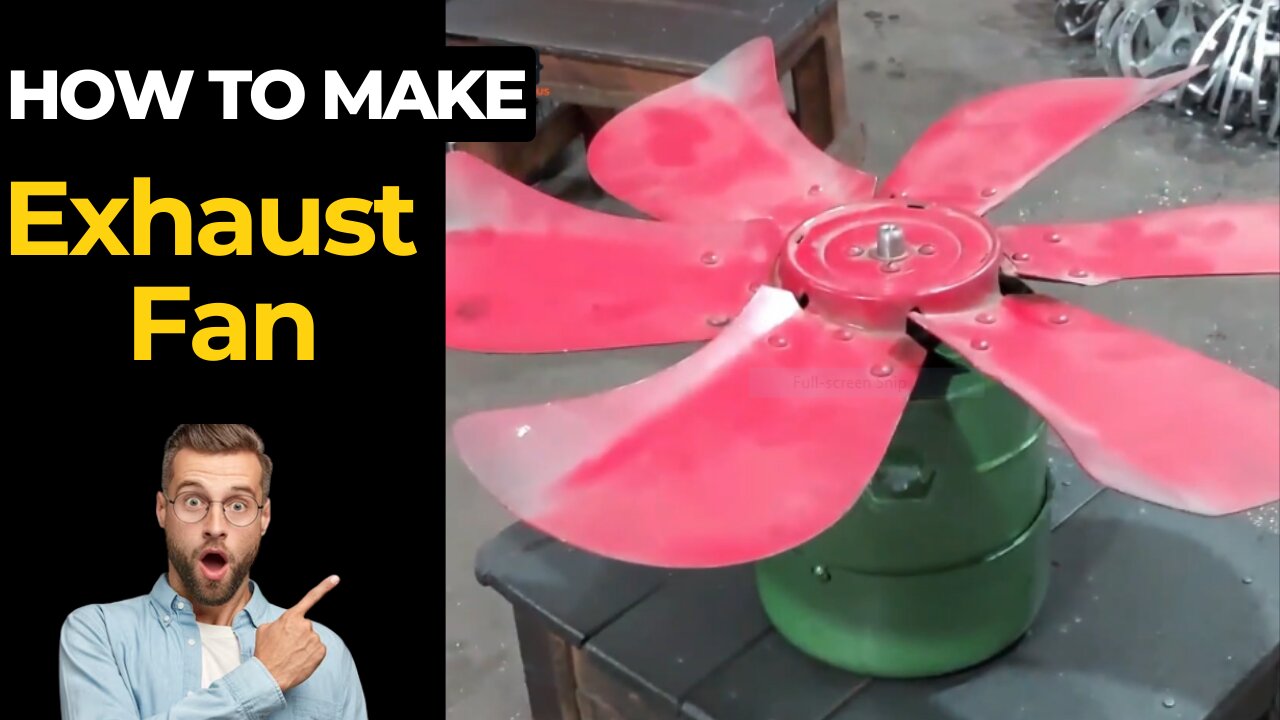
How to Make a Cheapest EXHAUST FAN for Room/Washroom
In this DIY tutorial, we'll show you how to make your own exhaust fan from scratch. Whether you need better ventilation in your kitchen, bathroom, or workshop, this budget-friendly project is perfect for improving air circulation. Follow along as we guide you through the process step by step.
Materials Needed:
A high-speed DC motor (120V or 220V, depending on your power source)
PVC pipe (size and length may vary depending on your needs)
PVC pipe fittings (elbows, couplings, and end caps)
A power cord with a plug
A switch or speed controller (optional)
Screws
Wire nuts or connectors
A safety grill or wire mesh
Electrical tape
Screwdriver
Drill and drill bits
Saw or PVC pipe cutter
Sandpaper or file
Safety glasses and gloves
Safety Precautions:
Always wear safety glasses and gloves when working with power tools and cutting materials.
Ensure the power source is disconnected when making electrical connections.
Keep fingers and loose clothing away from moving parts of the motor.
Work in a well-ventilated area or wear a mask when cutting PVC to avoid inhaling dust.
Steps:
Cut the PVC Pipe: Measure and cut the PVC pipe to the desired length. This will be the exhaust duct.
Assemble the Exhaust Duct: Use PVC fittings to assemble the exhaust duct. Ensure it's airtight to prevent air leakage.
Prepare the Motor: Attach the motor to one end of the exhaust duct using screws. Make sure it's securely fastened.
Wire the Motor: Connect the power cord to the motor wires using wire nuts or connectors. If using a switch or speed controller, wire it in as well.
Safety Grill: Attach a safety grill or wire mesh to the open end of the exhaust duct to prevent foreign objects from entering the fan.
Test and Install: Plug in the power cord and test the exhaust fan to make sure it's working properly. If it is, you can now install it in the desired location.
Final Adjustments: Make any final adjustments, such as securing the fan in place and ensuring it's properly aligned with the exhaust outlet.
Additional Tips:
Consider adding a timer or humidity sensor for automatic operation.
Regularly clean and maintain your homemade exhaust fan to ensure optimal performance.
Please note: This DIY project requires electrical knowledge and should be done with caution. If you are not comfortable working with electricity, consider seeking assistance from a qualified electrician.
If you found this DIY exhaust fan tutorial helpful, please give it a thumbs up, subscribe to our channel, and share it with your friends. Feel free to ask any questions or share your own tips in the comments section below.
Subscribe for more DIY projects and home improvement ideas!
crafting, diy, diyproject, exhaustfan, howtomake, howitmade,
-
 8:44:47
SpartakusLIVE
11 hours ago$20,000 Hide and Seek Tourney w/ Stonemountain64 || #1 Rat wins the BIG CHEESE
62.3K -
 2:34:02
Barry Cunningham
7 hours agoLISA COOK | ADAM SCHIFF | LETITIA JAMES | ARE THEY BEING SACRIFICED BY THE DEEP STATE?
89.4K53 -
 1:36:19
Flyover Conservatives
15 hours agoOnly 17% of Millennials Hit These 5 Adult Milestones—Why?; What If Childhood Trauma Is Behind Your Health Problems? - Dr. Troy Spurrill | FOC Show
32.6K4 -
 4:49:04
HogansAlleyHero
17 hours ago💥CHASING DOPAMINE💥✅TRUMP SAYS BATTLEFIELD IS THE BEST✅
41.8K3 -
 1:57:40
MattMorseTV
7 hours ago $10.90 earned🔴Trump just SHATTERED the PROJECTIONS.🔴
54.3K50 -
 2:32:19
megimu32
6 hours agoOTS: From Star Search to Superstardom
38.7K4 -
 1:56:21
Joker Effect
5 hours agoInterviewing GREENMAN! Looks like he is coming to Rumble! Let's give him a warm welcome! REAL TALENT
23.7K1 -
 1:07:21
Anthony Rogers
12 hours agoEpisode 380 - Is Pain All In Your Head?
16.6K3 -
 1:46:17
Glenn Greenwald
10 hours agoGlenn Takes Your Questions on Censorship, Epstein, and More; DNC Rejects Embargo of Weapons to Israel with Journalist Dave Weigel | SYSTEM UPDATE #505
118K8 -
 3:26:34
Jokeuhl Gaming and Chat
11 hours agoHelldivers 2 - Spreading Democracy w/ Ryker
13.2K1