Trapping 500 Nails In Epoxy To DIY A Custom Chair , Crafty Panda How , craftypandaa
Prepare Your Chair Base: Ensure that your chair base or frame is ready and structurally sound. You can create a custom chair frame from wood or metal, or you can repurpose an existing chair by modifying it to your liking.
Design and Layout: Plan the layout of the nails on the chair. This will require some creativity and artistic vision. You can create patterns, shapes, or simply scatter the nails randomly depending on your desired aesthetic.
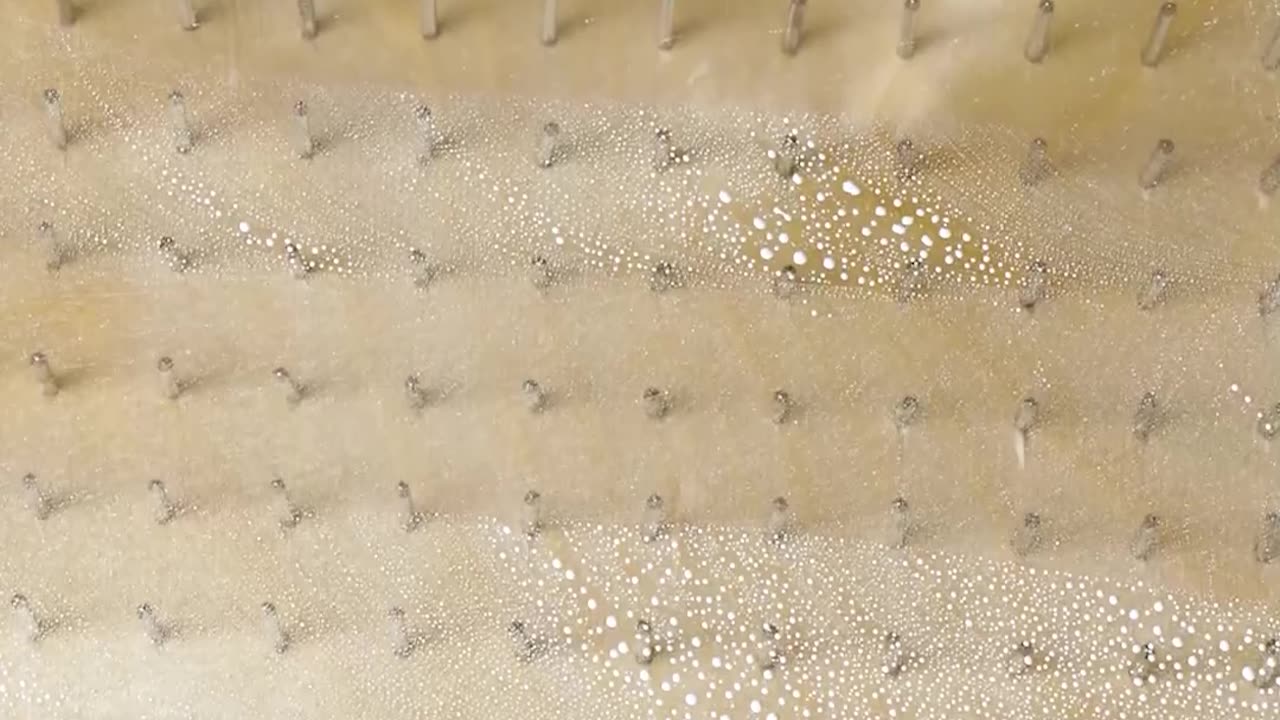
Secure the Nails: Begin by placing the nails in the desired positions on the chair. Make sure they are positioned securely and evenly spaced.
Mix the Epoxy Resin: Follow the manufacturer's instructions to mix the epoxy resin and hardener in a container. Ensure that you have enough epoxy to cover all the nails.
Apply Epoxy Resin: Carefully pour the mixed epoxy resin over the nails, ensuring that it covers them completely. Use a stir stick or a brush to spread the epoxy evenly if needed.
Remove Air Bubbles: Gently tap the chair frame or use a heat gun (on a low setting) to remove any air bubbles that may have formed in the epoxy.
Cure Time: Allow the epoxy to cure according to the manufacturer's instructions. This can take several hours to a few days, depending on the specific epoxy you use.
Sand and Finish: Once the epoxy has fully cured, sand the surface to make it smooth and level. You may need to use progressively finer grits of sandpaper for a polished finish.
Seal and Protect: Apply a clear coat or sealer to protect the epoxy and enhance its appearance. This will also help
-
 1:18:24
Glenn Greenwald
9 hours agoLiberals Encourage Family & Friends To Separate Over Political Disputes; Segment Debut Of System Pupdate: Profiles Of Rescued Dogs | SYSTEM UPDATE #373
102K151 -
 1:24:53
Flyover Conservatives
1 day agoMarketing Madness or Manipulation? The War on Western Identity - Alex Newman; Economic Update - Dr. Kirk Elliott | FOC Show
39K4 -
 1:15:05
PMG
1 day ago $6.96 earned"Big Pharma EXPOSED: The HIDDEN Cures They Tried to Bury"
32.4K6 -
 3:26:12
Tundra Gaming Live
7 hours ago $2.14 earnedThe Worlds Okayest War Thunder Stream
29.1K1 -
 1:49:52
VOPUSARADIO
14 hours agoPOLITI-SHOCK! Back To Back Guests: Rebekah Koffler & Dr. Michael Schwartz
19.9K -
 59:44
59:44
The StoneZONE with Roger Stone
6 hours agoWill the Perps of the Russian Collusion Hoax Face Justice? | The StoneZONE w/ Roger Stone
32.3K12 -
 2:25:06
WeAreChange
8 hours agoCOMPLETE COLLAPSE: Media Spiraling Into OBLIVION As It Tries To Take Out Elon and Trump
75.9K13 -
 1:56:08
Darkhorse Podcast
13 hours agoTaste the Science: The 253rd Evolutionary Lens with Bret Weinstein and Heather Heying
82.5K80 -
 1:38:09
Barry Cunningham
9 hours agoTRUMP DAILY BRIEFING: Dems Threatening Trump Cabinet And Freaking Out Over Tariffs (and more!)
59K71 -
 4:31:46
Viss
11 hours ago🔴LIVE - Viss Arena Breakout Dominance!
110K49