Reverse effect and How can export or Render video After Effect lesson#14
Adobe After Effects is a powerful motion graphics and visual effects software commonly used in the film, television, and video production industries. It allows users to create captivating animations, compositing, and post-production effects. One of the essential functions in After Effects is the ability to reverse footage, and another crucial aspect is exporting or rendering videos. Here's a brief description of each:
Reverse Footage in After Effects:
After Effects offers a simple way to reverse video footage, which can be useful for creating various creative effects or correcting the flow of a scene. To reverse footage in After Effects, follow these steps:
a. Import Footage: Start by importing your video clip into your After Effects project.
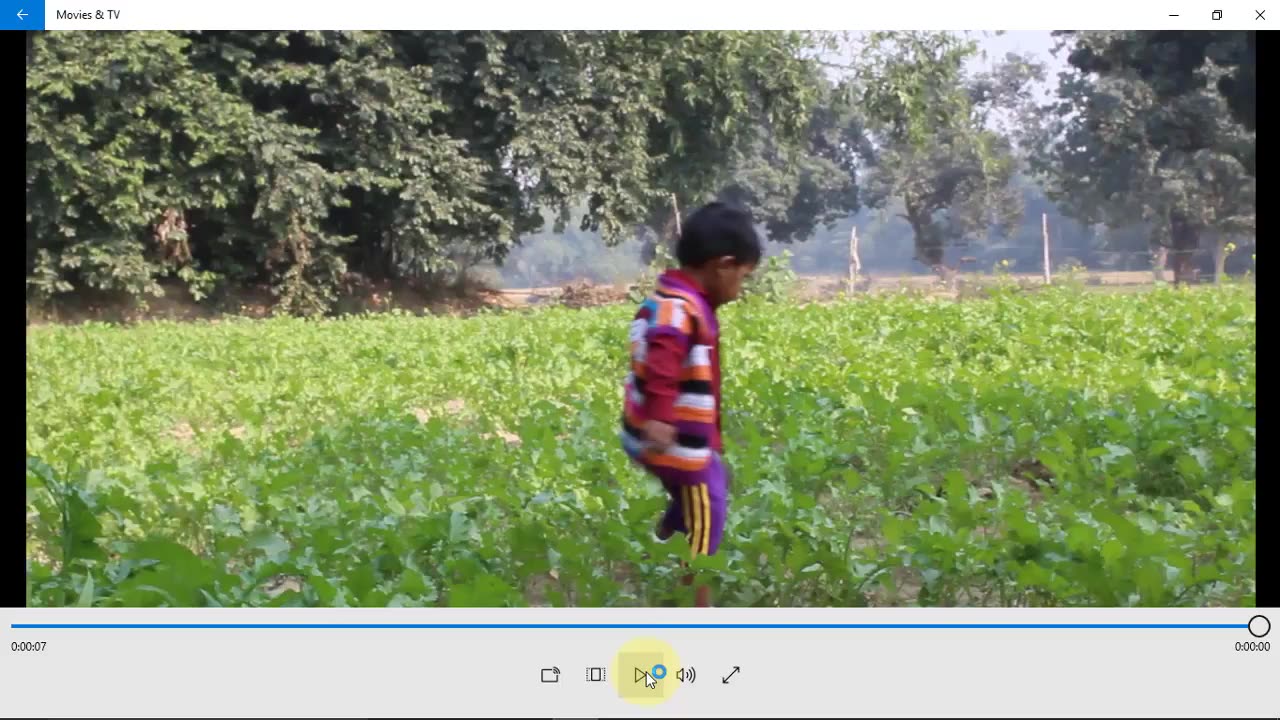
b. Create a New Composition: Drag and drop your footage into the timeline to create a new composition.
c. Time-Reverse Layer: Right-click on the layer in the timeline, go to "Time," and select "Time-Reverse Layer."
d. Preview and Adjust: You can now preview your reversed footage in the composition window. If necessary, you can trim or adjust the duration of the layer to control where the reversal starts and ends.
Exporting or Rendering Video in After Effects:
After creating your animations, composites, or edited video, you'll likely want to export or render your project into a final video file that can be shared or integrated into other editing software. Here's how you can export or render a video in After Effects:
a. Composition Settings: Make sure your composition settings (resolution, frame rate, duration, etc.) are correctly configured to match your desired output.
b. Select the Composition: In the Project panel, select the composition you want to export.
c. File > Export > Add to Adobe Media Encoder Queue: Go to the "File" menu, select "Export," and choose "Add to Adobe Media Encoder Queue."
d. Configure Export Settings: Adobe Media Encoder will open, allowing you to configure various export settings such as output format (e.g., MP4, MOV), codec, resolution, and more.
e. Queue and Start: After configuring your export settings, click the "Queue" button. This adds your composition to the encoding queue. Then, click the "Start Queue" button to begin the rendering process.
f. Output Location: Specify the destination folder where you want to save the rendered video.
g. Monitor Progress: You can monitor the export progress in Adobe Media Encoder, and once it's done, your video will be saved to the specified location.
h. Review and Share: After the rendering is complete, you can review your exported video to ensure it meets your requirements. Now you can share it with others or use it in your video editing projects.
Adobe After Effects offers a wide range of export settings and formats, so you can tailor the output to your specific needs, whether you're creating web content, broadcast-quality videos, or cinematic animations.
-
 3:22:43
Barry Cunningham
4 hours agoBREAKING NEWS: PRESIDENT TRUMP GIVES SPEECH TO THE NAVY!
58.4K30 -
 LIVE
LIVE
EyeSeeU8
1 hour ago🔴Warzone + BO7 Beta w/ EyeSeeU
22 watching -
 4:37:33
MattMorseTV
6 hours ago $89.73 earned🔴Trump's MAJOR ANNOUNCEMENT.🔴
77.4K149 -
 LIVE
LIVE
GritsGG
3 hours agoWarzone Win Grinding! Most Wins in WORLD! 3680+!
118 watching -
 1:10:51
Jeff Ahern
4 hours ago $3.17 earnedThe Sunday show with Jeff Ahern
21.4K3 -
 LIVE
LIVE
Putther
5 hours ago $1.91 earned🔴LAZY SUNDAY BOUNTY HUNTING ON GTA !!
97 watching -
 2:31:44
BBQPenguin_
3 hours agoThis is one of the BEST FREE TO PLAY Games!
12.9K -
 1:14:12
Sports Wars
7 hours agoMark Sanchez STABBED And Arrested, Bill Belichick DISASTER, MLB Playoffs, NFL Week 5
49.6K3 -
 1:30:58
Lara Logan
2 days agoENEMY AT THE GATES: Trevor Loudon Unmasks the Sinister Alliance Working to Destroy America | Ep 38
52.4K72 -
 LIVE
LIVE
NeoX5
5 hours agoCastlevania: Dawn of Sorrow | Part 1 | First Playthrough | Rumble Gaming
32 watching
