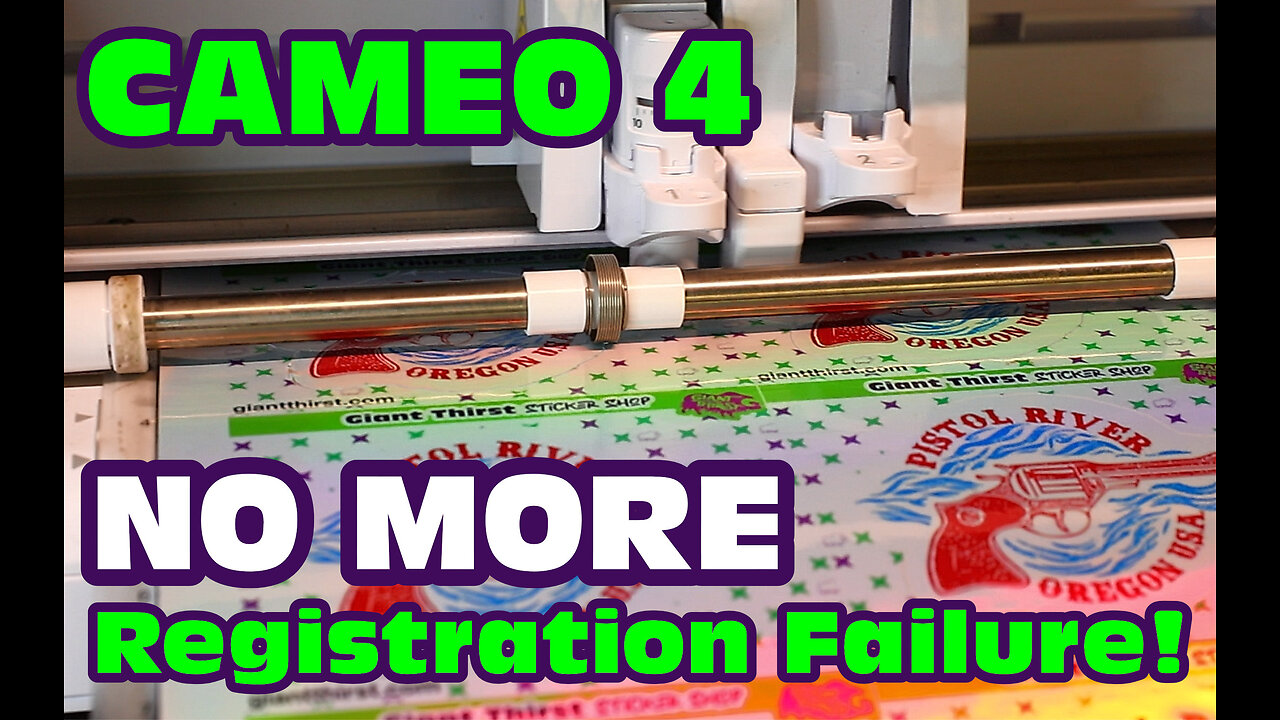
Cameo 4 Holographic & Reflective Print and Cut Tutorial.
In this video, I will show you my solution for Cameo 4 registration failing when using holographic and reflective papers.
Step 1: Print your design with registration marks turned on.
Step 2: Use small pieces of WHITE MATTE sticker paper to cover the registration marks. This can be matte sticker paper, adhesive labels or can even be plain printer paper glued or taped over the registration marks.
Step 3: Place the sticker paper into your printer in the correct orientation of your printer. Move the image or design off of the page in Silhouette Designer so that only the registration marks are showing. Reprint the sheet of paper, ONLY PRINTING THE REGISTRATION MARK.
The registration marks are now printed on matte paper, allowing the laser on the cutter to read the marks correct and align the cut.
Step 4: In Silhouette Design Studio add the shape you want to cut out of the sticker paper and send to cut.
The settings I use are Blade Depth: 3 Force:10 Speed:4 Passes:2
These settings will cut through the sticker paper but not the backing. I used these for peel and stick sticker. To cut through the whole sheet set Blade Depth to 4.
Step 5: Watch carefully and make sure the red laser on the machine passed over and scans the registration marks. If the laser is scanning above, below, or to the side of the marks, the registration is not correct and you will get bad results.
Holographic sticker paper I used in this video:
https://www.amazon.com/gp/product/B0915S8S9V/ref=ppx_yo_dt_b_search_asin_title?ie=UTF8&th=1
-
 53:14
53:14
Candace Show Podcast
3 hours agoThe MOST MORAL Blackmail In The World | Candace EP 231
35.2K125 -
 1:11:28
vivafrei
5 hours agoMatt Taibbi Getting "Westfalled"? Kathy Hochul Fighting for Illegals! Mamdani Minority Report & MORE
85.7K51 -
 2:03:39
Pop Culture Crisis
5 hours agoWTF Happened to Miley Cyrus? HARRY POTTER Set Images, Sydney Sweeney Hater EXPOSED | Ep. 901
30.5K21 -
 10:17
10:17
MattMorseTV
5 hours ago $7.13 earnedTrump's DOJ just DROPPED a NUKE.
39.1K38 -
 11:07
11:07
Politibrawl
12 days agoRepublican rising star DESTROYS theatrical Democrat in front of the entire world
79.4K30 -
 4:42:30
StoneMountain64
6 hours agoOnly game with BETTER desctruction than Battlefield?
53.6K -
 4:51:37
Viss
7 hours ago🔴LIVE - Viss & Dr Disrespect Take on The 5 Win Minimum PUBG Challenge!
27.5K2 -
 3:50:11
sophiesnazz
4 hours ago $0.63 earnedLETS TALK ABOUT BO7 !socials !specs
20.2K -
 1:12:05
The Quartering
6 hours agoToday's Breaking News!
87.5K54 -
 8:20:24
GritsGG
10 hours agoWin Streaking! Most Wins 3390+ 🧠
55.9K2