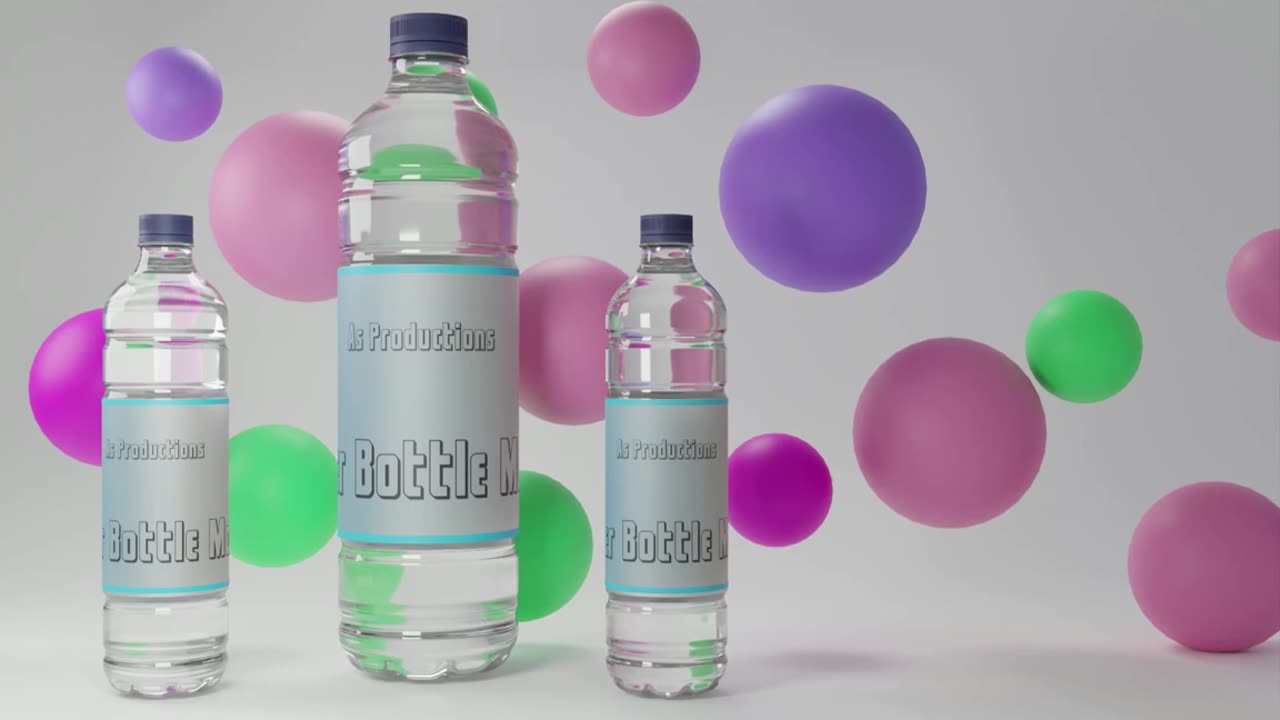
How to Create a Realistic Blender Water Bottle: 10 mins
Blender is a powerful 3D modeling software that can be used to create realistic objects, including water bottles. In this tutorial, we will guide you through the process of creating a realistic blender water bottle from scratch.
Step 1: Choose a Reference Image
To begin, choose a reference image of a water bottle that you want to recreate in Blender. You can find reference images online or take your own picture of a water bottle.
Step 2: Model the Bottle Shape
Import the reference image into Blender and use it as a guide to create a cylinder that will serve as the basis for the bottle's shape. Adjust the size and shape of the cylinder to match the reference image.
Step 3: Model the Cap
Next, create the cap of the water bottle. Adjust the size and shape to match the reference image.
Step 4: Create the Water
To create the water, you will need to duplicate the faces of the bottle and separate them by selection. Then, add a transparent and a principle bsdf shader with transmission value and mix it with mix shader. Use the principle bsdf with some transmission roughness for the water.
Step 5: Add Texture to the Cap
For the bottle cap, add a bump node with wave texture in the normal. This will give the cap a textured look that resembles the ridges found on a real water bottle cap.
Step 6: Adjust Render Settings
To render the water bottle, adjust the render settings to get the best possible result. Experiment with different lighting setups, camera angles, and materials until you get the desired look.
By following these steps, you can create a realistic water bottle in Blender. With some practice, you can even modify the process to create different shapes, textures, and materials. So, grab your Blender software and start creating!
-
 7:42
7:42
China Uncensored
10 hours agoIndia Has Surpassed China
11.9K10 -
 8:47
8:47
Hollywood Exposed
8 hours agoJoe Rogan and Zachary Levi DESTROY Gavin Newsom’s Lies About California
6.32K3 -
 LIVE
LIVE
BlackDiamondGunsandGear
2 hours agoInside NEW Glock V Models / Whats Next? / You giving up Glock?
211 watching -
 2:05:31
Glenn Greenwald
7 hours ago"Former" Al-Qaeda Leader Welcomed to the White House; The "New TikTok" Clamps Down on Israel Critics: With Influencer Guy Christensen; Dave Portnoy Decries Cancel Culture, Unless His Group is Under Attack | SYSTEM UPDATE #545
123K56 -
 7:30:07
Spartan
8 hours agoNine Sols
7.2K -
 2:34:56
SOLTEKGG
3 hours ago🔴 HUGE UPDATE - Veterans Day | Redbull x Dogtag Giveaway
8.84K1 -
 1:23:36
Flyover Conservatives
12 hours agoTough Love for Trump: What Must Change Now to Win Back America - Dennis Michael Lynch | FOC Show
18.7K2 -
 1:56:43
The White House
4 hours agoAbove, Below & Beyond: A Presidential Special
28.5K13 -
 1:12:44
Sarah Westall
4 hours agoYounger Brains Have Changed! Human Beings are Different Now w/ Neurologist Dr Jack McCallum
18.2K5 -
 2:24:49
megimu32
3 hours agoON THE SUBJECT: The Movies That Made Millennials — And the Ones That Missed 🎥
15.6K6