Premium Only Content

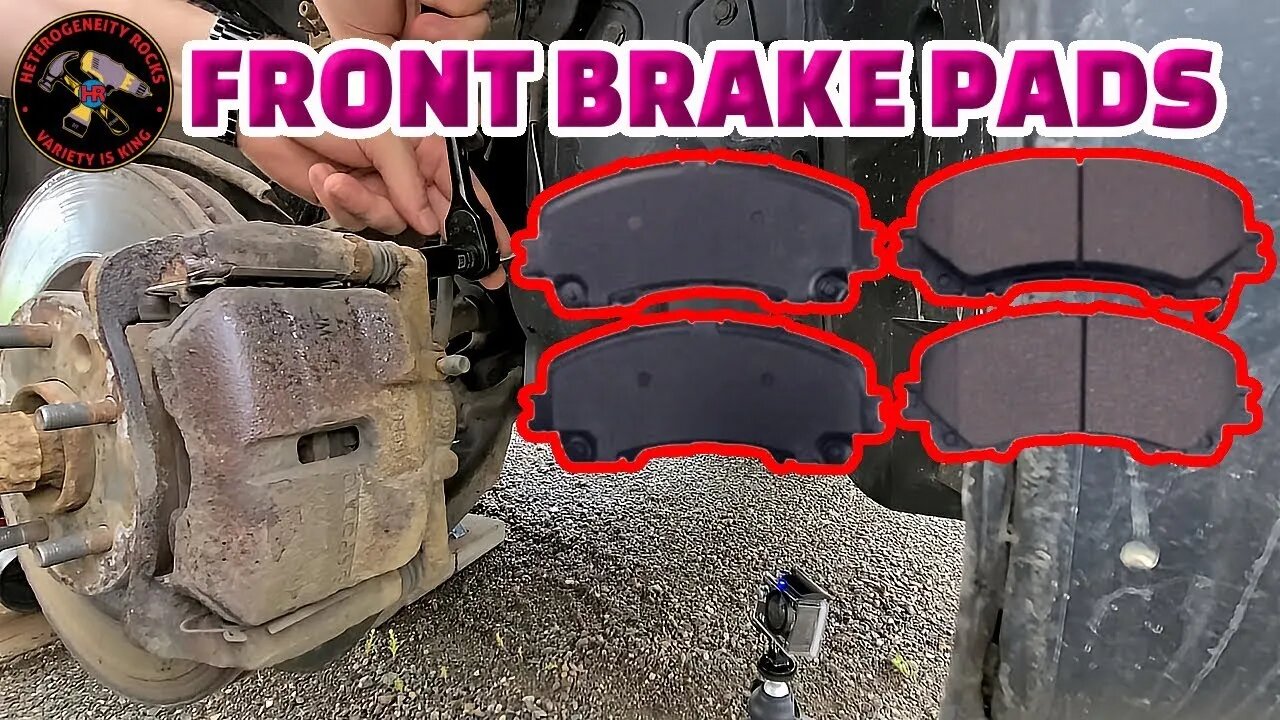
How to replace your front brake pads. #brake #mechanic
How to replace your front brake pads. Here at heterogeneity Rocks we want you to know that we are not a mechanic and you do this at your own risk.
Disclaimer: DIY projects featured in this channel are undertaken at your own risk. Prioritize caution, follow safety guidelines, and consult professionals for complex or hazardous projects. The creators are not liable for any loss, damage, or injury resulting from the content. Additionally, this channel may include tool or product reviews. While these reviews aim to provide helpful insights, viewers should conduct their own research and make informed decisions before purchasing any reviewed tools or products. Affiliate links or sponsorships support the channel, but it is important to independently evaluate the suitability and reliability of the recommended tools or products before making a purchase.
Note: Before starting, make sure you have all the required tools and safety equipment, including a jack, jack stands, lug wrench, c-clamp or brake caliper tool, a set of new brake pads, brake fluid, and gloves.
1. Gather Tools and Materials:
Jack and jack stands
Lug wrench
C-clamp or brake caliper tool
Wrench or socket set
Brake fluid
New brake pads
Brake cleaner
Gloves and safety glasses
2. Prepare the Vehicle:
Park the car on a level surface and engage the parking brake.
Loosen the lug nuts on the front wheels slightly (don't remove them completely).
3. Lift the Vehicle:
Use the jack to lift the front of the vehicle.
Place jack stands under the vehicle for added safety.
Fully remove the lug nuts and take off the front wheels.
4. Remove the Brake Caliper:
Locate the brake caliper (the component that clamps onto the brake rotor).
Remove the caliper bolts using a wrench or socket.
Gently slide the caliper off the rotor and suspend it using a wire or bungee cord to prevent strain on the brake hose.
5. Remove the Old Brake Pads:
Take note of how the old brake pads are positioned and connected.
Carefully remove the brake pads from the caliper bracket. You might need to use a screwdriver to gently pry them out.
6. Compress the Caliper Piston:
Before installing the new pads, you need to compress the caliper piston to make room for the thicker pads.
Place an old brake pad against the piston.
Use a c-clamp or brake caliper tool to slowly compress the piston back into the caliper housing.
7. Install the New Brake Pads:
Apply a thin layer of brake grease to the back of the new brake pads (where they contact the caliper bracket).
Place the new brake pads into the caliper bracket, aligning them as the old ones were.
8. Reattach the Brake Caliper:
Slide the caliper back onto the rotor, making sure the brake pads fit over the rotor properly.
Reinstall and tighten the caliper bolts.
9. Reinstall the Wheels:
Put the front wheels back on and hand-tighten the lug nuts.
10. Lower the Vehicle:
Use the jack to lower the vehicle off the jack stands.
11. Tighten Lug Nuts and Test Brakes:
Tighten the lug nuts in a star pattern to ensure even tightening.
Gently press the brake pedal a few times to seat the new brake pads.
12. Check Brake Fluid Level:
Open the brake fluid reservoir under the hood and check the fluid level. If necessary, add brake fluid to the recommended level.
13. Test Drive:
Take the vehicle for a short test drive in a safe area to ensure the brakes are functioning correctly.
Remember, brake work is critical for your safety. If you're unsure about any step, it's best to consult a professional mechanic. Always follow proper safety procedures and guidelines when working on your vehicle.
-
 LIVE
LIVE
Lofi Girl
3 years agolofi hip hop radio 📚 - beats to relax/study to
249 watching -
 21:37
21:37
Forrest Galante
1 day ago6 Deadly Sea Monsters That Actually Exist
149K10 -
 23:24
23:24
Stephen Gardner
12 hours agoYou WON'T Believe What Happened To Lindsey Graham
72.9K50 -
 8:05:17
SpartakusLIVE
11 hours agoSolos on ARC: UNBANNED
258K12 -
 30:29
30:29
Robbi On The Record
11 hours ago $11.78 earnedWhales Are Selling. Banks Are Nervous. Bitcoin analysis ft Simply Bitcoin Tv
24.9K9 -
 2:28:12
vivafrei
19 hours agoEp. 291: More Epstein Documents! Stacey Plaskett SCANDAL! Butler Cover-Up, Tucker Smea & MORE!
218K277 -
 6:06:22
xLuigi34x
10 hours ago100 Follower Special! Going to 100% The DKC Trilogy on stream!
55.7K9 -
 50:27
50:27
Sarah Westall
8 hours agoMusk Helps Expose the Most Consequential Political Blackmail Operation in Modern British History
40.4K23 -
 4:52:47
Due Dissidence
17 hours agoTrump GOES NUCLEAR on MTG, Tucker Exposes Butler COVERUP, Shmuley SUED For HILARIOUS Reason
55.7K30 -
 20:13
20:13
RealReaper
12 hours ago $6.03 earnedPredator Badlands: If You Like This Movie Then I Hate You
38.8K22