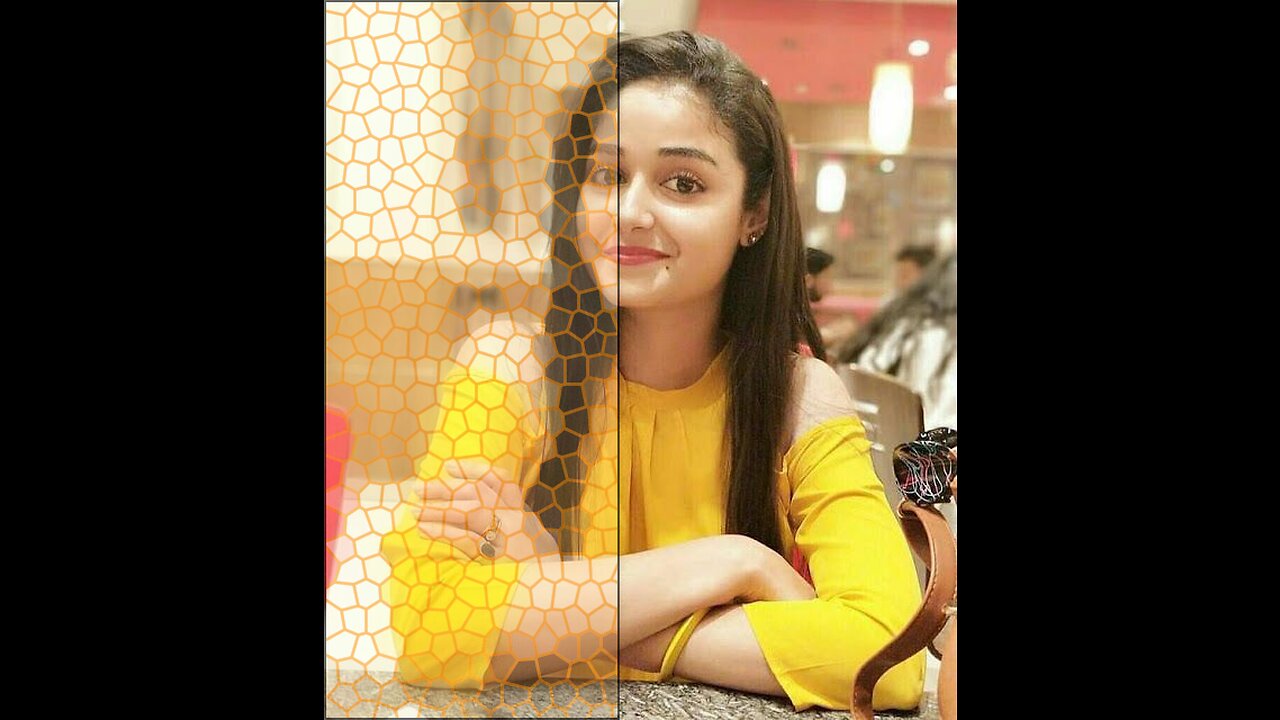
How to make a Glass Effects in photoshop #graphicdesigner
Hi,
I am Awais. I am a professional graphics designer.
Creating a glass effect in Photoshop involves a combination of layer styles, blending modes, and filters. Here's a step-by-step guide on how to achieve a simple glass effect on text:
*Step 1: Create a New Document*
1. Open Photoshop and create a new document of the desired size.
2. Choose a background color that complements the glass effect.
*Step 2: Add Text*
1. Select the Text tool (T) from the toolbar.
2. Choose a font and size for your text.
3. Type the text you want to apply the glass effect to.
*Step 3: Apply Base Layer Styles*
1. Right-click on the text layer in the Layers panel and select "Blending Options."
2. In the Layer Style dialog, apply the following settings:
- *Bevel & Emboss:*
- Style: Inner Bevel
- Technique: Chisel Hard
- Size: Adjust as per your text size
- *Gradient Overlay:*
- Blend Mode: Screen or Overlay
- Gradient: Choose a white-to-transparent gradient
- *Satin:*
- Blend Mode: Multiply or Overlay
- Color: Choose a light color similar to glass (e.g., light blue)
- *Stroke:*
- Size: 1-2 pixels
- Position: Inside
- Color: White or a light color
*Step 4: Apply Glass Texture*
1. Create a new layer above the text layer.
2. Fill the new layer with a light blue color using the Paint Bucket tool.
3. Download or create a glass texture image and place it on the new layer.
4. Resize and position the texture to cover the text.
*Step 5: Adjust Blending Modes*
1. Change the blending mode of the glass texture layer to "Overlay" or "Screen" to blend it with the text and underlying layers.
2. If the effect is too strong, reduce the layer opacity to tone it down.
*Step 6: Add Highlights and Shadows*
1. Create a new layer above all other layers.
2. Use the Brush tool (B) with a soft brush and a white color to paint highlights on the edges and corners of the text to simulate glass reflections.
3. Create another new layer and use a soft black brush to paint shadows on the areas that would be shaded on a glass surface.
*Step 7: Final Adjustments*
1. Fine-tune the opacity of the highlight and shadow layers to achieve a realistic effect.
2. Adjust the overall opacity of the glass texture layer if necessary.
3. Play around with other adjustments, such as Levels, Curves, and Color Balance, to enhance the overall look of the glass effect.
Remember, the key to achieving a convincing glass effect is to pay attention to lighting, shadows, and reflections. Experiment with different settings and elements to find the best combination for your specific project.
-
 LIVE
LIVE
Total Horse Channel
13 hours agoAMHA World Show 2025 9/21
2,771 watching -
 LIVE
LIVE
Game On!
21 hours agoTHEY'RE BACK! NFL Wise Guys Return For Week 3 BEST BETS!
3,908 watching -
 6:42
6:42
NAG Daily
15 hours agoCharlie Kirk: His Words. His Vision. His Movement.
1.61K6 -
 21:42
21:42
Jasmin Laine
16 hours ago“Kimmel Isn’t a Victim, Charlie Kirk Was”—Gutfeld OBLITERATES Liberal Media Over FAKE Outrage
5K10 -
 33:59
33:59
ComedyDynamics
23 days agoBest of Jim Breuer: Let's Clear the Air
53.3K18 -
 2:11:03
Badlands Media
1 day agoDevolution Power Hour Ep. 391: First Principles, Psyops, and Hybrid Warfare
101K134 -
 2:45:52
BlackDiamondGunsandGear
13 hours agoAfter Hours Armory / America After Charlie Kirk
62.5K14 -
 2:08:04
Tundra Tactical
11 hours ago $25.22 earned🎉 Pro-2A Party LIVE! | Gun Games, Freedom Vibes & Letting Loose 🔫🇺🇸
70K5 -
 5:21:52
Rallied
11 hours ago $9.41 earnedWarzone Challenges All Night
49.1K4 -
 2:45:52
DLDAfterDark
12 hours ago $17.07 earnedWhat Are We Missing From The Charlie Kirk Incident? Feat. TN Tactical - After Hours Armory Live!
50.2K15