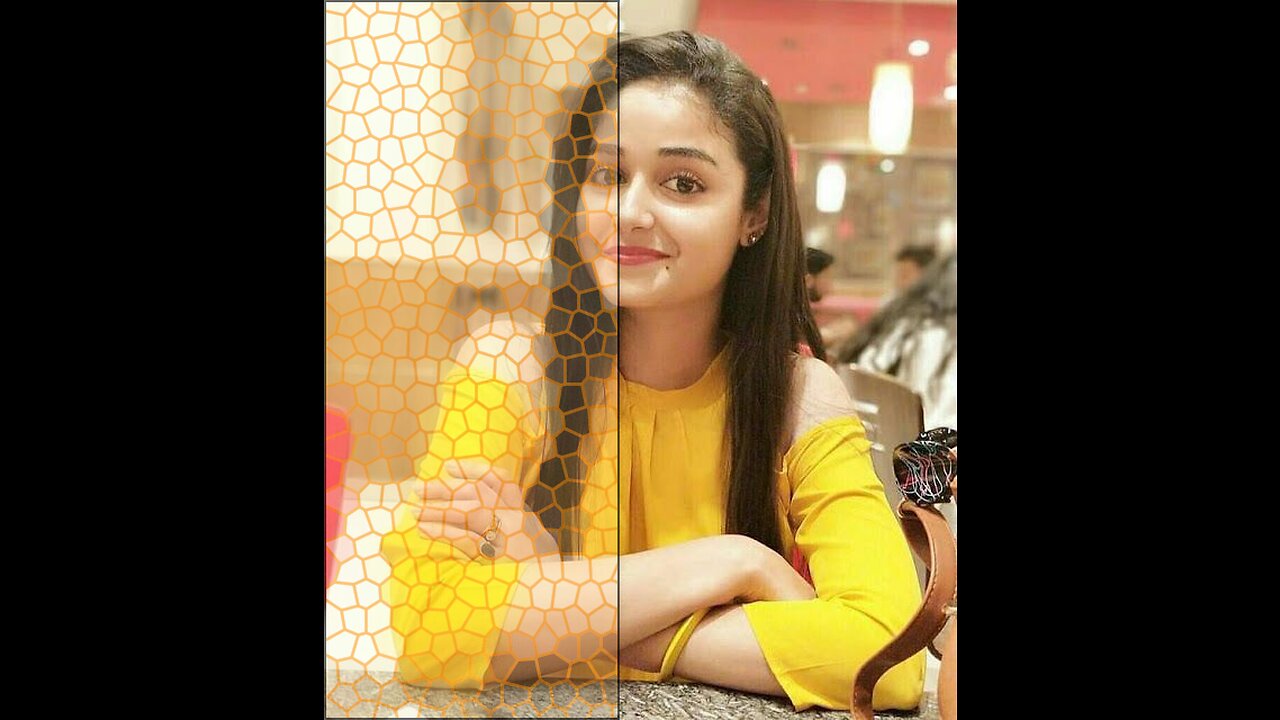
How to make a Glass Effects in photoshop #graphicdesigner
Hi,
I am Awais. I am a professional graphics designer.
Creating a glass effect in Photoshop involves a combination of layer styles, blending modes, and filters. Here's a step-by-step guide on how to achieve a simple glass effect on text:
*Step 1: Create a New Document*
1. Open Photoshop and create a new document of the desired size.
2. Choose a background color that complements the glass effect.
*Step 2: Add Text*
1. Select the Text tool (T) from the toolbar.
2. Choose a font and size for your text.
3. Type the text you want to apply the glass effect to.
*Step 3: Apply Base Layer Styles*
1. Right-click on the text layer in the Layers panel and select "Blending Options."
2. In the Layer Style dialog, apply the following settings:
- *Bevel & Emboss:*
- Style: Inner Bevel
- Technique: Chisel Hard
- Size: Adjust as per your text size
- *Gradient Overlay:*
- Blend Mode: Screen or Overlay
- Gradient: Choose a white-to-transparent gradient
- *Satin:*
- Blend Mode: Multiply or Overlay
- Color: Choose a light color similar to glass (e.g., light blue)
- *Stroke:*
- Size: 1-2 pixels
- Position: Inside
- Color: White or a light color
*Step 4: Apply Glass Texture*
1. Create a new layer above the text layer.
2. Fill the new layer with a light blue color using the Paint Bucket tool.
3. Download or create a glass texture image and place it on the new layer.
4. Resize and position the texture to cover the text.
*Step 5: Adjust Blending Modes*
1. Change the blending mode of the glass texture layer to "Overlay" or "Screen" to blend it with the text and underlying layers.
2. If the effect is too strong, reduce the layer opacity to tone it down.
*Step 6: Add Highlights and Shadows*
1. Create a new layer above all other layers.
2. Use the Brush tool (B) with a soft brush and a white color to paint highlights on the edges and corners of the text to simulate glass reflections.
3. Create another new layer and use a soft black brush to paint shadows on the areas that would be shaded on a glass surface.
*Step 7: Final Adjustments*
1. Fine-tune the opacity of the highlight and shadow layers to achieve a realistic effect.
2. Adjust the overall opacity of the glass texture layer if necessary.
3. Play around with other adjustments, such as Levels, Curves, and Color Balance, to enhance the overall look of the glass effect.
Remember, the key to achieving a convincing glass effect is to pay attention to lighting, shadows, and reflections. Experiment with different settings and elements to find the best combination for your specific project.
-
 LIVE
LIVE
SpartakusLIVE
5 hours agoThe BADDEST Duo in WZ Exhibits PEAK Physique || Duos w/ Sophiesnazz to start, quads later
16,166 watching -
 LIVE
LIVE
RattlesnakeTV
16 hours agoLIVE DEBATE! Lord Jake vs Crazy Feminist
278 watching -
 LIVE
LIVE
Badlands Media
8 hours agoThe Narrative Ep. 35: Codex of Truth
5,805 watching -
 3:55:56
Due Dissidence
11 hours agoSchmuley TRASHES Shapiro, Maxwell Sings For Pardon, Uhuru Doc Preview - Live From St. Louis!
20.3K30 -
 LIVE
LIVE
Lofi Girl
2 years agolofi hip hop radio 📚 - beats to relax/study to
270 watching -
 LIVE
LIVE
PandaSub2000
5 days agoLIVE 9:30pm ET | MADISON VR (The Scariest Game Ever Made)
93 watching -
 2:34:32
Badlands Media
4 days agoCODEX 9/11
253K199 -
 1:53:43
Nerdrotic
5 hours ago $0.24 earnedMysteries of 3I/ATLAS | Forbidden Frontier #113
35.1K4 -
 2:04:21
vivafrei
1 day agoEp. 278: D.C. Peace Wave! Big Tish & Nipple Judge SPANKED! "Maryland Man" Trafficker FREE & MORE?
79.1K100 -
 LIVE
LIVE
Damysus Gaming
2 hours agoBorderlands 3 - Part 8 - FL4K Time | Children of the Vault be Warned!
38 watching