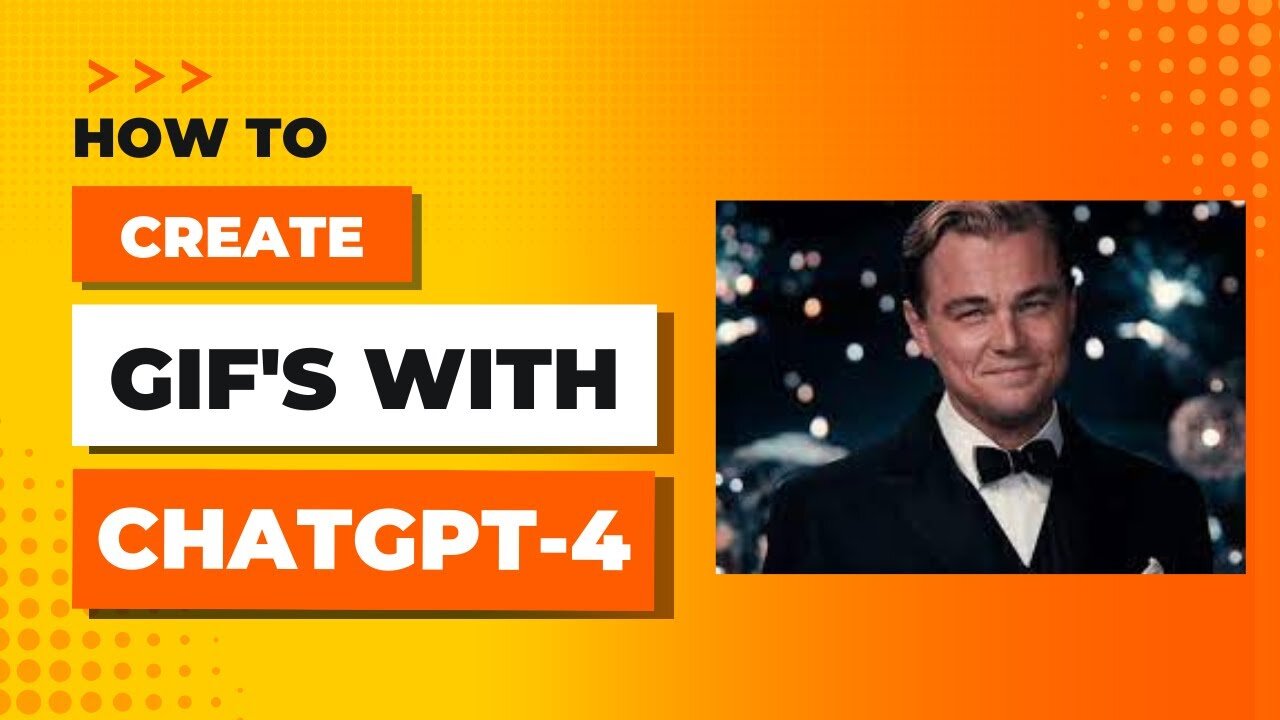
How To Create (One-Click) GIF'S With ChatGPT-4 - Code Interpreter
Welcome back to another informative video, everyone! In today's video, we're delving into the exciting features of the paid subscription of ChatGPT-4 / ChatGPT Plus. We are specifically focusing on how to create your own GIFs within the program itself, no external software needed!
🎬Video Timeline:
00:00 - 00:18: Introduction to the topic and brief overview of what we're about to achieve, using a zoom-in GIF of Margot Robbie as a practical example.
00:18 - 00:35: Starting from scratch, I illustrate how to initiate a new chat and select GPT-4, a crucial part of the process.
00:35 - 00:53: Explaining the importance of enabling the 'code interpreter' option, currently in Beta, but soon to be officially released.
00:54 - 00:56: Kick-starting the actual process.
00:56 - 01:14: Detailed explanation of how to set the parameters for the GIF, such as the duration, resolution, and frame rate.
01:14 - 01:16: Before hitting 'go', we take an essential detour.
01:16 - 01:36: Here, I demonstrate how to upload the image file for your GIF, then click on the 'go' button to begin the creation process.
01:36 - 02:00: As the code interpreter works, I explain how to understand the process by revealing the Python code involved in the GIF creation.
02:01 - 02:18: After the GIF is complete, I show how to download the file, then navigate to the folder where it's stored.
02:18 - 02:27: Wrapping up by showing the final product and summarizing the overall process.
Make sure you try out this super handy feature on your own and let us know how it goes! Don't forget to give this video a thumbs up if you found it helpful, and consider subscribing to our channel for more tips and tutorials like this one.
-
 15:50
15:50
MetatronCore
2 days agoMy Statement on Charlie Kirk's Shooting
4.48K5 -
 LIVE
LIVE
Lofi Girl
2 years agoSynthwave Radio 🌌 - beats to chill/game to
787 watching -
 3:31:12
Price of Reason
12 hours agoThanksgiving Special - Is Stranger Things 5 any good and other SURPRISES!
109K1 -
 14:14
14:14
Robbi On The Record
7 hours ago $3.90 earnedThe Identity Crisis No One Wants to Admit | Identity VS. Personality
13.6K2 -
 31:10
31:10
The Why Files
4 days agoThe First Earth Battalion: America's Strangest Military Experiment
58.2K26 -
 4:18:02
SpartakusLIVE
8 hours ago#1 Pilgrim of PAIN Gives Thanks HAPPILY as he DESTROYS Enemies and BAGS LOOT
173K7 -
 59:47
59:47
iCkEdMeL
9 hours ago $42.32 earnedBREAKING: National Guard Soldier Dies + New Video Shows Suspect Opening Fire
34.5K39 -
 1:20:38
Flyover Conservatives
1 day agoThanksgiving’s Hidden History: Islamic Pirates, Spanish Threats, and Socialism - Bill Federer | FOC Show
42.1K3 -
 25:43
25:43
Russell Brand
1 day agoThis Is Getting Out Of Hand
138K150 -
 LIVE
LIVE
The Quartering
17 hours agoThanksgiving Day Yule Log!
1,492 watching