How to use mount bar of Pittsburgh manual tire changer (Harbor Freight)
How to use mount end of Pittsburgh manual tire changer (Harbor Freight)
The manual doesn’t actually explain how to use the mount head. As a result, many demonstrations of this tool finish mounting with tire spoons instead. That may even be easier and potentially even less marring than using the mount end of the mount/demount bar the way it was intended, but even the few who demonstrate it correctly rarely explain the principle of how it works. Understanding that means no longer having to refer to random videos that may or may not get it right.
Here is the principle:
Each position along your travel arc with the mount head is like taking another bite with a tire iron, continuously pushing part of the bead past the edge of the rim lip so it can drop down on the trailing side. The part of the bead it pushes out obviously needs to be the part that is above the rim. Most people having trouble are positioning it where the bead is already below the rim lip.
The longer explanation:
The tire bead diameter is smaller than the diameter of the rim’s lip that we want to force it over. It doesn’t really stretch so we can’t just slip it over but you can deform it out-of-round to get some portion beneath the lip before you start levering small segments at a time like you would with a tire spoon. Getting the opposite bead into the drop center helps by giving you a bit of slack, as does pushing more of the bead over.
When you lever the bead over with a tire spoon it will drop down with the rest of the bead under the lip. This means you really only need to push one small segment of bead past the edge of the rim lip and get out of its way so it can drop down with the rest of the bead. This is what the mount head does.
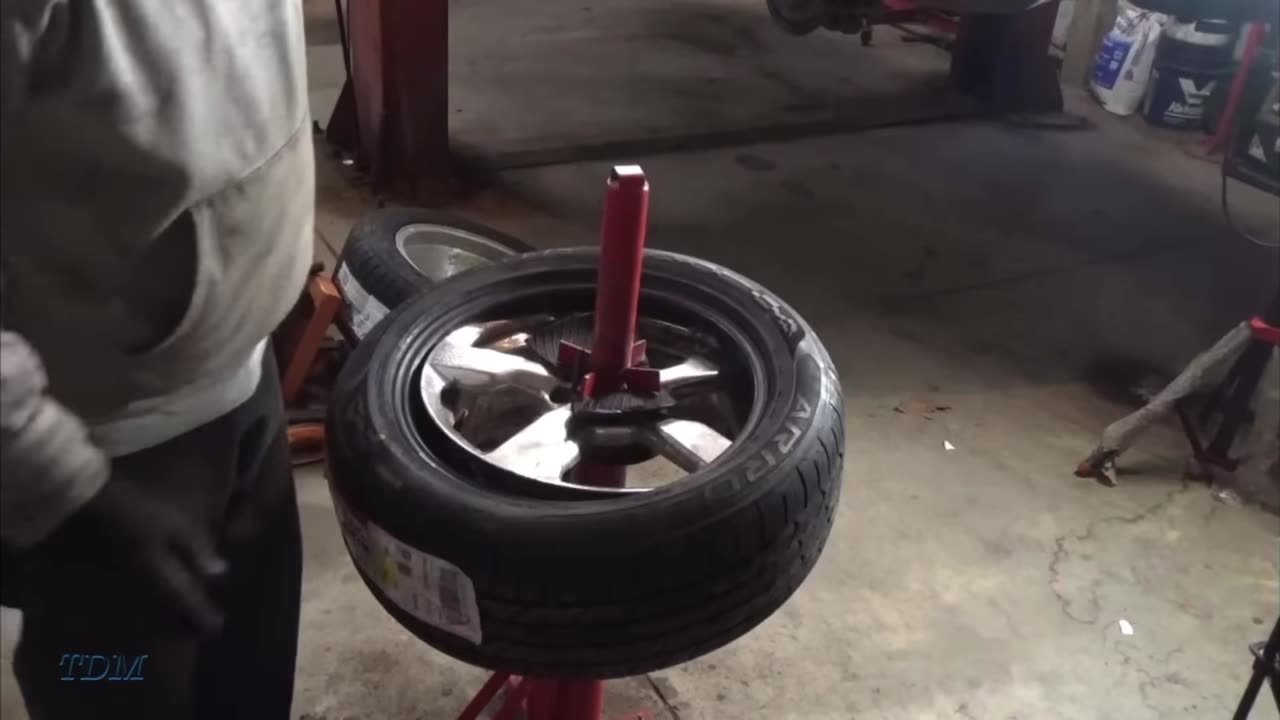
Part of the mount head hooks onto the edge of the rim lip while the other part pushes a tiny portion of the bead out, past the edge of the rim lip. As you move the mount head toward the remaining bead the trailing bead will drop down below. This means that the mount head must be ahead of the crossover point. This is where people often get it wrong.
Many people push part of the bead down like you are supposed to but then position the mount head where the bead has already crossed down below the rim lip. They rotate toward the point where the bead crosses over to the outside of the rim and just run into it. The leading bead is not seated on the mount head so it can’t be pushed past the edge of the rim lip to drop down with the trailing bead.
Steps:
-Push as much of the bead below the rim as you can.
-Hold that bead in the drop center while you hook the mount head to the rim on the opposite side.
-Keep the bar flat and move the mount head as close as possible to one of the two bead crossover points.
Position the bead remaining above the rim across the vertical part of the mount head.
Lever the bead out by lifting the bar opposite the mount head.
If you are positioned correctly the bead at the crossover will stretch out and realign with the bead below.
Holding your angle, rotate the mount head toward the the remaining bead (outside of the rim).
The trailing bead will fall past the rim lip.
Disgruntled Mechanic on YouTube insisted that someone make a video demonstrating it instead of just explaining it, but demonstrations already exists and he’s already rejected them. What they lack is explanation which he won’t accept without a demonstration. Having upgraded to a Mojolever and losing various parts of my tire changer in a botched move (natural disaster), I’m not even sure I have the original mount/demount bar anymore. I had to borrow footage from him and others but this should fit the bill. Sources listed in the video.
-
 LIVE
LIVE
Kim Iversen
1 hour agoWas Tyler Robinson a Patsy? Deep Investigation Exposes the Plot Holes in the Kirk Shooting
1,514 watching -
 LIVE
LIVE
Candace Show Podcast
1 hour agoBREAKING NEWS: A Woman Was Seen With Charlie Kirk's Shooter | Candace Ep 246
8,647 watching -
 1:35:02
Redacted News
2 hours agoHIGH ALERT! U.S. AND ISRAEL PREPARING FOR 'LARGE SCALE' WAR, U.S. TANKERS ARRIVE IN QATAR | Redacted
92.8K99 -
 LIVE
LIVE
Dr Disrespect
6 hours ago🔴LIVE - DR DISRESPECT - 10 WINS ON CONTROLLER - BO7 TOMORROW
1,624 watching -
 22:48
22:48
Jasmin Laine
2 hours ago“They LIED to People”—Poilievre SLAMS Liberals as Auditor General CONFIRMS Vote-Buying Scandal
1.65K8 -
 16:45
16:45
World2Briggs
3 hours agoTop 10 Dying Cities Everyone Is Leaving in 2026
8874 -
 UPCOMING
Wayne Allyn Root | WAR Zone
6 hours agoWatch LIVE: The War Zone Podcast with Wayne Allyn Root
27 -
 UPCOMING
The Amber May Show
1 hour agoHealing for the Ages: Reclaiming Health with Dr. Ardis, Dr. Group, Dr. Ealy & Dr. Schmidt
109 -
 LIVE
LIVE
freecastle
5 hours agoTAKE UP YOUR CROSS- CHRIST will himself restore, confirm, strengthen, and establish You
205 watching -
 1:24:49
vivafrei
3 hours agoLive with Ben Bankas! Government Shut Down! Visa Revocation Unconstitutional! & MORE!
92.6K33