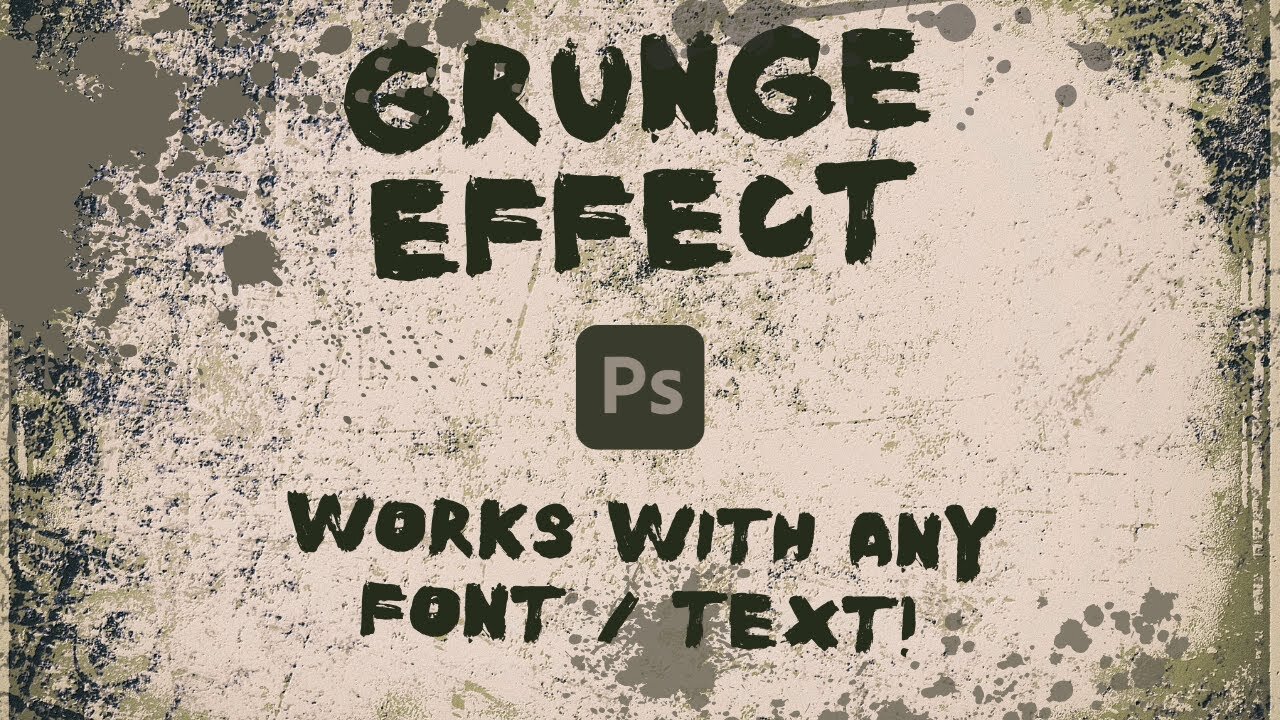
Customize Your Text: Grunge Effect in Photoshop Made Simple - Detailed Tutorial
Welcome back to another Photoshop tutorial! In today's episode, I'll be showing you an easy and customizable method to turn your regular text into a textured, grungy look. No need to search for a specific grunge font; this method works with any font you prefer!
📝 Timestamps:
00:00 - Introduction: Overview of today's tutorial
00:23 - Creating custom textures using Midgar and the bonus technique reveal
00:30 - Typing text for the demo: "King"
00:46 - Highlight on using any font for this technique
01:05 - Converting text into a smart object
01:17 - Crafting your texture: Tips on finding and creating the perfect texture
01:30 - Venturing into Discord and my mid-journey board for texture creation
01:52 - Saving the chosen texture
02:12 - Converting grunge texture into a Photoshop document
02:45 - Making color textures black and white
03:05 - Saving the texture as a Photoshop document
03:34 - Applying the displacement map on the text layer
03:54 - Tweaking the grunge effect: Horizontal and Vertical scale adjustment
04:14 - Choosing the degree of grunge effect
04:33 - Finalizing the grungy text and adjusting the intensity
04:51 - Outro
Join me on this journey to elevate your Photoshop skills. Don't forget to like, share, and subscribe for more tutorials!
-
 1:06:17
Graham Allen
4 hours agoFAKE NEWS Is Everywhere!! Are We Living In The Upside Down?!
138K449 -
 2:59:36
Wendy Bell Radio
8 hours agoFeeding Their Greed
67.1K77 -
 1:55:12
Badlands Media
10 hours agoBadlands Daily: November 26, 2025
51.8K7 -
 1:13:11
Chad Prather
19 hours agoGratitude That Grows in Hard Ground: A Thanksgiving Message for the Soul
79.3K44 -
 LIVE
LIVE
LFA TV
15 hours agoLIVE & BREAKING NEWS! | WEDNESDAY 11/26/25
3,699 watching -
 1:59:03
The Chris Salcedo Show
15 hours ago $12.62 earnedRemembering Rush On A Truly American Holiday
39.1K3 -
 36:24
36:24
Julie Green Ministries
6 hours agoLIVE WITH JULIE
117K229 -
 1:05:27
Crypto Power Hour
14 hours ago $10.31 earnedWhat You Need To Know About Gold Tokenization
71.6K8 -
 1:46:14
LIVE WITH CHRIS'WORLD
15 hours agoTHE WAKE UP CALL - 11/26/2025 - Episode 14
33.9K2 -
 2:16:19
The Bold Lib
18 hours agoBOLDCHAT: Trump Pardons | DOGE | Patel w/ANGELA BELCAMINO
43.3K8