Premium Only Content

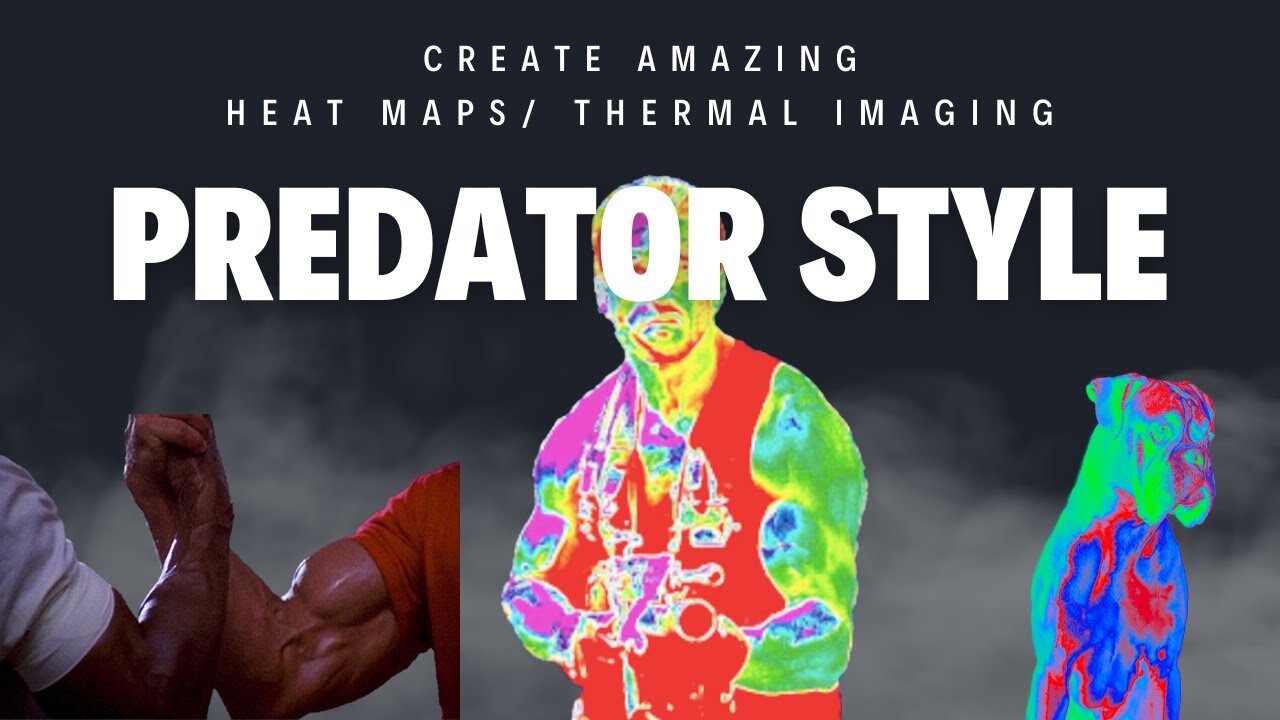
How to Make a Predator-Style Thermal Image Heat Map in Photoshop
Thermal Imaging Effect in Photoshop: Predator Heat Map Tutorial 🔥
👋 Hello, Photoshop enthusiasts! Welcome back to another exciting tutorial. Ever wondered how you can replicate the iconic thermal imaging style from the Predator movie? Look no further! In today's video, we dabble in thermal mapping techniques to transform an ordinary photo into an eye-popping thermal image! It's all about getting that heat map effect. Follow along to learn how you can do this in just 2 minutes!
🕒 Timestamps:
00:00 - Introduction
00:18 - What we're working on today
00:30 - Step 1: Load your image
00:38 - Step 2: Quick Selection Tool
00:46 - Step 3: Select Subject
01:22 - Step 4: Creating a layer via copy
01:34 - Step 5: Turning on gradient map
02:02 - Step 6: Create New Fill/Adjustment Layer
02:11 - Step 7: Reverse the coloring
02:37 - Step 8: Choose your gradient
02:55 - Step 9: Setting up color stops
03:49 - Step 10: Additional color adjustments
04:39 - Step 11: Final adjustments
05:13 - Conclusion: Final Thoughts
05:29 - Outro
🛠 What You'll Learn:
How to use the Quick Selection Tool to focus on specific parts of your image.
How to work with layers and layer via copy.
How to create and customize gradient maps.
How to reverse colorings for added effect.
The art of color adjustments and color stops to perfect your thermal image.
-
 LIVE
LIVE
Kim Iversen
1 hour ago"Canada's Trump" Is Trudeau’s Worst Nightmare: Is Maxime Bernier the Future of Canada?
1,615 watching -
 DVR
DVR
Bannons War Room
10 days agoWarRoom Live
2.58M436 -
 16:06
16:06
The Rubin Report
8 hours agoProof the Islamist Threat in England Can No Longer Be Ignored | Winston Marshall
34.3K24 -
 2:07:07
Robert Gouveia
5 hours agoFBI Files Coverup! Bondi FURIOUS; SCOTUS Stops Judge; Special Counsel; FBI Does
40.5K32 -
 56:15
56:15
Candace Show Podcast
5 hours agoBREAKING: My FIRST Prison Phone Call With Harvey Weinstein | Candace Ep 153
107K72 -
 LIVE
LIVE
megimu32
1 hour agoON THE SUBJECT: The Epstein List & Disney Channel Original Movies Nostalgia!!
210 watching -
 9:06
9:06
Colion Noir
10 hours agoKid With Gun Shoots & Kills 2 Armed Robbers During Home Invasion
16.9K3 -
 54:28
54:28
LFA TV
1 day agoUnjust Man | TRUMPET DAILY 2.27.25 7PM
19.7K2 -
 20:10
20:10
CartierFamily
7 hours agoAndrew Schulz DESTROYS Charlamagne’s WOKE Meltdown on DOGE & Elon Musk!
36.8K45 -
 1:36:39
Redacted News
5 hours agoBOMBSHELL EPSTEIN SH*T SHOW JUST DROPPED ON WASHINGTON, WHAT IS THIS? | Redacted w Clayton Morris
145K243