Premium Only Content

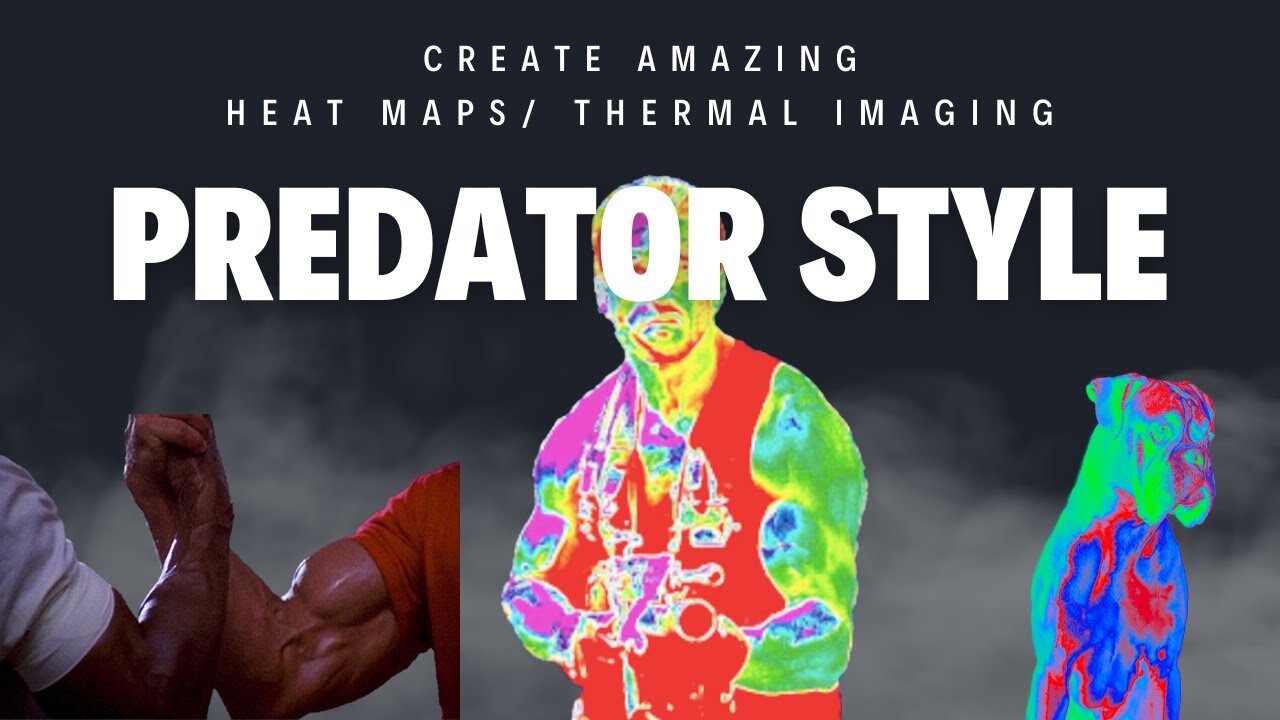
How to Make a Predator-Style Thermal Image Heat Map in Photoshop
Thermal Imaging Effect in Photoshop: Predator Heat Map Tutorial 🔥
👋 Hello, Photoshop enthusiasts! Welcome back to another exciting tutorial. Ever wondered how you can replicate the iconic thermal imaging style from the Predator movie? Look no further! In today's video, we dabble in thermal mapping techniques to transform an ordinary photo into an eye-popping thermal image! It's all about getting that heat map effect. Follow along to learn how you can do this in just 2 minutes!
🕒 Timestamps:
00:00 - Introduction
00:18 - What we're working on today
00:30 - Step 1: Load your image
00:38 - Step 2: Quick Selection Tool
00:46 - Step 3: Select Subject
01:22 - Step 4: Creating a layer via copy
01:34 - Step 5: Turning on gradient map
02:02 - Step 6: Create New Fill/Adjustment Layer
02:11 - Step 7: Reverse the coloring
02:37 - Step 8: Choose your gradient
02:55 - Step 9: Setting up color stops
03:49 - Step 10: Additional color adjustments
04:39 - Step 11: Final adjustments
05:13 - Conclusion: Final Thoughts
05:29 - Outro
🛠 What You'll Learn:
How to use the Quick Selection Tool to focus on specific parts of your image.
How to work with layers and layer via copy.
How to create and customize gradient maps.
How to reverse colorings for added effect.
The art of color adjustments and color stops to perfect your thermal image.
-
 59:47
59:47
iCkEdMeL
2 hours ago $7.12 earnedBREAKING: National Guard Soldier Dies + New Video Shows Suspect Opening Fire
3.83K13 -
 LIVE
LIVE
Flyover Conservatives
21 hours agoThanksgiving’s Hidden History: Islamic Pirates, Spanish Threats, and Socialism - Bill Federer | FOC Show
785 watching -
 25:43
25:43
Russell Brand
1 day agoThis Is Getting Out Of Hand
102K92 -
 LIVE
LIVE
The Quartering
10 hours agoThanksgiving Day Yule Log!
2,010 watching -
 15:32
15:32
IsaacButterfield
18 hours ago $0.31 earnedAussie Reacts To UNHINGED Woke TikToks!
8751 -
 3:24:28
PandaSub2000
11 hours agoNintendo Platformers - Thanksgiving 2025 Special | ULTRA BEST AT GAMES (Original Live Version)
13.5K2 -
 1:03:06
MetatronGaming
1 day agoThis is the scariest game ever (for an Italian)
8.59K1 -
 1:09:35
The White House
5 hours agoPresident Trump Participates in a Call with Service Members
24K48 -
 LIVE
LIVE
a12cat34dog
4 hours agoHAPPY THANKSGIVING - I APPRECIATE YOU ALL SO MUCH {18+}
103 watching -
 24:55
24:55
Jasmin Laine
1 day agoCarney BRAGS About ‘Investment’—Poilievre Drops a FACT That Stops the Room
20.2K21