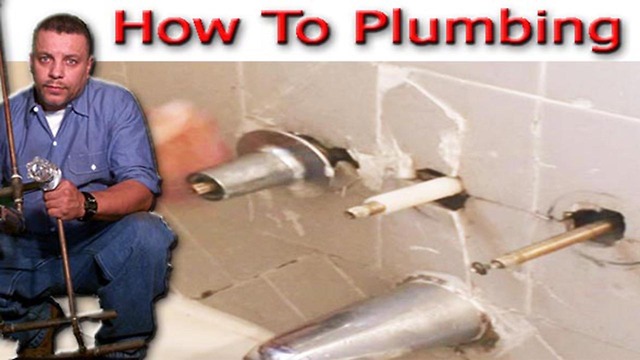
Replace Three handle Tub and Shower with Single Handle
In this video we start by removing the old two handle tub and shower valve from inside the wall. First we remove the handles and spout leaving the shower head in place to hold up the old shower valve and keeping it there until the new shower valve is in place this makes it easy and keeps use inline with the new installation and makes it very easy to line up the new shower head. Now that we have the handle off its time to go around on the back side and cut into the wall or if were lucky there just may be a trap door on the back side that gives us access to the tub and shower valve from the back side. Once on the back side of the tub and shower valve we start by disconnecting the unions on the old two handle tub and shower valve. Now the part that goes up to the shower head is copper. What we are going to do here is take our torch and heat the solder connection and pull the valve loose from the shower head riser pipe. Now with the old tub and shower valve out the way lets go back to the front side in the bath room. Now this was a three handle tub and shower valve so were going to have to make some adjustments to the hole in the wall in this case we will have to open the middle hole a little wider for the new single handle tub and shower valve. This is not your standard drywall (sheetrock) wall this is old and very thick no cutting this with a saw saw. What were going to do here is use a hammer and just lightly knock out pieces of the wall slow and easy. Don't worry about covering up the old holes they make a cover plate for that. We have the hole just how we won't it lets go back to the other side behind the tub and shower. What I like to do is put my new tub and shower valve to gather and solder pieces in place before I start working in the wall with it and I also remove the washers in the valve so we don't damage the washers with the hot torch and burn them up once all this is done, I take the tub and shower valve and put it into place line it up and make all the necessary connections from the back side from here I go back to the front of the valve in that bathroom and start putting all the trim on but installing the cover plate first then if you like caulk it.
-
 3:20
3:20
KNXV
5 years agoHow to handle problems with your ballot
35 -
 0:17
0:17
Corythedog
5 years agoShower time with cory
64 -
 1:04
1:04
KiwiLimon_SeasonalRecipes_English
5 years agoSpaghetti with Three Cheeses with Ham
9 -
 3:41
3:41
KJRH
5 years agoThree questions with Tulsa mayor candidates
85 -
 4:27
4:27
KJRH
5 years agoThree questions with Tulsa mayor candidates
64 -
 0:32
0:32
KTNV
5 years agoCCSD to replace football fields with turf
2.82K -
 0:32
0:32
KMGH
5 years agoStruggling with bills? How to handle debt collectors
32 -
 0:43
0:43
WGBA
5 years agoWe All Rise partnering with Three Degree Guarantee
22 -
 0:25
0:25
KTNV
5 years agoPetition to replace statues with Dolly Parton
68 -
 0:10
0:10
ViralHog
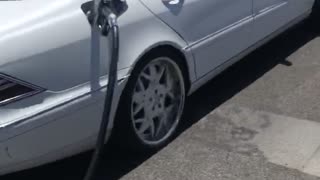
5 years ago $0.22 earnedDriver Takes Off with Pump Hose and Handle
672