Dad builds a GIANT nutcracker for Christmas (You gotta see this!)
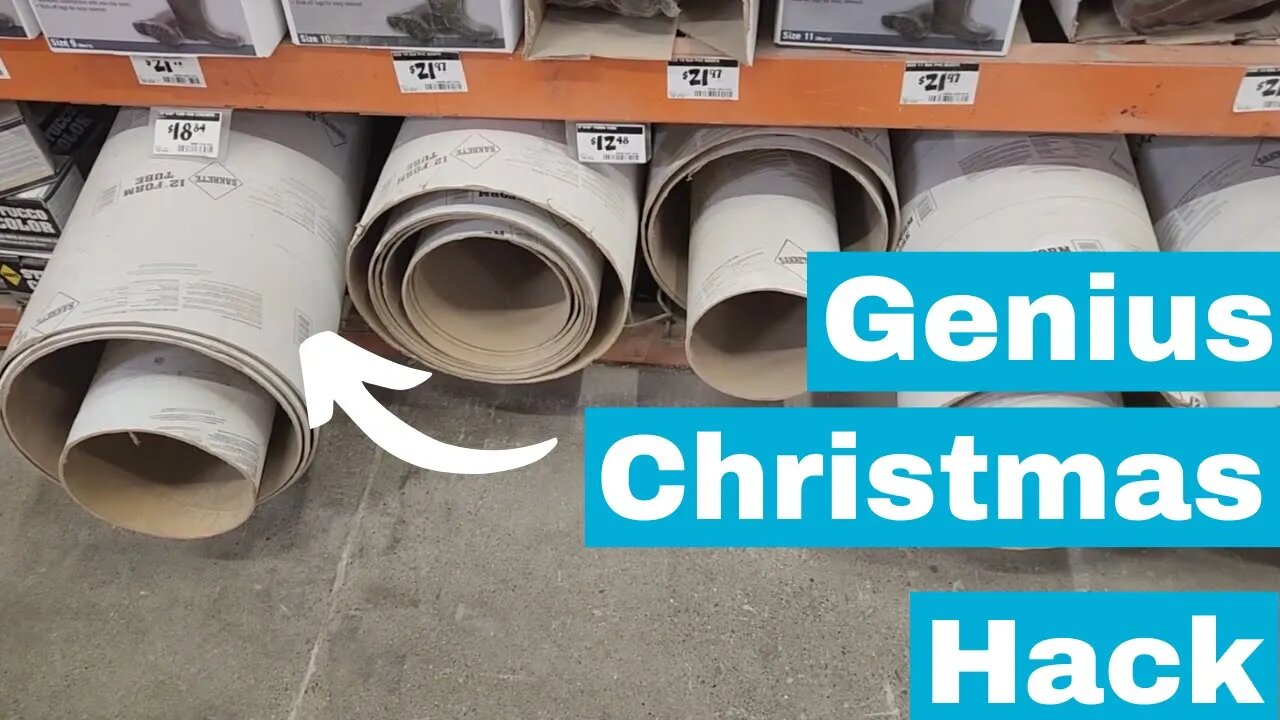
For this super cool Christmas project we're going to start with a 12-inch concrete form tube. You can pick this up at any hardware store.
The first thing we got to do is make a base this is 18 inches by 18 inches and we're going to find the middle at 9 inches and mark an X. We're going to use this starting point to go one inch on one side and one inch on the other - that's how we're going to measure for the legs of the Nutcracker.
Drill through the base 2 screws for each leg to hold it together, and put it upside down on top of the legs, that way we can screw through the bottom and into the legs.
Next, take the form tube and cut out a piece of wood that'll fit on the inside. Once you mark it, cut just on the inside of the line. Once you got the cutout done, drill 2 holes: one for each leg. Once you get these pilot holes drilled, you can go ahead and put the two-and-a-half-inch screws in.
Next, put the tube on top of the wood. Slide it right into place and drill some pilot holes that are going to go through the tube and into the side of the wood. Put some screws in that'll hold it in place that'll again strengthen this right up and keep it where we need it.
Next, let's go down on our 33-inch tube down 11 inches that's where we're going to put one of the arms. Our arms are made out of three-and-a-half-inch PVC pipe. I picked up this foam piece from Dollar Tree. Slide it back and forth and run some glue around it. We're going to put a cap, this is going to be like the shoulder blade part of the uniform, put it right at that 11-inch mark. Take some screws and drill it through and it'll hold it in place.
Once we got the arms on, it's time to prime it. You want the paint to stick and look good when it goes on and primer is the way to do it. We're going to go through and prime everything on this project.
While we're waiting for the primer to dry I grabbed a 5-gallon bucket that I painted black and I started putting some gold bands around it. I used some hot glue, put it right around the edge, and put the band in place all the way around. We can do this all the way around.
I'm going to use a little bit of a thicker band. I want it to stand out a little bit. We're going to do it just like we did with the top. Put a little bit of hot glue and just work your way around, make it nice and even. Once you get it all put on and ready to go it's time to bring the project back in, and look at that nice white primer. it gives you a blank canvas to start again. We're going to go down 11 inches, mark it around because that's where our head goes. The rest of it which is 22 inches, will be our body and this is where it gets exciting. We're going to start painting, again, this is the head so we're going to paint all the way around using our paint color choice. I use a foam brush, it goes on nice and even. You're going to need multiple coats, so go ahead and just put it on kind of nice and light, make it look good.
Next, we're going to work on his boots. We need to make sure the line is straight across. I use the square to make a line crossed, making sure they're both even. Once I do that, it's time to paint his jeans and those are going to be blue. I went with a kind of a darker blue and put it on.
Now, it's time to put his laces on. I painted some gold-colored wood pieces that I got from the hobby store and put those on, and we're going to go up and down the boot with it and give it just some nice design.
Next, whenever paint joins another color, we want to put a ribbon around it. We're going to do this around his neck and then around his shoulder pads. We're going to put some garland on. We got this from Dollar Tree, nice and inexpensive.
Next, put that hair right over his ears. I got this Dollar Tree and it's actually a dust mop and I trimmed it to fit. Put some hot glue on it and sticks perfectly.
Now it's time for the nose; use little piece of cut wood, hot glued on with a triangle look and there it is. Looks great. Next I outlined his whiskers, that's going to go on there for his mustache and then we're going to use some black paint to paint it in and go nice and slow. On this we want to make it look good. This is what's going to grab everybody's attention. Now that cut piece of dust mop that I used on the side of the head. I had a little bit left over and I'm going to use it for his goatee on the bottom. Now it's time to put them in place give him his helmet and look at that, this is our Nutcracker.
I hope this inspired you to build your own life-size Nutcracker doll.
Thanks for watching Hometalk and we'll see you next time!
Hometalk | Ideas you can do.
Get our daily email for endless DIY ideas: https://ht.hmtlk.com/l/4VfU
FACEBOOK → https://www.facebook.com/Hometalk
INSTAGRAM → https://www.instagram.com/hometalk
PINTEREST → https://www.pinterest.com/hometalk
TIKTOK → https://vm.tiktok.com/ne4T87
#diy #hometalk #christmas2022 #christmas #christmasdecor
-
 1:07:29
Hometalk
11 months ago $32.12 earnedTrending NEW pumpkin DIY ideas everyone's copying in fall 2024!
104K8 -
 2:27:36
Barry Cunningham
10 hours agoBREAKING NEWS: PRESIDENT TRUMP ABSOLUTELY NUKED WASHINGTON D.C. AND THE MEDIA!
82.3K48 -
 4:30:53
Drew Hernandez
12 hours agoTRUMP'S DC TAKEOVER & ISRAEL KILLS AL JAZEERA TEAM AHEAD OF GAZA INVASION
27.6K15 -
 1:19:05
Glenn Greenwald
8 hours agoTrump's DC Takeover: Is it Legal? Israel Kills More Journalists, Including Anas al-Sharif; Glenn Reacts to Pete Buttigieg and JD Vance on Israel | SYSTEM UPDATE #501
156K119 -
 44:40
44:40
Katie Miller Pod
8 hours ago $6.86 earnedEpisode 1 - Vice President JD Vance | The Katie Miller Podcast
63.6K15 -
 13:09:34
LFA TV
1 day agoLFA TV ALL DAY STREAM - MONDAY 8/11/25
244K22 -
 1:44:36
RiftTV
9 hours agoBREAKING: Trump FEDERALIZES D.C. To RESTORE Law & Order | The Rift | Ryan Matta, Olivia Krolczyk + Braeden Sorbo
73.9K17 -
 3:00:47
megimu32
7 hours agoOTS: Breakfast Nostalgia + Blind Chocolate Cereal Showdown… LIVE! 🍫🥣
57.6K2 -
 3:36:47
LIVE WITH CHRIS'WORLD
15 hours agoLIVE WITH CHRIS’WORLD - It’s Called LAW & ORDER
45.9K7 -
 11:07
11:07
AlaskanBallistics
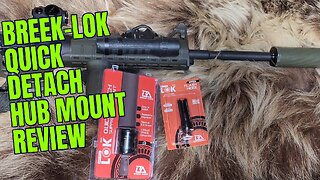
1 day ago $1.73 earnedBreek-Lok Quick Detach Hub Mount and Flash Hider System Review
37.1K6