Hide your TV in plain sight (This is GENIUS!)
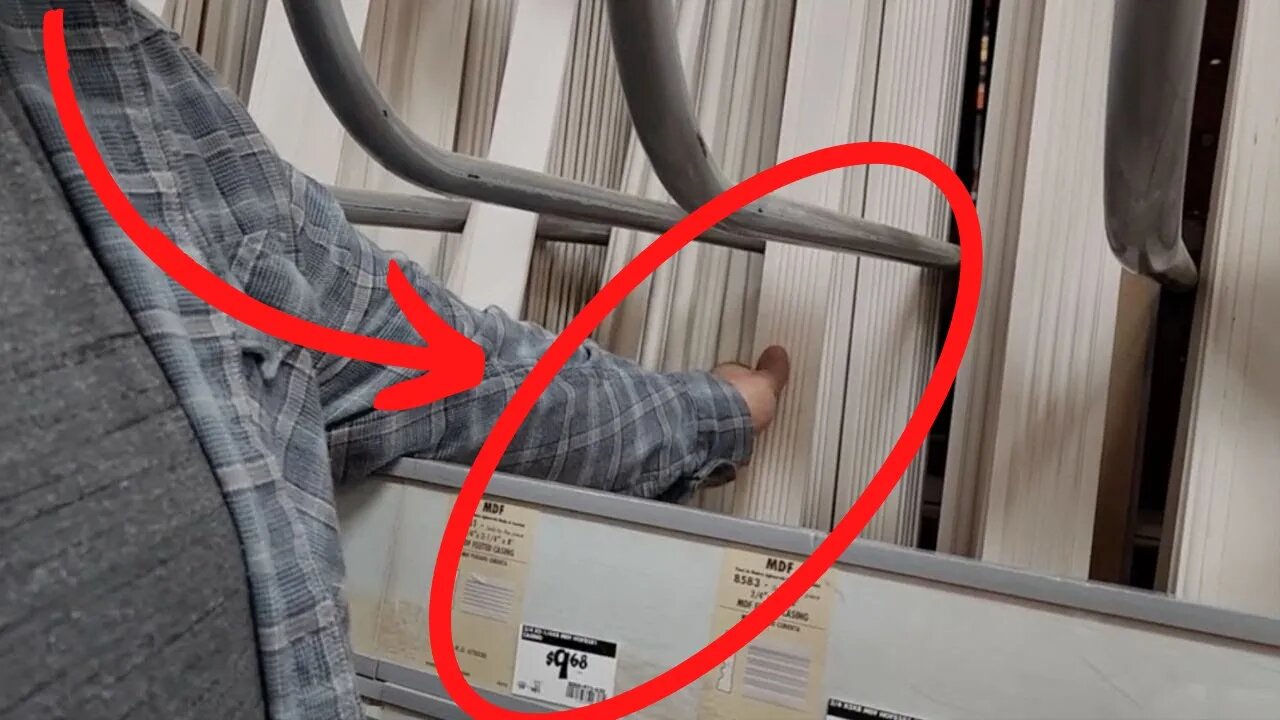
Run down to Home Depot to grab some decorative trim and copy this amazing and unexpectedly beautiful TV frame idea…
Cover the frame of the TV, your key to this is to turn all your miter saws to 45 degrees, that's going to be every cut that you make. Start with your first cut right on the end at 45 degrees and then you're going to measure right from the inside. Cut all the way down the length of the TV, that's where your next miter cut is going to be. Turn the saw to the other way and give it another 45-degree cut. Once you get that cut, you're going to go ahead and match it to the next part, that way you don't have to use a tape measure, and you can get the top and bottom frame the exact same size - just use a pen to mark it out and cut it. Once you get all four pieces cut, lay it out and make sure it's all smooth and ready to go. The secret to this is you gotta have glue that's going to hold all the pieces together.
Now just don't lay out a bead, you want to smooth it out so it has as much adhesion as possible. The glue is laid out just go ahead and put it right up next to it and make sure you get those nice smooth lines.
Next you got to get some flat corner braces, that's what's going to hold these frames together. Mark out the holes, be careful, we need to pre-drill all the holes, that way the screws hold inside this MDF wood as easily as possible.
Once you pre-drill the screws, go in without drilling, you can just use a regular old screwdriver to put them in. Make sure you get it nice and tight but don't over tighten, we just want to make sure it's snug and it's holding in place. These corner braces do a great job holding it together.
Once you get all four sides, we got to build a box, that way we can cover the sides of the TV. I use a little bit of 1 by 4. Use that glue it holds the sides together again, we're going to use 45-degree cuts. Look how smooth that is, you can use screws or nails but I go ahead and use a brad nailer. it's really easy to use and it puts a nice fine fastener right inside. I just use three on the side and it gives it a nice smooth look.
Now again we're going to go with the glue we got to put it all the way around the box frame we just built because we're going to lay the frame on top. If you measured right and did good and took your time it's going to fit just right the last thing you need to do on this is use the brad nailer again and put just a few brad nails to hold it together. Once you get those in, let's cover up the nail holes with a little bit of spackle. Just let that dry and sand it clean.
Now it's time for some gold paint any type will work but as you can see it's going to take a couple of coats I did put three coats on here. Let them dry for about half an hour in between coats.
The next thing we got to do is we got to put a little bit of Velcro on the TV that's going to hold the frame in place once we install it it just looks amazing when you're not watching TV you've got your own portrait.
I hope this inspired you to build your own DIY television frame.
Hometalk | Ideas you can do.
Get our daily email for endless DIY ideas: https://ht.hmtlk.com/l/4VfU
FACEBOOK → https://www.facebook.com/Hometalk
INSTAGRAM → https://www.instagram.com/hometalk
PINTEREST → https://www.pinterest.com/hometalk
TIKTOK → https://vm.tiktok.com/ne4T87
#Hometalk #DIY #homehacks #lifehacks
-
 1:01:58
Hometalk
10 months ago $9.67 earnedWhy homeowners are currently OBSESSED with old shutters (this is brilliant!)
43K6 -
 2:36:06
Barry Cunningham
4 hours agoPRESIDENT TRUMP IS TRULY USHERING IN THE GOLDEN AGE OF AMERICA! CAN YOU FEEL IT?
54.2K27 -
 LIVE
LIVE
SynthTrax & DJ Cheezus Livestreams
3 days agoFriday Night Synthwave 80s 90s Electronica and more DJ MIX Livestream 2K Celebration SPECIAL EDITION 530pm PST / 830pm EST
1,213 watching -
 LIVE
LIVE
VapinGamers
1 hour agoDestiny 2 - Edge of Fate Legendary Run Part 3 - !rumbot !music
766 watching -
 2:04:25
TimcastIRL
3 hours agoTrump DOJ Gives Ghislaine Maxwell Limited IMMUNITY As She Rats On 100+ People | Timcast IRL
176K76 -
 1:09:09
Omar Elattar
5 hours agoThe Brain Experts: Your Brain Can Rewire Itself At Any Age & Here's How!
84 -
 LIVE
LIVE
IcyFPS
1 hour agoLIVE - Wuchang Fallen Feathers Pt.2 | XBOX SERIES S 1080p gameplay |
124 watching -
 29:24
29:24
Afshin Rattansi's Going Underground
15 hours agoWas Epstein a Mossad Agent? Will Obama go to Prison? (Afshin Rattansi vs Alan Dershowitz)
6.25K14 -
 4:26:54
Nerdrotic
8 hours ago $25.38 earnedFantastic Four Baby Steps V Superman's James Gunn, South Park Returns | Friday Night Tights 364
86.5K5 -
 LIVE
LIVE
megimu32
2 hours agoOFF THE SUBJECT: FAFO Friday! Cops, Crash, Kombat & Chaos!
131 watching