Tangle Free Extension Cords: The Daisy Chain Method
We’ll show you one of 5 ways to wind up extension cords. This is a legacy method that has been used for many years in the trades! We know it as the “Daisy Chain.”
#extensioncord #powercable #cablestorage
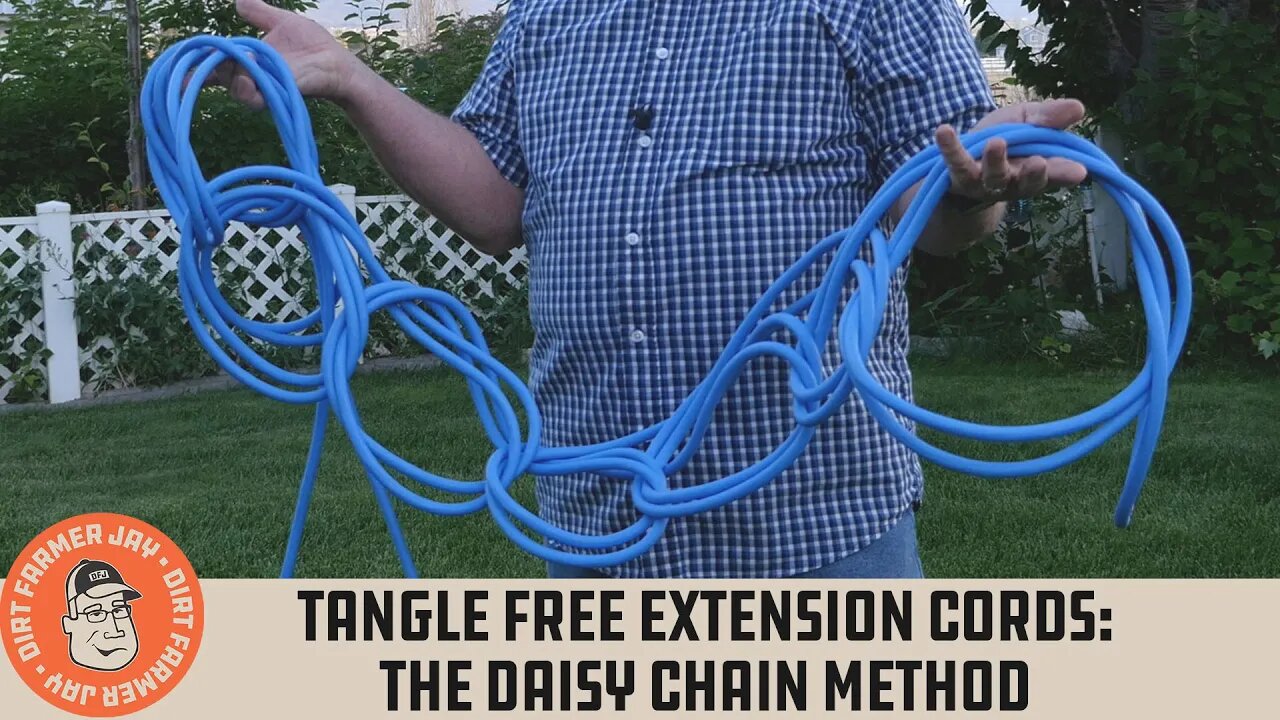
This episode features the “daisy chain” method - a series of loops chained in each other - just like a crochet stitch with yarn. This method has been used in the trades, in a wide number of settings, for many years. There are many that swear by it as “THE” way to wind up and stow power cables. We’ll show you how it is done, and the advantages and disadvantages of the approach.
I was first introduced to the “daisy chain” method many years ago on home construction sites. I saw both experienced framing and trim carpenters wind and transport their cables in this configuration. You could wind up cordage very quickly, and it would not get tangled up with other cords being stored or carried with it.
Several years ago, we published a video called “The Best Way to Store an Extension Cord.” It has been viewed nearly 6 million times. Viewers have supplied a list of titles they know this method by:
Daisy Chain
Jacob's Ladder
California Roll
Cord Crochet
Construction Roll
Chain Braid
Chain Roll
Engineer Knot
Arm Knitting
Electrician Knot
To do the “daisy chain” method, lay out the cable in one long line and then bring the two ends together and plug them in. Then go back along the length of the cord until you reach the poing where the cord is folded - this is your halfway point. Mark that point with a permanent marker or with wraps of electrician tape.
This allows you to find the halfway point of the cord from then on and to begin your wind up quicker when you are finished for the day at the jobsite.
Pick up the cord at one time on both sides of the center point, creating a loop. Fold the loop down against the two conductors. With the other hand, reach through the back side of the loop and pull another loop through the first one. Don’t make small, tight loops. We recommend the loops be about 8” to 12” (20 to 30cm) in size.
Then repeat by moving the supporting hand one loop and reach through the back again and grab another length of cordage and pull it through the loop to create yet another loop. Proceed down the length of the cord until the ends of the cord are hanging out a bit and can be plugged together.
For a very long cord, you could “halve the halve” and have four conductors being wound up this way too.
Now that you know how to do it, here are some benefits as well as potential liabilities using this approach.
The benefits are that you can wind up a lot of cord very quickly and it can be stowed in a job box or cabinet, or in a work truck, and it won’t get tangled up with other cords.
If the cord is unwound from the correct end (where the ends are plugged together, NOT the halfway point), the cord will play out beautifully.
And, others that aren’t familiar with this method tend to leave your cords alone on the jobsite!
As long as you are not putting a draw on the cord that is anywhere near its capacity, it’s possible to pull out only the cordage you need. However, this isn’t a good habit to get in to.
Downsides include the cable getting a memory of the loops. This is especially true of cheaper PVC jacket cords that tend to be stiff on their own accord. Add cold weather, and the effect is worse. The cord will tend to not lay across the floor flatly. This can create trip hazards.
Also, if someone attempts to unwind the cord from the wrong end (that is, the middle point), it will end up in a series of knots and loops. This is very frustrating!
If the loops are too small, this can put stress on the conductors in the cable, so larger loops are better.
There is an active discussion (argument?) about whether or not you can run power through an extension cord that is looped or coiled. The short answer is yes. You just need to be sure you are using only about 80% of the capacity of the cordage. This is seen with the ratings that are used on cord reels. Power is routinely run through coiled conductors, but because they are coiled, they rate the capacity of the cable lower than an uncoiled cord.
Whatever method you use, taking the time to coil up and stow your gear at the end of the job pays off in having gear that will last a long time.
While you’re at it, check out these other methods that trade professionals use as well:
View the "Over and Under" Method Here:
View the "Figure 8" Method Here: COMING SOON
View the "Cord Bucket" Method Here: COMING SOON
View the "Cord Spool" Method Here: COMING SOON
JUST DO IT YOURSELF!
Instagram: https://www.instagram.com/dirtfarmerj
Facebook: https://www.facebook.com/dirtfarmerjay
-
 9:13:12
The Charlie Kirk Show
23 hours agoLIVE NOW: Building A Legacy, Remembering Charlie Kirk
2.19M975 -
 1:55:20
The White House
15 hours agoPresident Trump Participates in the Memorial Service for Charlie Kirk
120K97 -
 1:02:41
Sarah Westall
14 hours agoDomestic Terror Operation: Death Threats, Smear Campaigns, Gang Stalking w/ Journalist Sarah Fields
76.1K12 -
 1:51:40
Nerdrotic
14 hours ago $26.25 earnedGobekli Tepe Discovery and "Reconstruction" | Forbidden Frontier #118
113K15 -
 29:07
29:07
Tactical Advisor
14 hours agoATF Changes Ruling on SBR & Tacpack unboxing | Vault Room Live Stream 039
112K21 -
 2:00
2:00
From Zero → Viral with AI
20 hours ago $6.84 earnedAre You Being Left Behind? Why AI Marketing is No Longer Optional
62.1K11 -
 9:10
9:10
BlackDiamondGunsandGear
18 hours agoI Finally Got it! / Rough Country Build Ep.1
42.2K12 -
 9:44
9:44
Millionaire Mentor
3 days agoCharlie Kirk Brings Woke Student To STUTTERING Over White Privilege Lies
42.7K17 -
 24:12
24:12
MudandMunitions
19 hours agoOff-Roading with NYPrepper Wild Elk & PA’s Most Remote Backroads
27.6K2 -
 DVR
DVR
Bannons War Room
7 months agoWarRoom Live
37.4M8.69K