Qolsys IQ Panel 4 - Connecting to Monitoring
In this video, Dylan shows you what you need to do to get an IQ Panel 4 registered for monitoring. This video concentrates on how this process works with Alarm Grid, however the steps will be similar for any monitoring company.
The first thing you need to do is retrieve the IMEI number for your Qolsys IQ Panel 4. To do that, tap the gray bar at the top of the screen, then tap Settings - Advanced Settings - Enter Installer or Dealer Code (1111 or 2222 respectively, by default) and then tap About. In the About screen, tap cellular and scroll until you see the IMEI number. This number is what your alarm dealer will use to register your system with the proper account information at Alarm.com and the central station, where applicable.
To sign up for monitoring with Alarm Grid, go to www.alarmgrid.com/monitoring. For a Qolsys IQ Panel 4, a monitoring plan that includes cellular monitoring is required. For Alarm Grid customers, that is a Gold or higher plan, either Self or Full monitoring. As an alternative, if you just want traditional central station monitoring with no remote control features or automation, you can also sign up for our Cellular Alarm Monitoring plan: https://www.alarmgrid.com/cellular-alarm-monitoring.
For Alarm Grid customers, once you go to the monitoring sign-up page and choose a plan, make sure to choose one that supports cellular communication, and hit the Sign Up button for that plan. Fill in the requested information on each screen. If you choose a Self Gold or Self Platinum plan, the system can automatically create your account once you have entered all the correct information. For this reason, it is extremely important to enter the correct IMEI number when it is requested.
You will be asked to provide a credit or debit card number for billing purposes. Billing is done automatically, so a credit or debit card number is required, Alarm Grid doesn't accept checks. For Self Monitoring customers, once the account is created and the login information is sent to you via email, you'll be billed. This will now be your bill date each month going forward.
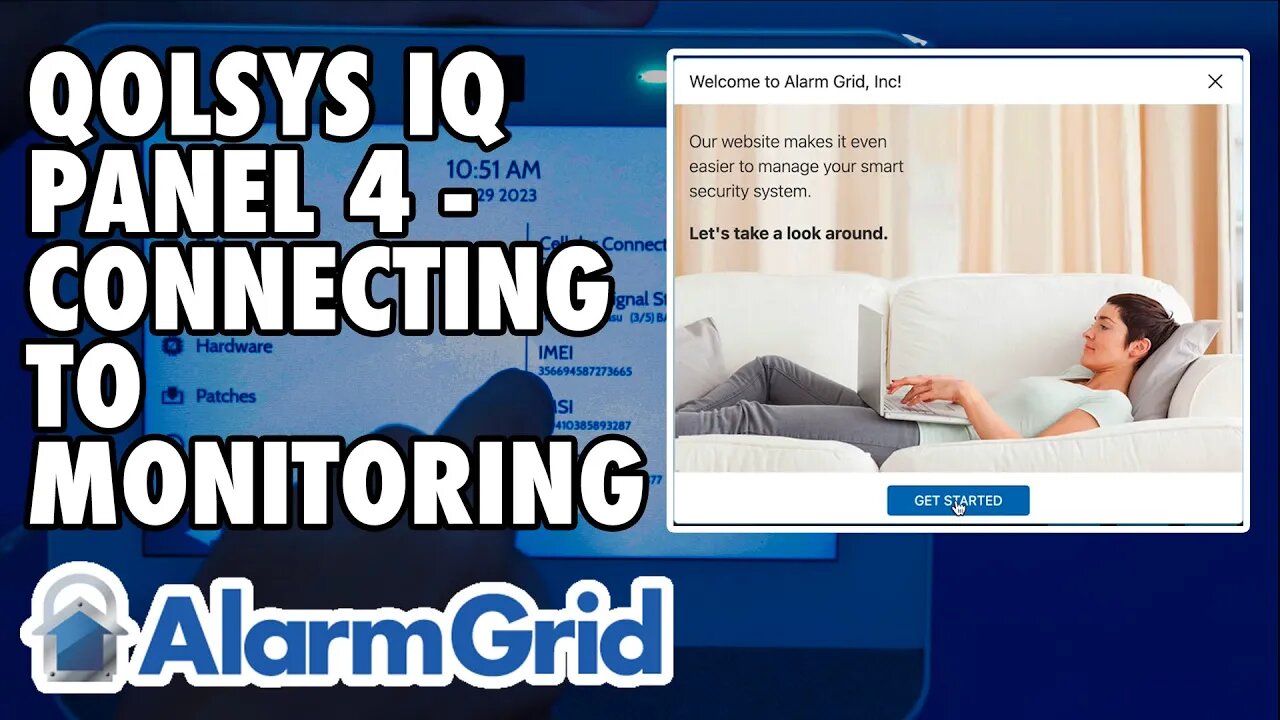
When you receive the welcome email, click Get Started within the email to complete your Alarm.com setup. You'll be asked for information required to set up the account. This includes some demographic information such as the type of location, single-family, business, condo, etc. the number of people occupying the location, as well as other information such as your power provider, and whether you want Alarm.com to share your power status information with the power provider in the event of a power outage. Go through each page and provide the requested information. Once you've gone through each screen of this process, you'll receive a congratulations message with another "Get Started" button at the bottom of the screen. Click it and you'll be taken to the Home screen within Alarm.com. Remember that any settings you configure during this setup process can be edited at any time through the website, or in most cases, the customer app.
For Full Monitoring customers, you will also be asked to provide the same information as Self-monitoring customers, but you'll also be asked for additional contact information, then you will make an appointment for activation. At that time, one of our activators will contact you and go through the activation process with you. We'll test the system to be sure it is reporting successfully. You will receive an email with your login information for Alarm.com and when you log in, you'll get a quick automated tour of the site. Once your account is activated, then your card will be charged. You will not be charged until your activation is complete.
https://www.alarmgrid.com/faq/how-do-i-connect-my-qolsys-iq-panel-4-to-a-monitoring-service
-
 10:19
10:19
Alarm Grid Home Security DIY Videos
1 year agoPROA7 or PROA7PLUS: Awareness Zone Types
34 -
 LIVE
LIVE
Game On!
15 hours agoNFL Week 9 Wise Guy Roundtable BEST BETS!
6,795 watching -
 2:18:53
Badlands Media
17 hours agoDevolution Power Hour Ep. 403: Brennan Exposed & The Intel War w/ Thomas Speciale
430K103 -
 4:34
4:34
Legal Money Moves
5 days agoThe AI Panic: Are You Next?
7.34K9 -
 25:41
25:41
Robbi On The Record
2 days ago $38.83 earnedThe Billion-Dollar Lie Behind OnlyFans “Empowerment” (Her Testimony Will Shock You) | part II
53.2K57 -
 1:06:09
Man in America
19 hours agoExposing HAARP's Diabolical Mind Control Tech w/ Leigh Dundas
73.5K76 -
 1:47:16
Tundra Tactical
14 hours ago $113.50 earnedGlock Interview From Beyond The Grave//Whats the Future of Home Training??
61.2K12 -
 2:16:35
BlackDiamondGunsandGear
13 hours agoEBT Apocalypse? / Snap Down SHTF / After Hours Armory
27.7K13 -
 14:05
14:05
Sideserf Cake Studio
1 day ago $19.00 earnedHYPERREALISTIC HAND CAKE GLOW-UP (Old vs. New) 💅
69.5K14 -
 28:37
28:37
marcushouse
1 day ago $10.94 earnedSpaceX Just Dropped the Biggest Starship Lander Update in Years! 🤯
36K18