How to Bend a 4 Point Saddle in Conduit
Join this channel to get access to perks:
https://www.youtube.com/channel/UCB3jUEyCLRbCw7QED0vnXYg/join
⚡🔨SPONSOR: PENN ALUMINUM🔨⚡
https://www.pennconduit.com/
Conduit bending and installation is an art that takes considerable practice. When it comes to bending conduit, the 4-point saddle is definitely one of the most difficult to perform. Even seasoned veterans of the trade struggle bending them! In today’s episode of Electrician U, Dustin steps us through the process in a way that is easily understood.
🤘⚡️MEMBERSHIP⚡️🤘
JOIN ELECTRICIAN U - become a member and get:
FREE Continuing Education every year
FREE Practice Exams
FREE Monthly Video Courses
FREE Weekly Live Instructor-Led Classes
FREE Monthly Educational Newsletter
Premium Members-Only Content
Private Discord Channel
Monthly Members-Only Discord Chats
Sign up here --- https://www.electricianu.com/electrician-u-membership/
🎧🎹MUSIC AND VIDEO:🎹🎧
https://www.facebook.com/descantmv
🎬✍️ART AND ILLUSTRATION:✍️🎬
https://www.daverussoart.com
Before we get into 4-point saddle bending, let’s take a moment to talk about aluminum conduit. Today’s sponsor- Penn Aluminum Conduit & EMT- makes some of the best aluminum conduit on the market. But why choose aluminum EMT over steel EMT? Well, it’s considerably lighter therefore it takes less labor to install and reduces wear and tear on your field staff hauling conduit around. Next, it’s much easier to bend than steel, again, making it less strenuous for your staff to install and using less labor. It’s also cheaper than steel currently, so it helps on the bottom line. Penn Aluminum has even engineered a coating for the inside of the conduit called Blue Lightning that helps with wire pulling and eliminates the snagging most often associated with aluminum conduit. Well worth it to try!
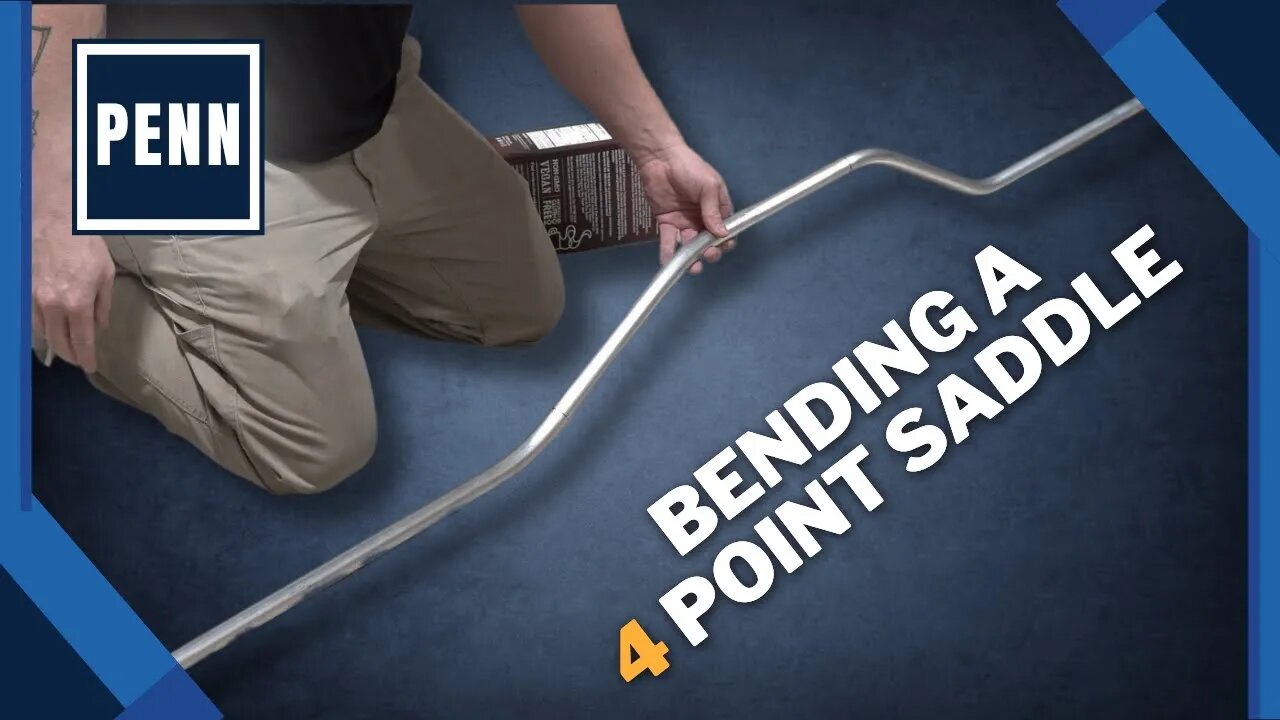
Whereas a 3-point saddle is meant for going over/around a smaller (probably round) obstruction, a 4-point saddle is meant for going over/around a larger obstruction. In essence, a 4-point saddle is 2 opposing offsets in the height of the obstruction, with a length of the obstruction in the middle of them.
The first step in the process is to measure the distance TO the obstruction and the height of the obstruction. Make a mark on your conduit using the distance to the obstruction. For this example, we are using 30-degree bends so a 2x multiplier comes into play. So, the second step is to make a mark of the offset height. Come back toward the end of the pipe and make a mark at 2x the obstruction height. Third, come AWAY from the end you’ve been measuring from and mark the conduit with the LENGTH of the obstruction. And lastly, add a final mark at 2x the obstruction height from your 3rd mark. Something to keep in mind is that you will be bending these in two sets- one two, and three four.
On to bending! Put the conduit into the bender at the first mark you made. Face the shoe TOWARDS marks 3 & 4 and the arrow of the bender on mark #1. Bend the conduit to 30 degrees. Without removing the conduit from the bender shoe, flip the bender over so it’s in the air. Slide the conduit down so the arrow is lined up with mark #2 and bend to 30 degrees. It’s important here to make sure you don’t dogleg your bends- so before bending sight down the conduit and line them up just as you would do with any offset. We are halfway there! Take the conduit out of the shoe and reinsert it at mark #3 with the shoe facing towards the bends you just made. Again, sight down the conduit to ensure all the bends are in line with one another. Bend to 30 degrees. Lastly, without removing conduit from the bender shoe, slide the conduit down to mark #4. Again, line everything up and then bend to 30 degrees. DONE!
A couple of pro tips for conduit bending. Use a pencil for marking conduit. You can rub off the marks once complete. Aesthetics is important! On most benders, when the handle is straight up in the air, you are at 30 degrees. Also, you can remove small dog legs by reinserting the shoe at the offending bend and take a bit of bend out, so everything is in line. It is important to remember that constant foot and hand pressure is required as close to the shoe as possible so as not to kink the pipe of bend the conduit any further away from where you want it to be!
We hope this has been helpful in understanding how to bend a 4-point saddle in conduit. Is there a topic you would like to see discussed on Electrician U? Leave us a comment in the comments section and let us know. Please continue to follow Dustin Stelzer and Electrician U as we are constantly updating our content to assist our followers in becoming the best electricians that they can be.
#electrician #electrical #electricity #how #to #bend #4point #saddle #conduit
-
 0:50
0:50
Electrician U
1 year agoWhat Are Lumens?
13.2K4 -
 1:11:24
The Daily Signal
3 hours ago🚨BREAKING: Democrat Steals $5 Million from FEMA, Trump-Mamdani Meeting Gets Bizarre
274 -
 1:02:11
BonginoReport
5 hours agoJ.D. Vance Threatens to Kill JD Vance?! - Nightly Scroll w/ Hayley Caronia (Ep.183)
79.7K27 -
 3:09:50
Nerdrotic
15 hours ago $9.49 earnedWarner Bros Fire Sale! | Last Ronin CANNED | WICKED For Good REVIEW - Friday Night Tights 381
27.2K9 -
 LIVE
LIVE
Akademiks
2 hours agoMeg Thee Stallion Back LYING again? Offset vs Finesse2x. 6ix9ine house robbed.. HERES WHO DID IT
873 watching -
 LIVE
LIVE
SpartakusLIVE
2 hours agoFriday Night HYPE w/ YOUR King of Content
139 watching -
 LIVE
LIVE
Blabs Life
1 hour agoPeter Jackson's King Kong: The Official Game of the Movie | Noob Plays
85 watching -
 LIVE
LIVE
sim_n_shift
2 hours agoARC Raiders: Dropping Into the Chaos
77 watching -
 1:19:28
Kim Iversen
4 hours agoNetanyahu Reveals Yep, Epstein Worked For Israel
21.9K81 -
 1:55:00
Roseanne Barr
4 hours agoJovan Pulitzer Is Back! | The Roseanne Barr Podcast #124
179K105