How to Install Trailer Wiring in a Mazda CX9
How to install trailer hitch wiring on a first generation Mazda CX9. This particular model is a 2015 and a similar procedure may apply to other models which share the same platform like Ford or Lincoln. The kit comes with everything required for the installation. This includes the module, trailer wiring, wiring to your signal lights, in-line fuse, power wire, connectors, cable ties, silicone sealant, and instructions.
Hitch: https://www.rigidhitch.com/draw-tite-75531.html?find=2015-mazda-cx-9-rear-mounted-receivers-all-models-560752
Wiring Kit: https://www.rigidhitch.com/rigid-re-62070.html?find=2015-mazda-cx-9-trailer-hitch-electrical-all-models-538686&sid=aaAFjKPEHq
Website: https://www.rigidhitch.com/?utm_source=matthewromagnoli&utm_medium=influencer&utm_campaign=4diyers
Website: http://4diyers.com
Patreon: https://www.patreon.com/4diyers
Facebook: https://www.facebook.com/4diyers
Twitter: https://twitter.com/4DIYers
Instagram: https://www.instagram.com/4diyers/
Tumblr: http://4diyers.tumblr.com
Pintrest: https://www.pinterest.com/4diyers/
Tools/Supplies Needed:
-trailer light wiring kit
-wire cutters
-heat shrink
-10mm socket with ratchet
-heat gun
-butt connectors
Procedure:
Lift the hatch for the storage compartment, remove the side storage area. Lift out the center portion. Remove the side portion on the driver's side.
Put your hands under the trim panel along the back and pull up. Using a standard screwdriver, flip up the caps for the bottom tiedown areas. Pull out the hooks on the top storage retainers. Remove the 10mm bolts.
Do the same for the opposite side.
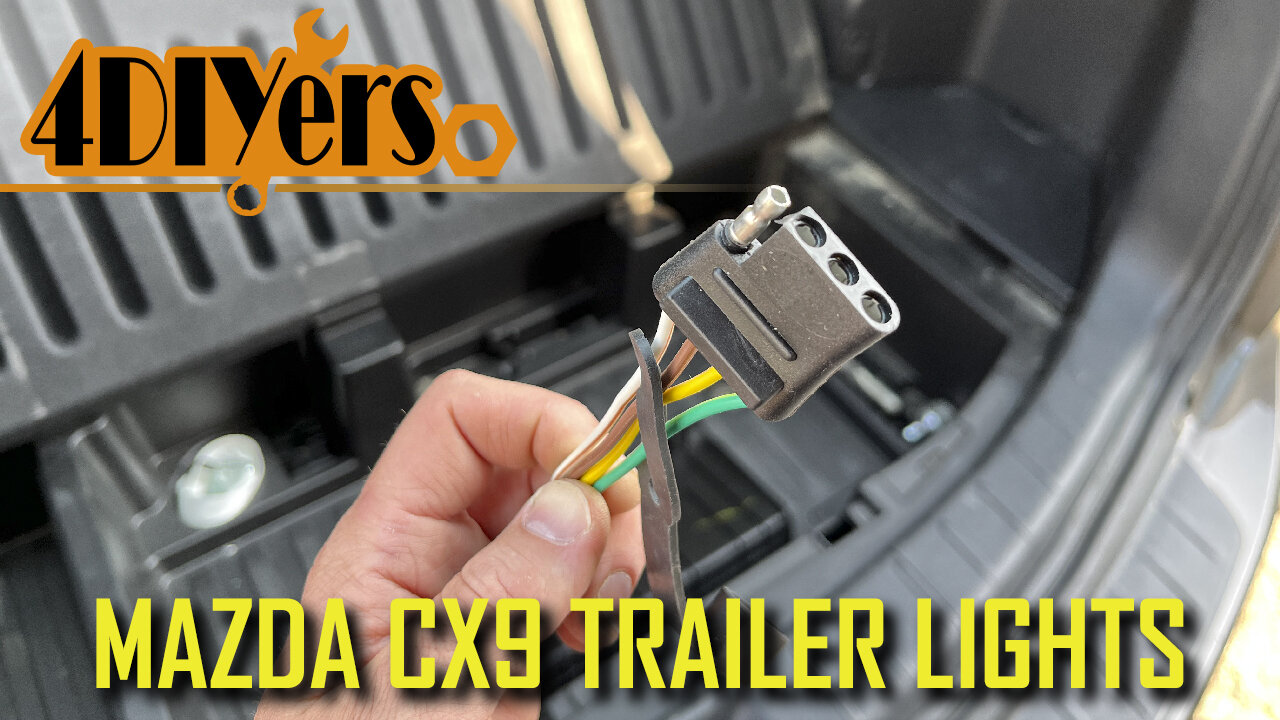
It’s hard to see here but there is a wiring harness connector behind the trunk hatch lift motor. Depress the tang on the one connector, then pull it apart.
Plug in both the male and female connectors into the existing vehicle harness.
There will be a ground wire which needs to be connected, this can be done by drilling a new hole in the sheet metal or using an existing hole. For this I will be using the 10 mm bolt for the hatch lift motor. The bolt is removed, it’s then inserted into the eye of the bolt and then tightened back up.
On the opposite side is the same procedure with the light connector.
The module will be mounted on a flat surface behind the trim panel using the double-faced adhesive. Use rubbing alcohol or window cleaner to remove any contamination on the surface of both the steel and behind the module box. Stick the adhesive pad onto the module, then stick the module onto the flat surface firmly pressing it down.
Using the supplied cable ties, tie the wiring back.
The black power wire coming from the module box also needs to be hooked up. This can be directly connected to your battery, however I will be picking a simpler method. Twist the exposed conductor’s why are strands. Using the butt connector, crimp it onto the black wire’s exposed conductor.
Using the supplied black wire, strip some of the insulation off, twist the conductor and then install it into the butt connector. Crimp the connector. Give it a pull test to ensure the wire is firmly in place.
Using cable ties, tie the wiring back so everything is neat.
The protective cap for the trailer light plug is also installed. Pull it over the plug and then push the captain to place.
Continue to tie back the wiring using cable ties. The green and black wires will need to extend over to the passenger side of the vehicle. The trailer connector will stop about midway above the jack.
The trunk area has a constant 12 V power source which feeds the 12 V power outlet. I’ll tap into this source instead of running the wiring directly to the battery.
The fuse has been removed from the circuit, then the wire to the back of the plug is cut and stripped. The red and yellow wire is used for power. The wire strands are then twisted together, the one side will have the in-line fuse. Then used a bare butt connector to crimp onto the connection.
Shrink tube is applied to the connection, this will strengthen the connection and provide a good seal as well.
The opposite side is inserted and crimped as a connection. A heat gun is used on the shrink tube. Cut the black wire to size, and strip the insulation back. Insert the butt connector and crimp it into place. Crimp the butt connector onto the in-line fuse wire. Plug the wire back in and then install the supplied fuse.
Finish up with the cable ties and then clip the trim panel back into place.
Now install those clips and tie downs with the 10 mm bolts. Reinstall all the components in reverse of removal.
Thank you to all those who watch my videos and support my content. Don't forget to subscribe to my channel for future tutorial videos and like my video if you found it helpful. New videos are always being uploaded every week!
© 4DIYers 2013
All Rights Reserved
No part of this video or any of its contents may be reproduced, copied, modified or adapted, without the prior written consent of the author.
-
 LIVE
LIVE
The Shannon Joy Show
2 hours ago🔥🔥Stressflation Incoming - Coffee Up 25% Veggies Up 40% As Trumps Tariff Taxes Detonate On American Families.🔥🔥
166 watching -
 LIVE
LIVE
LFA TV
17 hours agoLFA TV ALL DAY STREAM - MONDAY 8/25/25
4,750 watching -
 UPCOMING
Grant Stinchfield
3 days agoDemocrats Try to Turn California Into Predator Playground with Proposed "Child Predator Dream Bill"
6.72K -
 1:01:13
VINCE
3 hours agoWhy Does This Mayor Enjoy Watching His City Burn? | Episode 110 - 08/25/25
130K91 -
 2:59:41
Wendy Bell Radio
7 hours agoAGENTS OF DECEPTION
40.4K105 -
 LIVE
LIVE
Major League Fishing
3 days agoLIVE! - Fishing Clash Team Series: Challenge Cup - Day 2
142 watching -
 1:19:04
The Big Mig™
4 hours agoTop 10 GO WOKE GO BROKE
4.11K13 -
 LIVE
LIVE
Law&Crime
3 hours ago $0.69 earnedLIVE: Adelson Matriarch Murder Trial — FL v. Donna Adelson — Day 1
144 watching -
 LIVE
LIVE
JuicyJohns
4 hours ago $1.27 earned🟢#1 REBIRTH PLAYER 10.2+ KD🟢
76 watching -
 59:26
59:26
Coin Stories with Natalie Brunell
7 hours agoWho's Selling Bitcoin? Preston Pysh on Bearish Sentiment, Bitcoin Treasury Warning Signs and Ponzis
12.6K2